


Affiliate Disclosure As an Amazon Associate I earn from qualifying purchases. This post may contain affiliate links. For more details, refer to my Disclaimer page.
Homemade pitta bread is one of the most rewarding things you can bake. Five simple ingredients, around 90 minutes from start to finish and you'll get soft, puffy flatbreads with proper pockets ready for stuffing.
My recipe makes 8 pittas at roughly 100g each and scales easily up or down. They go brilliantly with BBQ kebabs, a chicken salad, or a generous dollop of hummus.
Once you've baked your own, the shop-bought versions just won't compare.
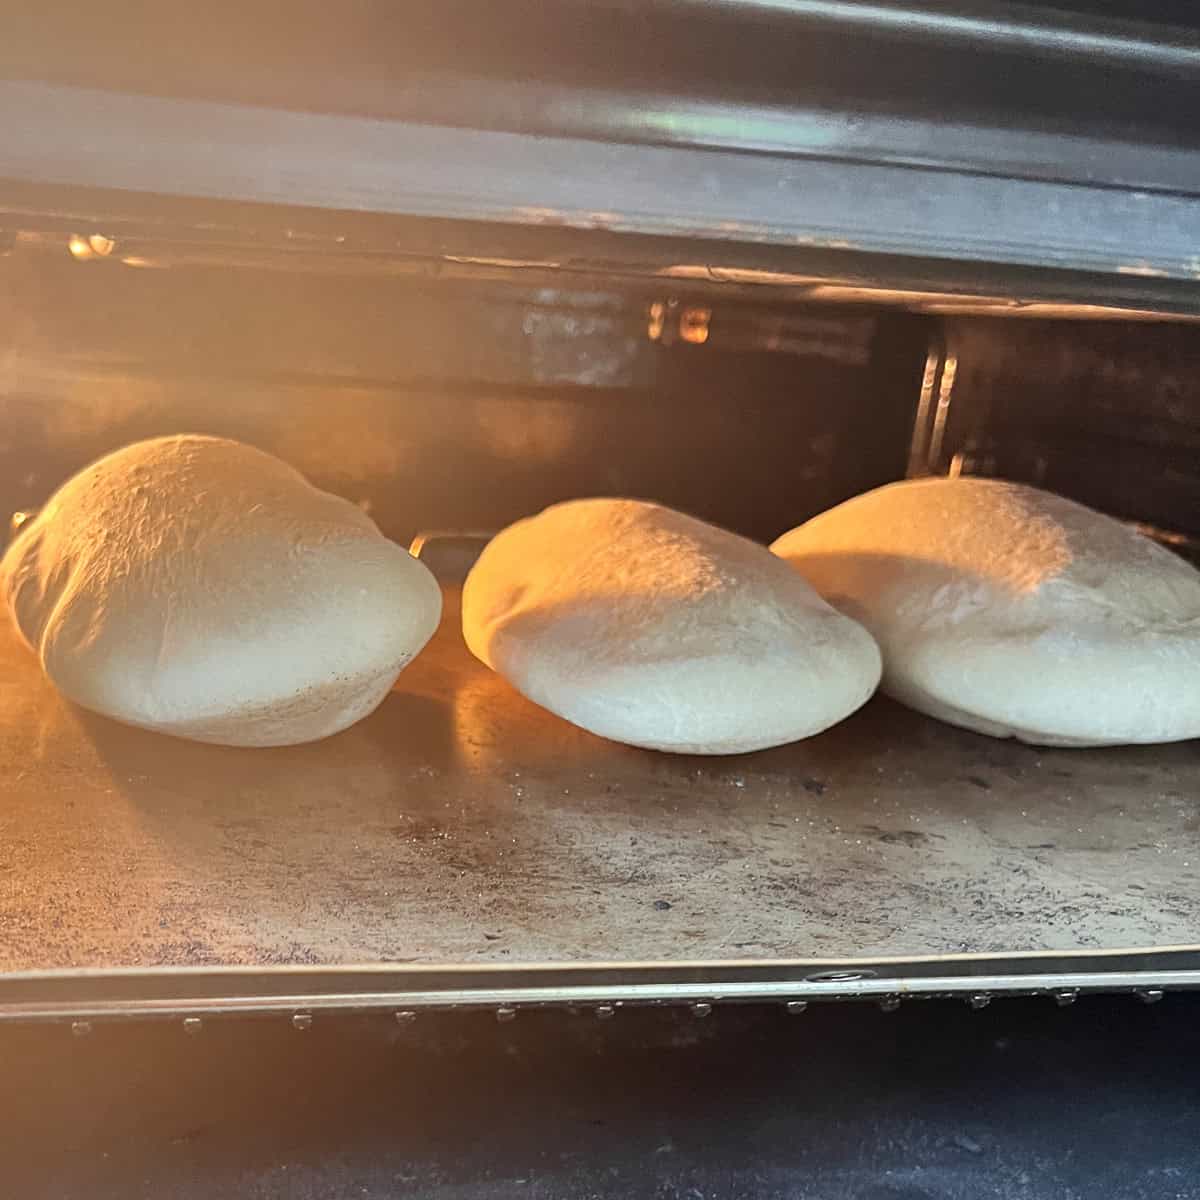
To make homemade pitta bread, mix 500g strong white bread flour, 7g instant yeast, 1 teaspoon salt, 1 tablespoon oil and 300ml warm water. Knead until smooth, prove for 60 to 90 minutes, divide into 8 balls, roll out thin, and bake at 240°C (220°C fan) for 3 to 5 minutes until puffed and lightly golden.
If you are looking for bread dough styles and detailed instructions how to make it, try my bread dough calculator. This offers all weights and measures to get a great dough.
I love a pitta bread with a BBQ kebab or a chicken salad. It reminds me of summer and holidays.
Contents
Ingredients for pitta breads
There are not many ingredients in this recipe. Its the basic bread recipe of flour, water salt and yeast with added oil.
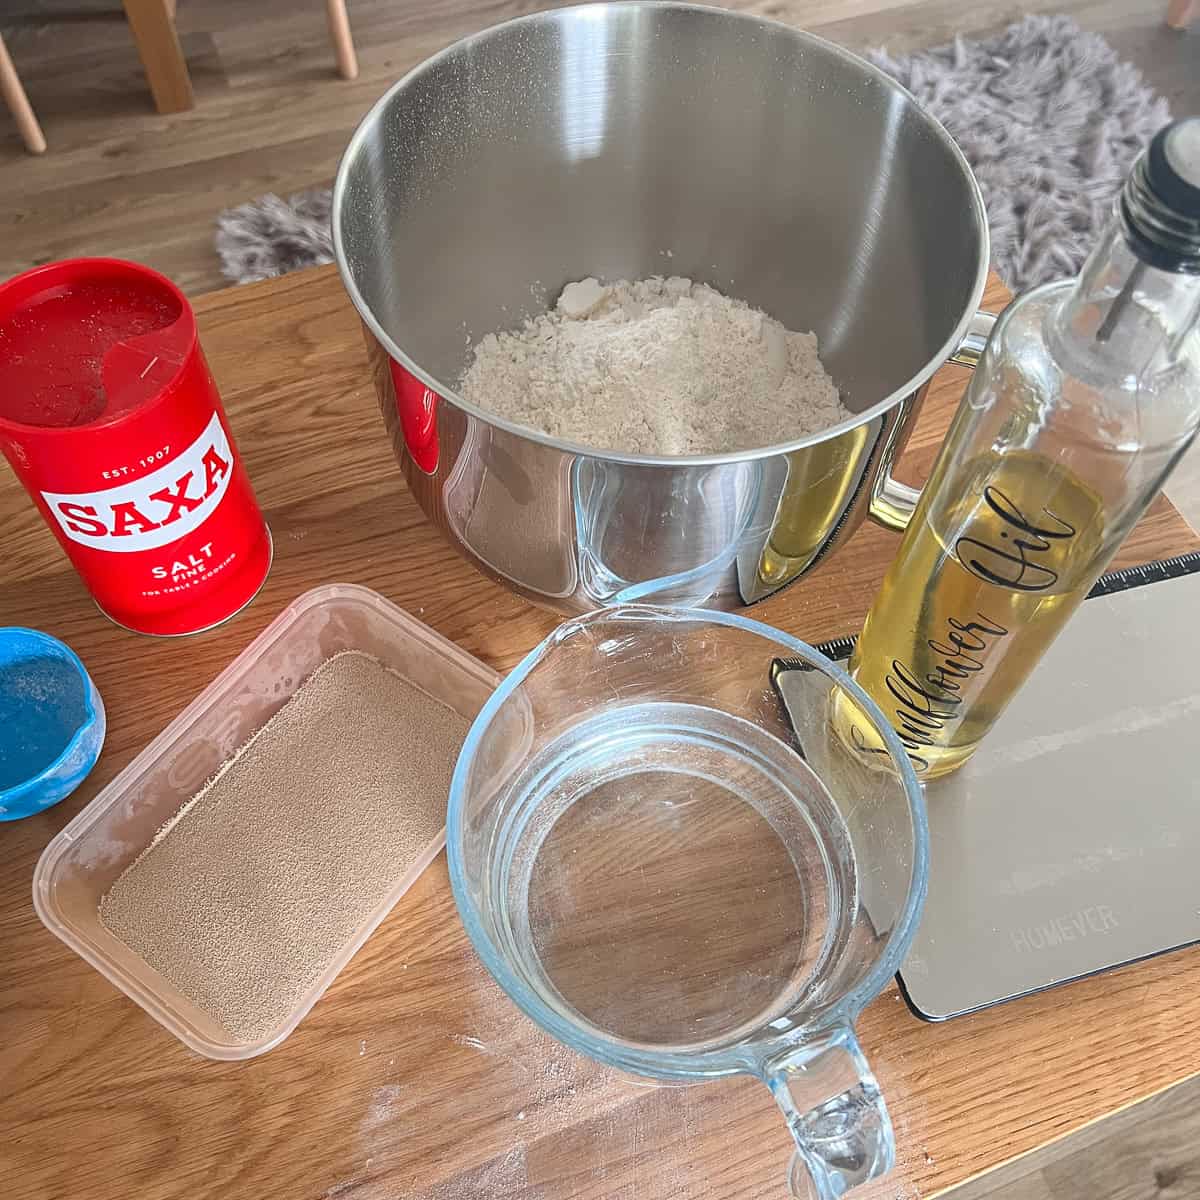
- Water - luke warm (25-30c). Cooled boiled water works well.
- Yeast - instant yeast is my favourite. You can use fresh but for ease of use and storage, instant is perfect.
- Flour - strong bread flour is perfect for this easy pitta recipe
- Oil - sunflower, rapeseed or even olive oil. Any works well. No oil? No problem - use a tablespoon of butter.
- Salt - Just a teaspoon works well. You can get away with half, but it's not as flavoursome.
See recipe card for quantities.
While this recipe calls for white bread flour, you can also try making pitta breads with wholemeal flour. Or for a less dense dough, go 50/50 white and wholemeal.
Instructions to make a pitta dough
Check out the steps below to see how I made these pitta breads. When you get to the mixing stage, don't worry if the timings are not quite right for you, go for the smooth dough rather than a specific time.
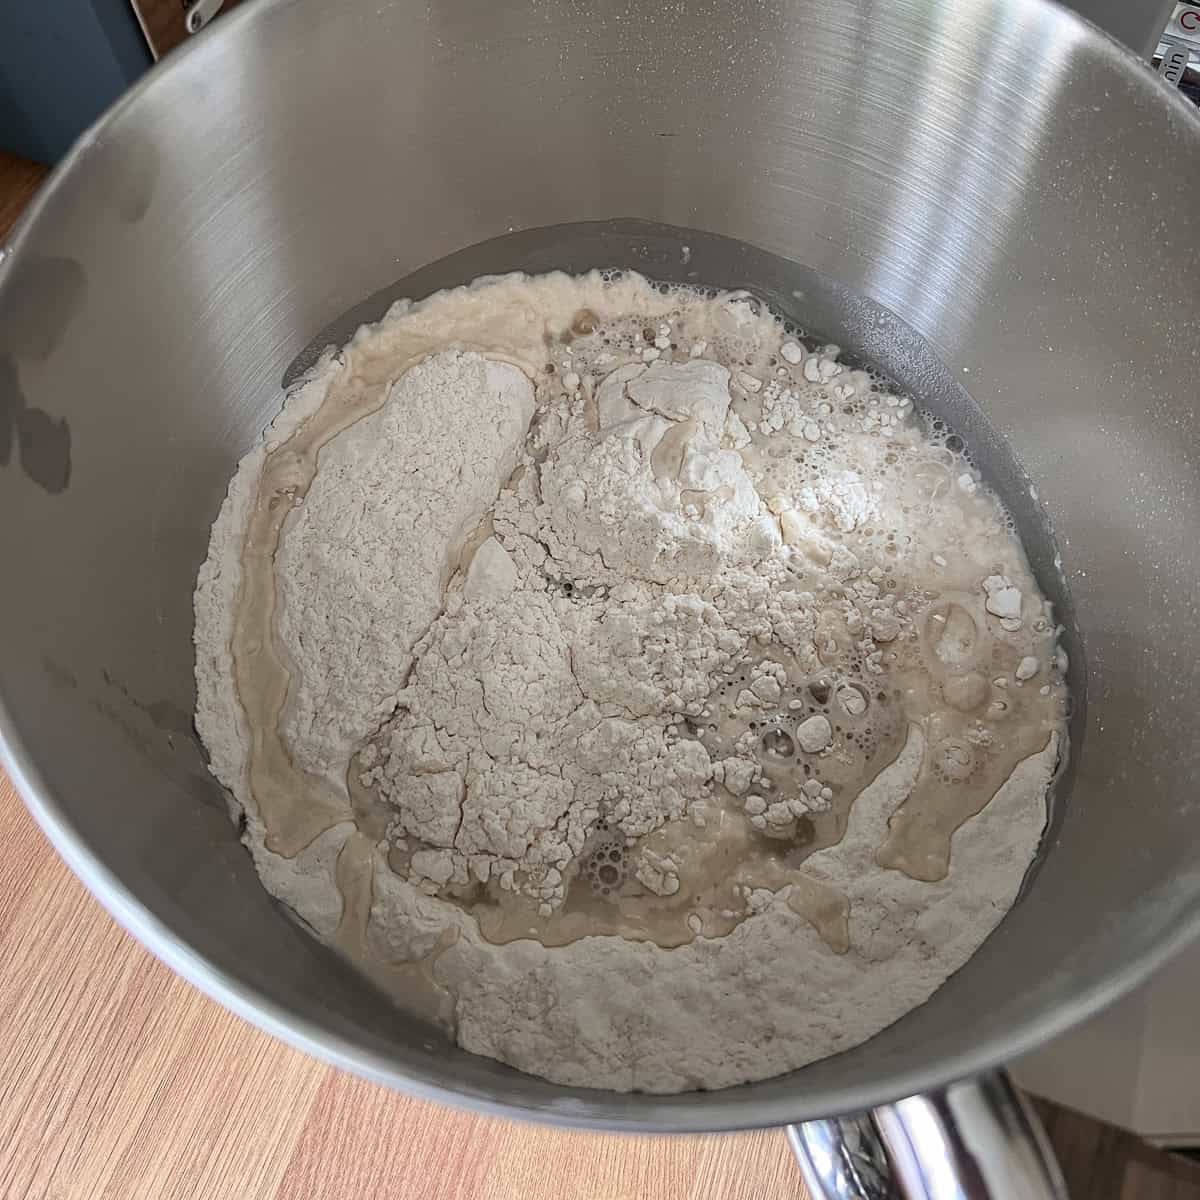
- Place all the dry ingredients in a mixing bowl, quickly mix with your hand or a spatula and then pour in the water.
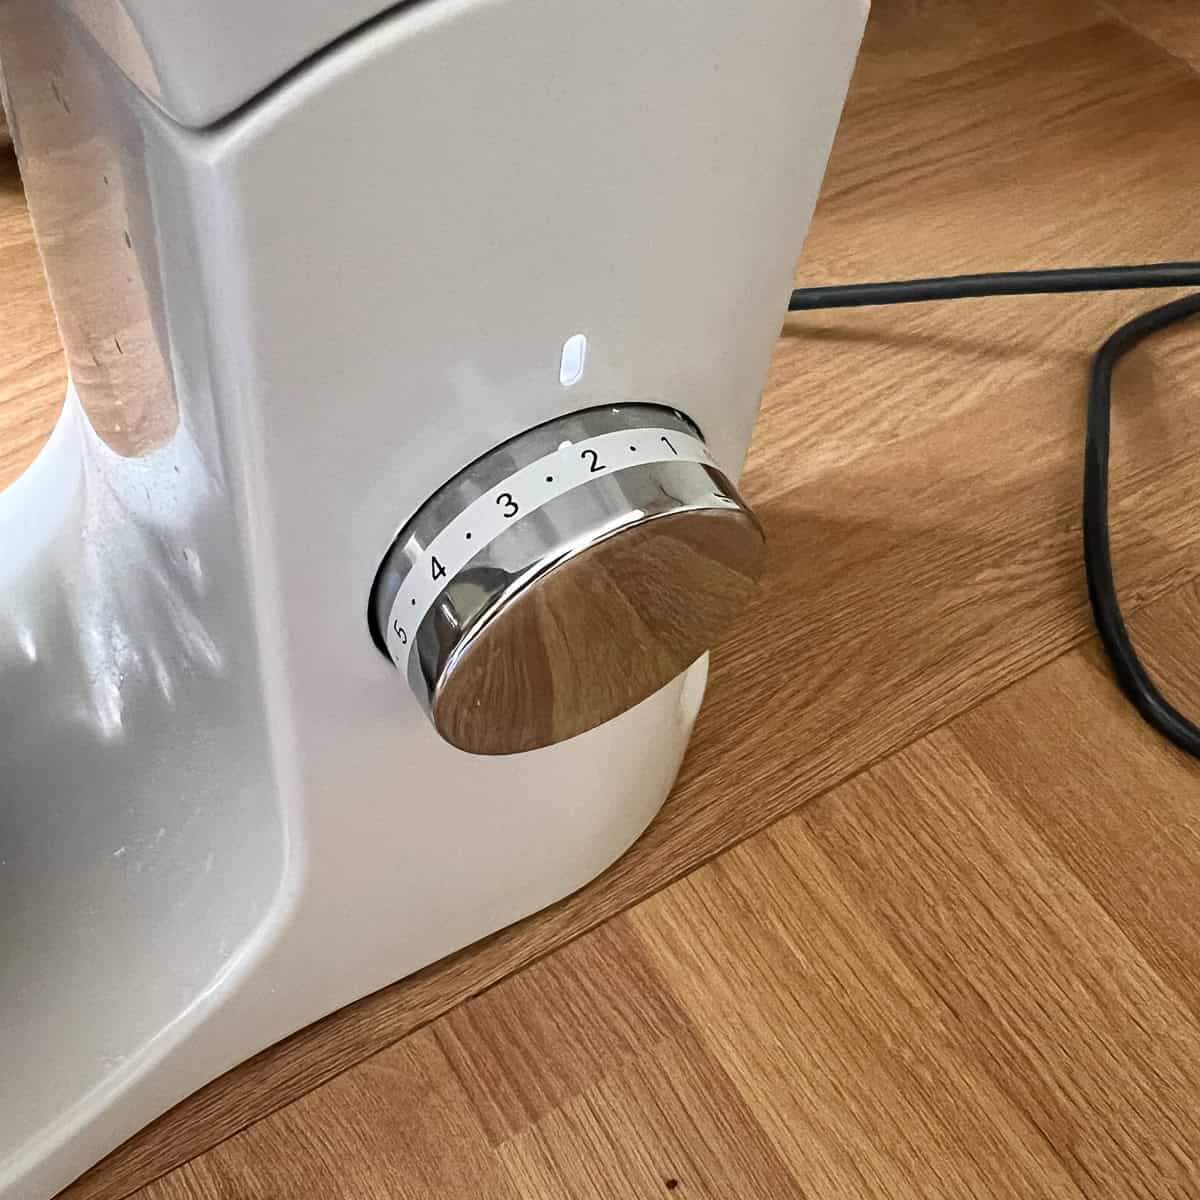
- Mix on a low speed for around 5 minutes. After 5 minutes, leave it to stand for 3 to 4 mins and then mix again for another 5 minutes. On the second mix, keep an eye on the texture.
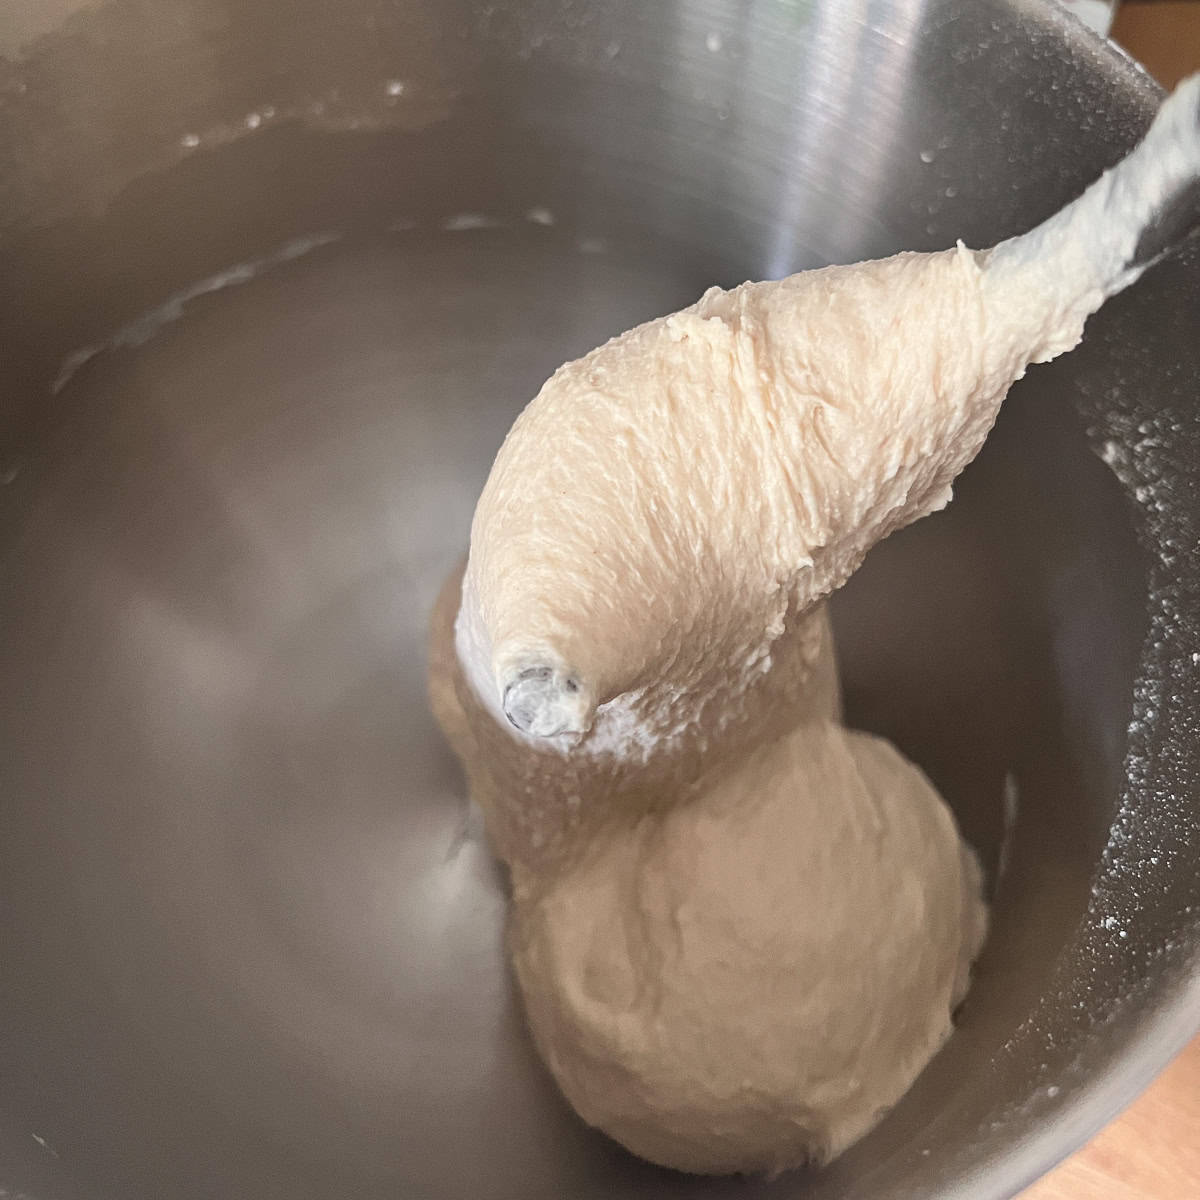
- Once the dough is not sticking to the edge of the bowl and is smooth in texture, the mixing is done.
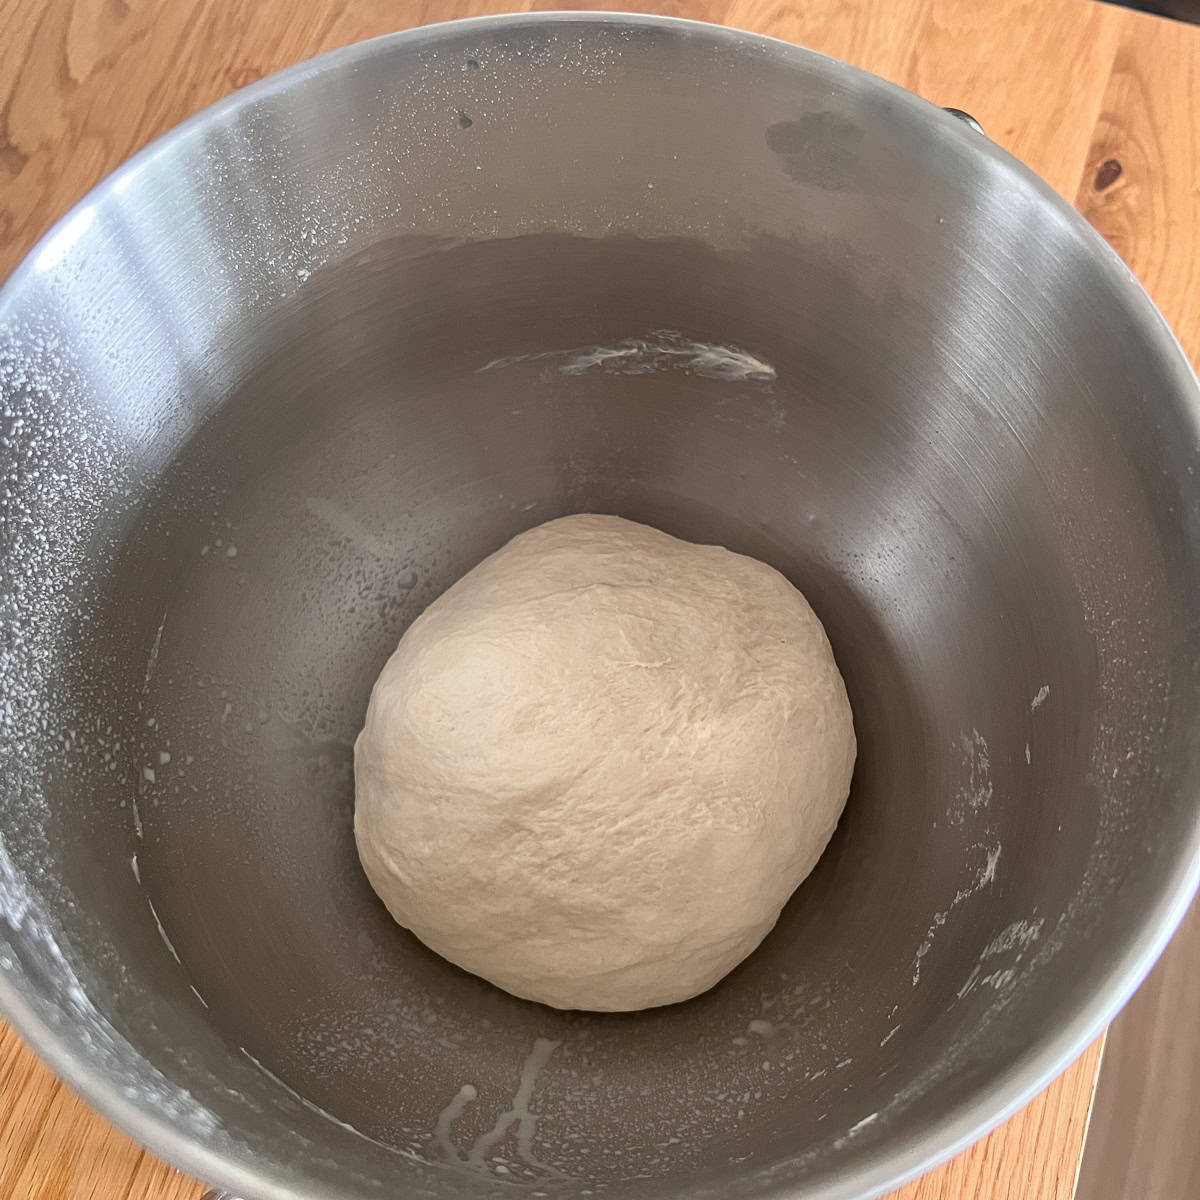
- Once mixed, ball up and spray the bowl with oil. Place the ball back in to allow it to rise.
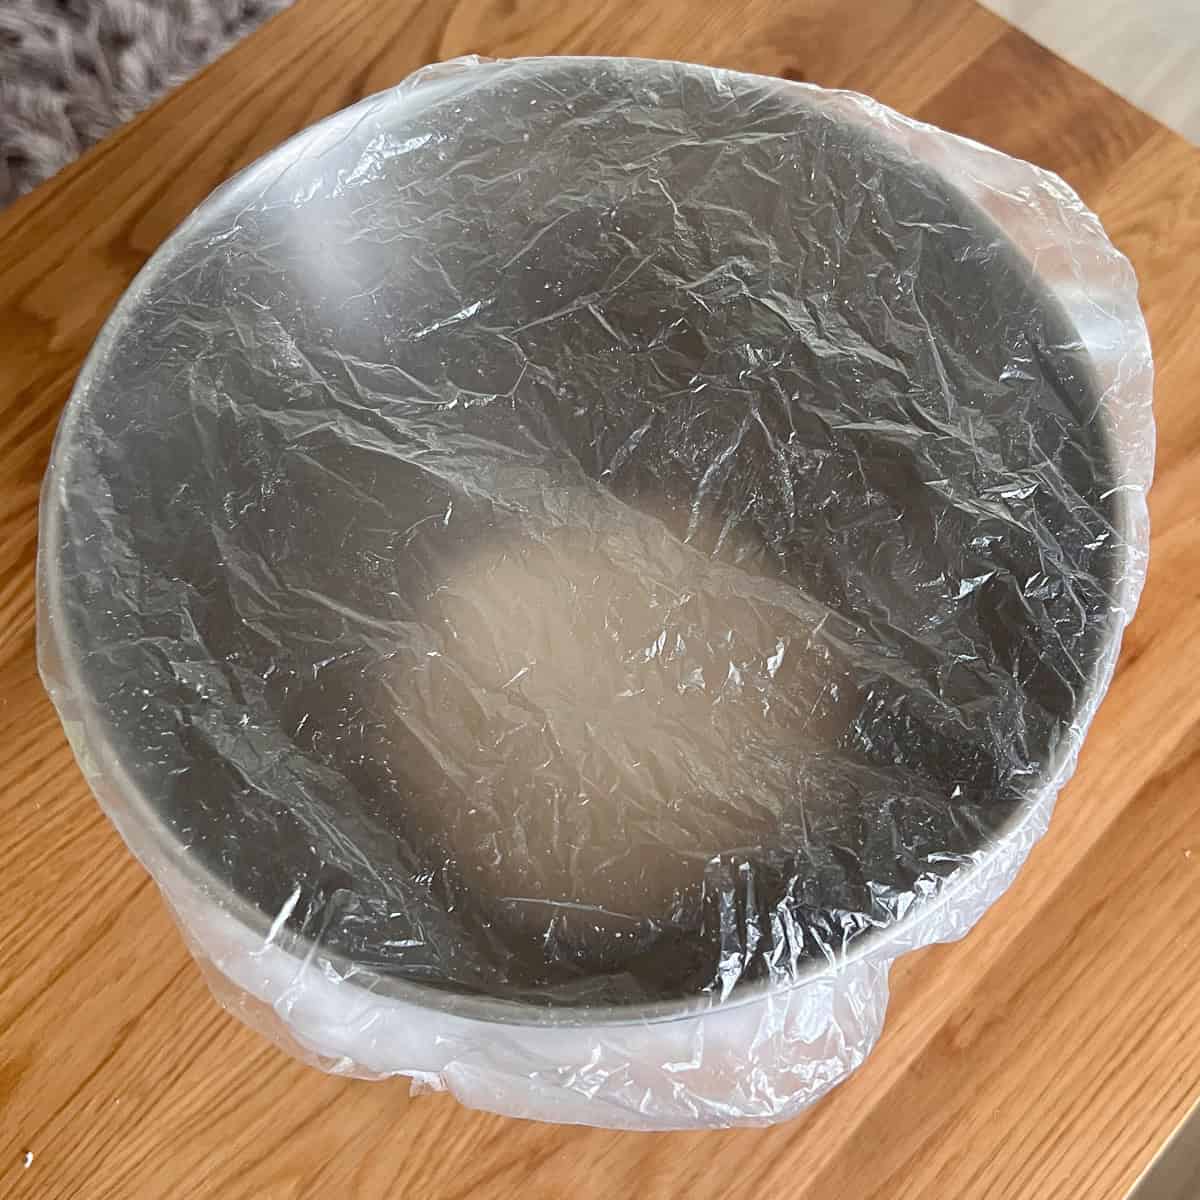
- Cover with a shower cap or damp cloth and allow to rise for 60 - 90 minutes until it has risen just about twice the size of the previous step.
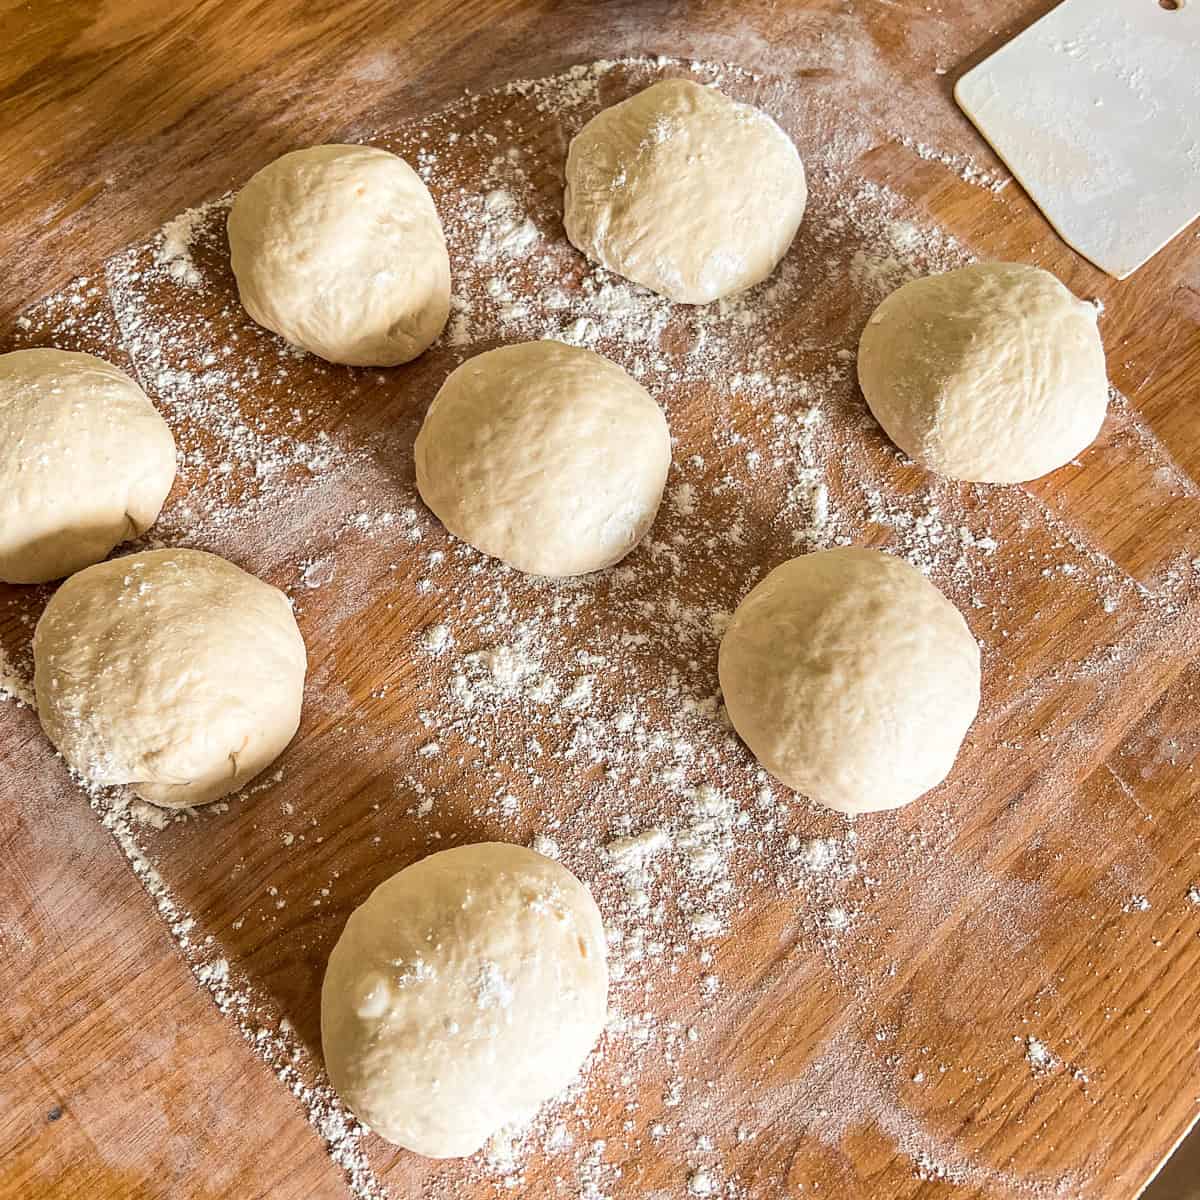
- Once risen, separate the dough into 8 balls of around 100g each.
Preheat your oven to 240°C (220°C fan / gas mark 9) at least 20 minutes before baking. So do it now! Pittas need very high heat to puff up properly. If you have a baking stone or steel, put it in the oven while it preheats. The stored heat helps the pittas puff faster and more reliably.
If your oven only goes to 220°C, that will still work but you may need an extra minute or two of baking time.
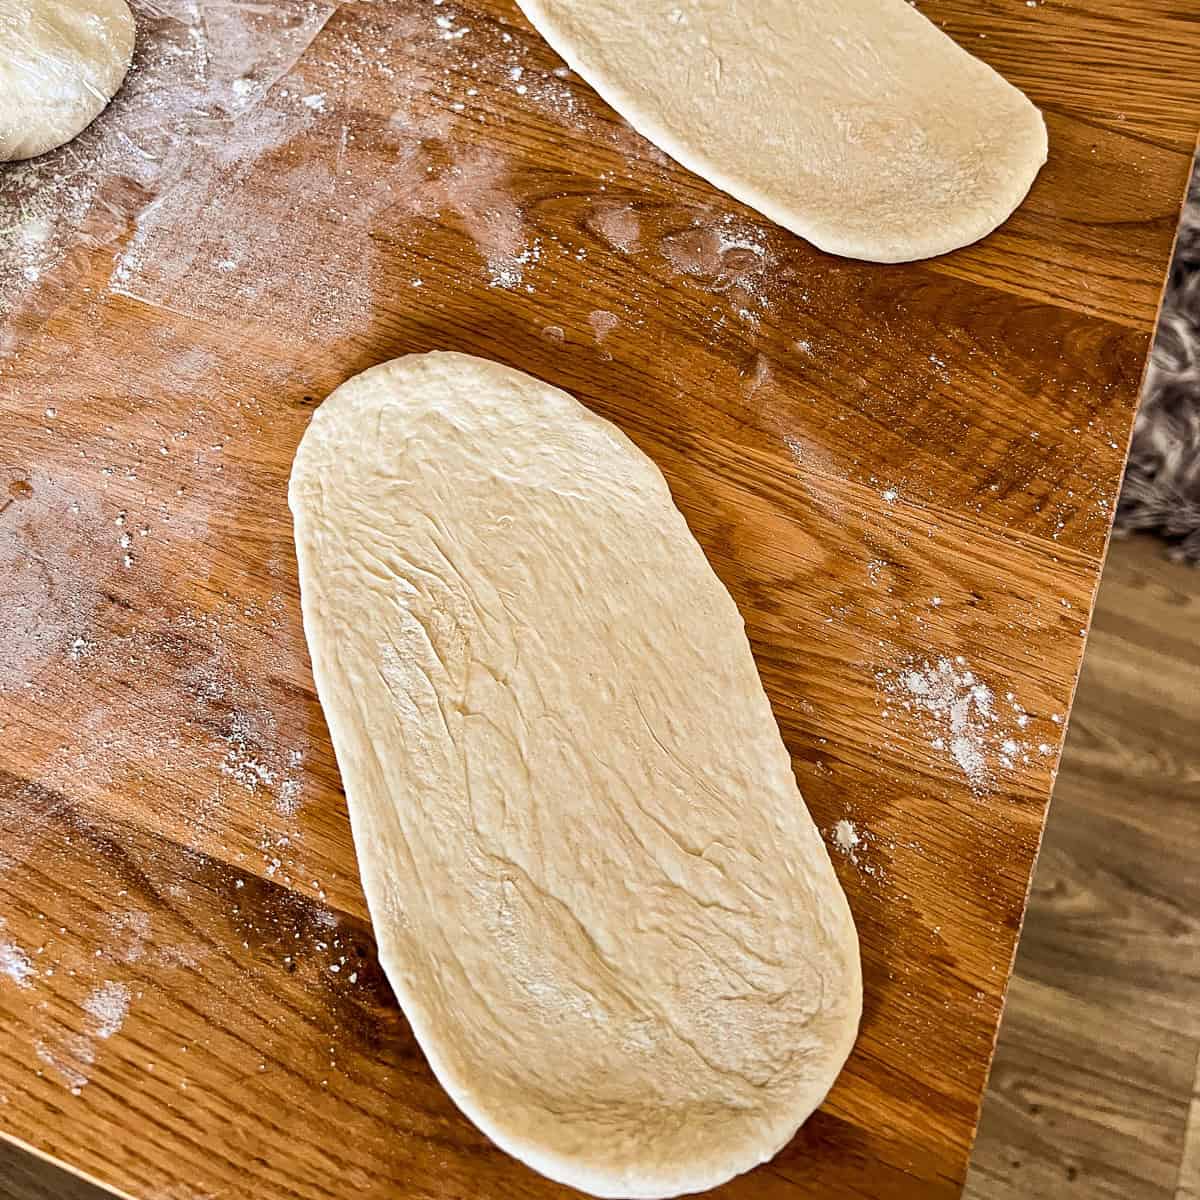
- Roll the ball out into an oval or round shape ready for the oven. I suggest doing these about 3 at a time (depending how big your oven is). Let them sit for 5 to 10 mins before baking.
- Bake for 3 to 5 minutes until they puff up and start to show a light golden colour. Take them out as soon as the colour appears. Don't overbake or they'll go crisp instead of soft.
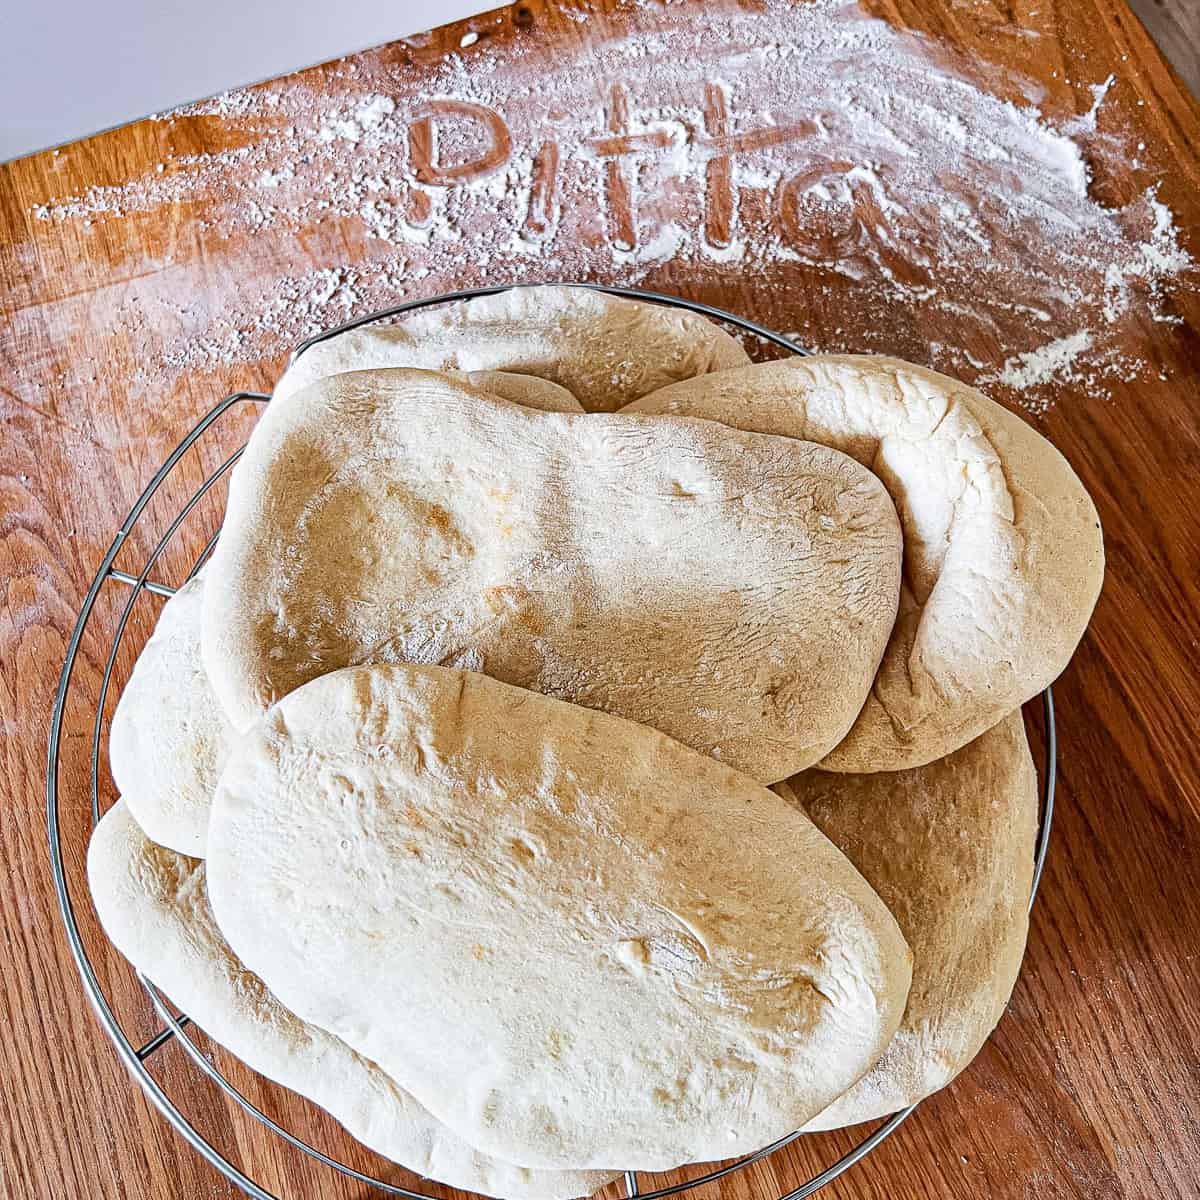
- Allow to rest on a cooling rack when out of the oven.
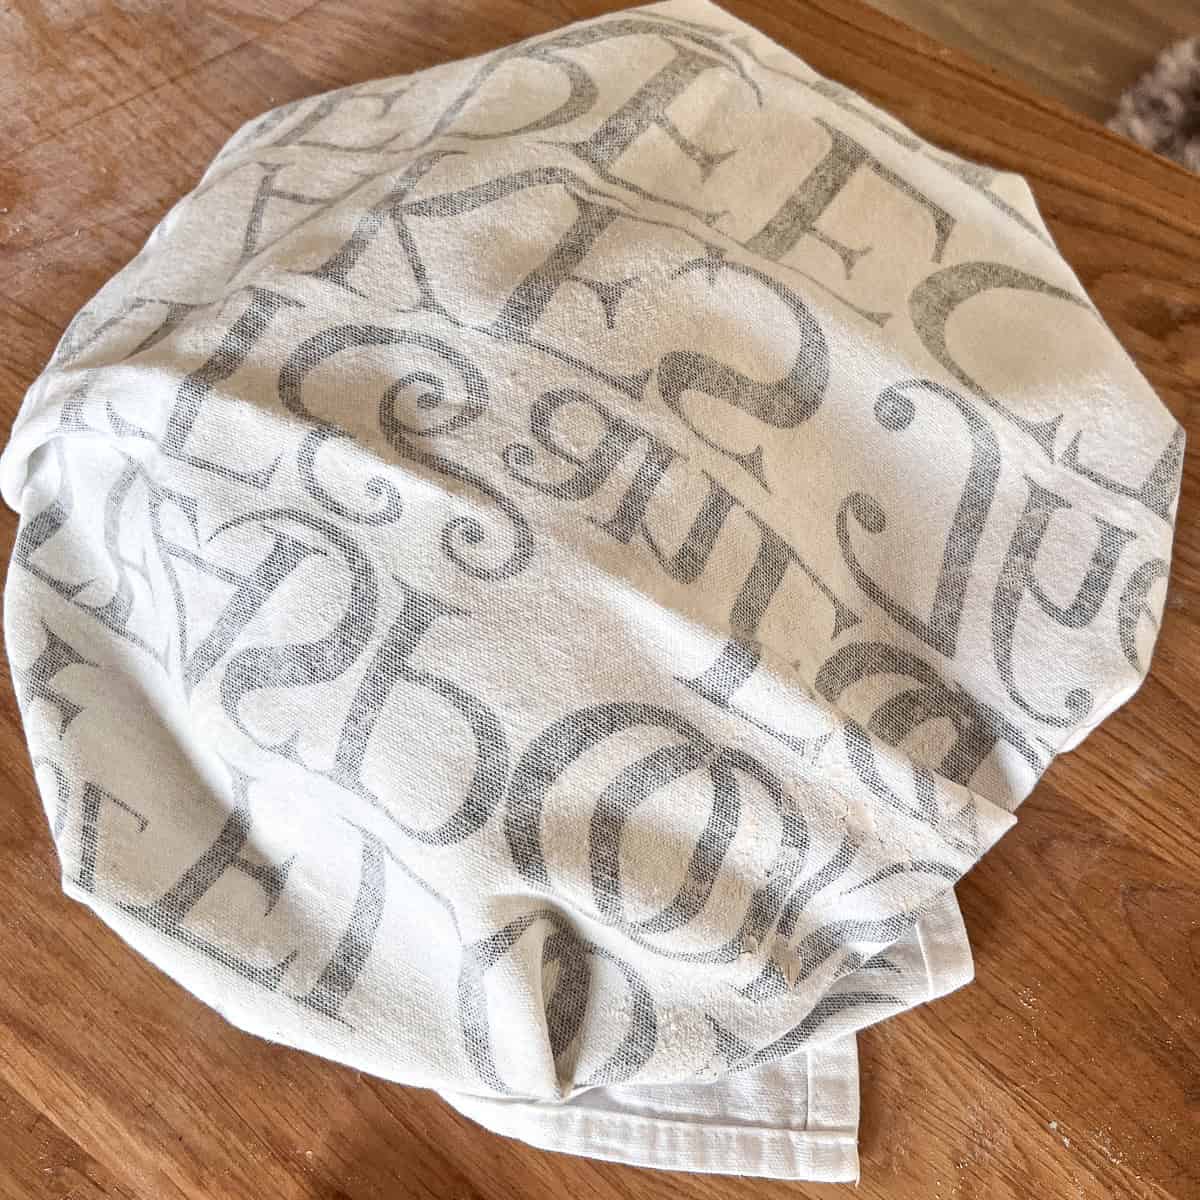
- Cover with a tea towel to keep the steam in.
Make sure to only take out of the oven once the colour starts to show. They may not puff up with air and will still cook quickly - they are flatbreads after all.
Why Didn't My Pitta Bread Puff Up?
A flat pitta is the most common problem people run into. The good news is the cause is almost always one of four things, and all of them are easy to fix.
1. The oven wasn't hot enough. Pittas need a sudden burst of high heat to create the steam that forces the pocket open. Anything below 220°C and they'll bake slowly instead of puffing. Always preheat for at least 20 minutes and don't open the oven door before they've started to rise.
2. The dough was rolled unevenly. If one part of the pitta is thinner than the rest, steam escapes through the thin patch instead of forming a pocket. Roll each one to an even 3 to 5mm thickness across the whole surface.
3. The dough was torn or pierced. Any small tear or hole in the surface acts as an escape route for the steam. Roll gently and don't press too hard with the rolling pin.
4. The dough didn't rest after rolling. Letting the rolled pittas sit for 5 to 10 minutes before baking gives the gluten time to relax. Skip this step and the dough fights against itself instead of puffing up.
If you've checked all four and they still won't puff, the yeast may be the issue. Old or dead yeast won't produce enough rise during proving, which means there's nothing to expand in the oven. Always check the date on your yeast packet.
Substitutions
You can change a few things in the recipe to mix it up a bit if you wish.
- Flour - You can use wholemeal or white bread flour. A 50/50 mix works well too.
- Oil - Any type of cooking oil works, but you can use olive oil for a lighter taste.
- Vegan/Vegetarian - this dish suits a vegetarian and vegan diet.
Variations and ideas
Giving the visitor ideas on how they can change this recipe to better suit their dinner guests, or their cultural cuisine, is a great way to increase the chances they make the recipe
- Spice it up - you can add a few chilli flakes to the dough to give it some heat.
- Nigella seeds - otherwise known as black onion seeds, you can add these on the top before you roll them flat for a seeded taste.
- Egg wash - get a golden finish on the pitta by giving it an egg wash before it goes in the oven.
Equipment to make pitta
It is not essential to use a stand mixer for the dough. However I find it easier. You can knead the dough by hand. Check out the ultimate bread guide to see how that goes.
Other useful items include a dough scraper and to keep steam in after baking before serving, a good quality tea towel will help.
Storing Pitta breads
These pitta breads do not last long. Both because they taste great but also because of how thin they are. They will dry out after a day or so. My advice is to eat them on the day.
If you're planning to eat the pittas the same day or the next, store them in an airtight bag or wrapped in a clean tea towel inside a bread bin. Don't put them in the fridge. The fridge dries bread out and turns the soft texture rubbery.
Pittas stored at room temperature will last up to 24 hours before they start to go stiff. After that, they're still fine to eat but better used toasted, turned into pitta chips, or torn into a fattoush salad.
Freezing pitta bread
Pitta bread freezes brilliantly. In fact, freezing them straight after they've cooled is the best way to keep that fresh-from-the-oven texture for later use.
How to freeze pitta bread:
- Let the pittas cool completely on a wire rack. Freezing them while still warm creates ice crystals that ruin the texture on defrosting.
- Stack them with a small square of greaseproof paper between each one. This stops them sticking together and lets you pull out one or two at a time.
- Place the stack in a freezer bag, press out as much air as possible, and seal.
- Label with the date and freeze flat for up to 3 months.
How to defrost pitta bread
The easiest method is to take what you need out of the freezer the night before and let them defrost at room temperature. They'll be ready to use in the morning.
If you've forgotten to defrost them, you can warm them straight from frozen. Wrap each pitta in a damp piece of kitchen paper, microwave for 20 to 30 seconds, then finish in a hot oven or toaster for another 30 seconds to bring back the soft, slightly chewy texture.
Reheating pitta bread
Day-old pittas come back to life with a quick reheat. Sprinkle them lightly with water, wrap in foil, and warm in a 180°C oven for 5 minutes. Alternatively, pop them in the toaster on a low setting for 30 seconds. Avoid microwaving on its own as this makes them tough.
If you've got other leftovers to deal with too, my post on reheating pizza leftovers covers similar techniques that work well for flatbreads.
Can you refrigerate pitta bread?
Avoid refrigerating pitta bread if you can. The cold dries out the dough and changes the texture. If you've made stuffed pittas with fillings that need refrigeration (like cooked meats or salad), eat them within 24 hours and bring them back to room temperature before serving.
The tea towel keeps the steam in once they are out of the oven. Furthermore, the steam helps finish off the cooking. Just be careful if you cut into a hot one as the steam will rush out.
FAQ
Use a short, sharp knife and cut along the seam where the two halves naturally meet. You can also cut it straight through the middle and open the pocket from the cut edge. If the pitta has just come out of the oven, leave it for a minute or two before cutting as the trapped steam will be very hot.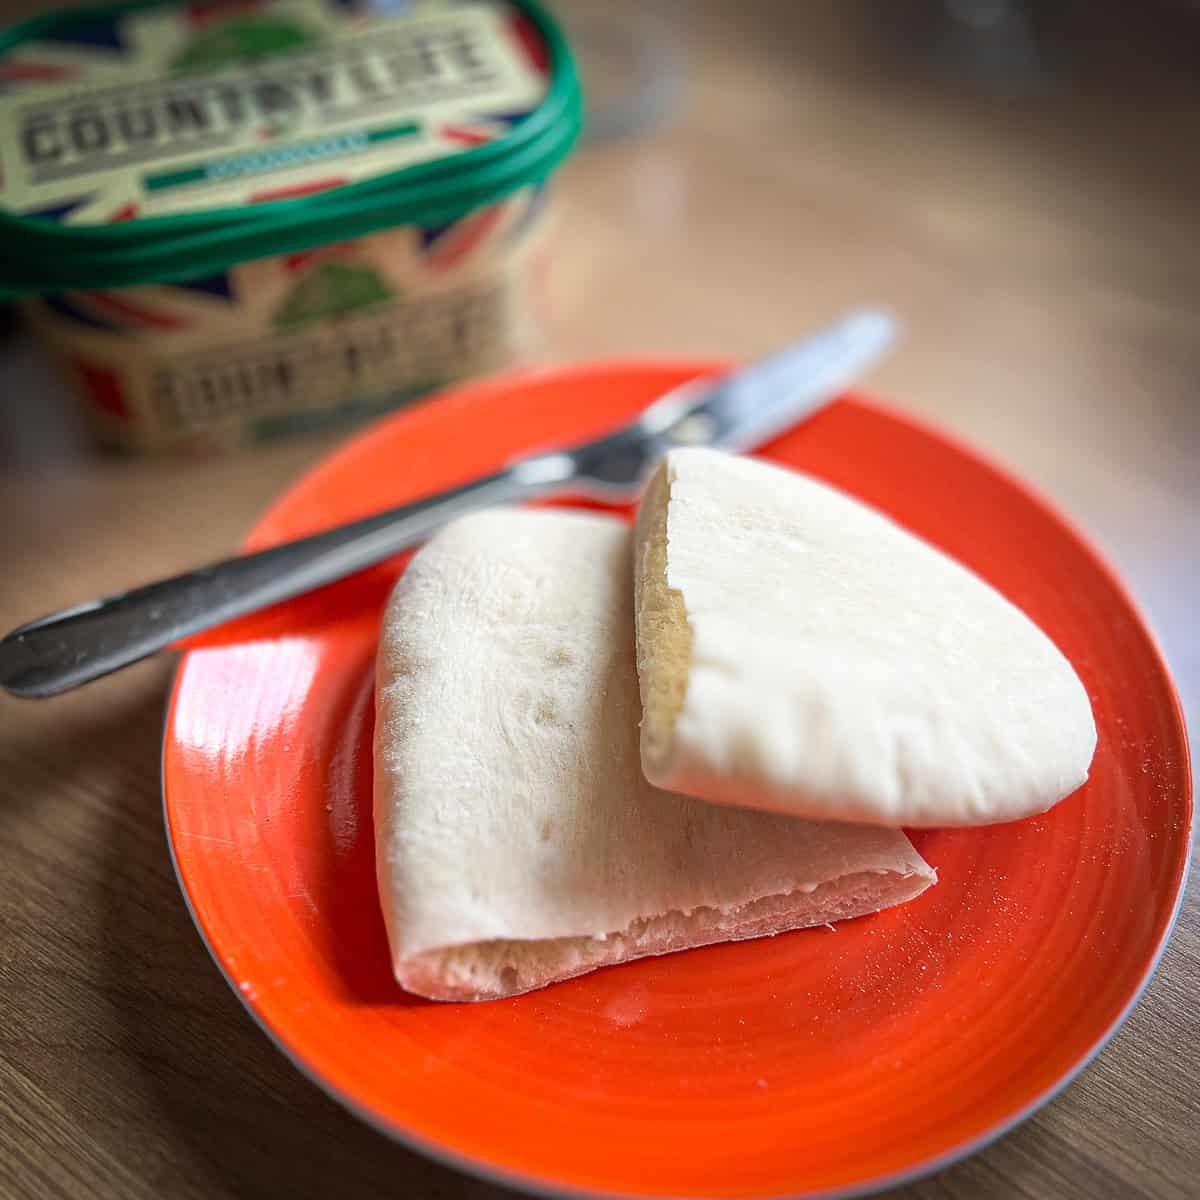
The most common reasons are an oven that wasn't hot enough, dough rolled unevenly, small tears in the surface, or not letting the rolled pittas rest before baking. See the troubleshooting section above for full detail on each.
Yes. Allow the pittas to cool completely on a wire rack, then stack them with a piece of greaseproof paper between each one and seal in a freezer bag. They'll keep for up to 3 months. Defrost at room temperature for about an hour, then warm through in a low oven or toaster for 30 seconds before serving.
Pitta is a lean dough made with flour, water, yeast, salt and a little oil. Naan is enriched with yogurt, milk and sometimes egg, which makes it softer and richer. Pitta forms a hollow pocket when baked at high heat. Naan stays flat and is usually cooked in a tandoor or under a hot grill.
Yes. Mix the ingredients together in a bowl with a wooden spoon until they form a rough dough, then turn it out onto a lightly floured surface and knead by hand for 8 to 10 minutes until smooth and elastic. The result is identical.
Homemade pitta bread is healthier than most shop-bought versions because it contains no preservatives, emulsifiers, or added sugar. A single homemade pitta of around 100g has roughly 230 calories, 3g of fat, and 7g of protein. As part of a balanced diet, it's a sensible choice.
Related recipes
Looking for other recipes like this? Try these:

Pairing A pitta
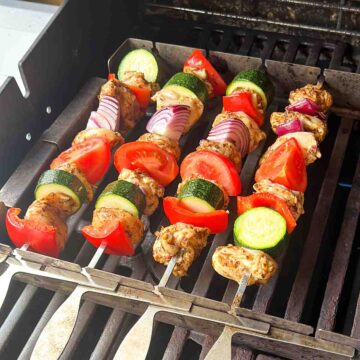
These are my favourite dishes to serve along side a pitta bread:

The Recipe
Pitta Bread
Equipment
Ingredients
- 500 g Bread flour
- 1 teaspoon Instant yeast
- 1 teaspoon salt
- 300 ml Water slightly warm
- 1 tablespoon Vegetable oil sunflower or rapeseed
Instructions
- Mix all the ingredients in a stand mixer for 5 minutes. Wait for the mix to pull away from the sides.500 g Bread flour, 1 tsp Instant yeast, 1 tsp salt, 300 ml Water, 1 tbsp Vegetable oil
- Cover the mix and let the mix rise for an hour or so until it doubles in size. UK climate is around 60 - 90 minutes.Put a baking tray or baking stone in the oven and then start heating up the oven as hot as you can. This is about 240℃/460℉/Gas8 on a conventional oven.
- Once risen, ball up 8 blobs of dough, each around 100g each. Cover them gently with cling film for 10 to 15 minutes.
- Roll out a ball into an oval shape. You may need to add a bit of flour to the rolling pin to make sure the pitta does not stick. Do a couple at a time and then when they are ready, pop in the oven for 4 to 5 minutes. They will puff up and as soon as they start to brown off, take them out placing them on a cooling rack.Covering them with a tea towel will keep the steam in and keep them warm.
Notes
Nutrition
More posts like this
One response to “Easy Pitta Bread”
-


Perfect pitta each time I make these. Thanks.


Leave a Reply