


Affiliate Disclosure As an Amazon Associate I earn from qualifying purchases. This post may contain affiliate links. For more details, refer to my Disclaimer page.
Get a shop bought style sandwich loaf baked at home. This post will demonstrate how to make a square sandwich bread in a Pullman loaf tin otherwise known as a pain de mie pan to get a perfect white loaf suitable for lunches.
This post shows you how to make square sandwich bread using a Pullman loaf tin recipe to get a perfect soft white bread every time.
Contents
- 🥇 Pullman loaf need to know basics
- 🍞 Pullman loaf sandwich bread ingredients
- 🥄 Instructions for baking bread in a Pullman loaf tin.
- How much dough do you need for a Pullman tin?
- ⌚ Pullman loaf tin cooking times
- Which Pullman tin should you buy?
- 🆘 Pullman loaf baking tips
- 🧈 Substitutions for basic white bread ingredients
- 🍽 Variations on a Pullman loaf
- 🍴 How to use a Pullman loaf tin
- ❄ Storing bread once it is cooked
- ❔ FAQ
- 🥪 Related recipes similar to a Pullman loaf
- 💘 Pairings for a sandwich bread loaf
- The Recipe
- Your Comments
🥇 Pullman loaf need to know basics
This bread takes on similar ingredients to my simple fluffy white bread and works for all kinds of loaves. You can make white bread or wholemeal brown bread with this recipe and what ever you choose can be baked in the oven or using the air fryer in prove and steam bread mode if needed.
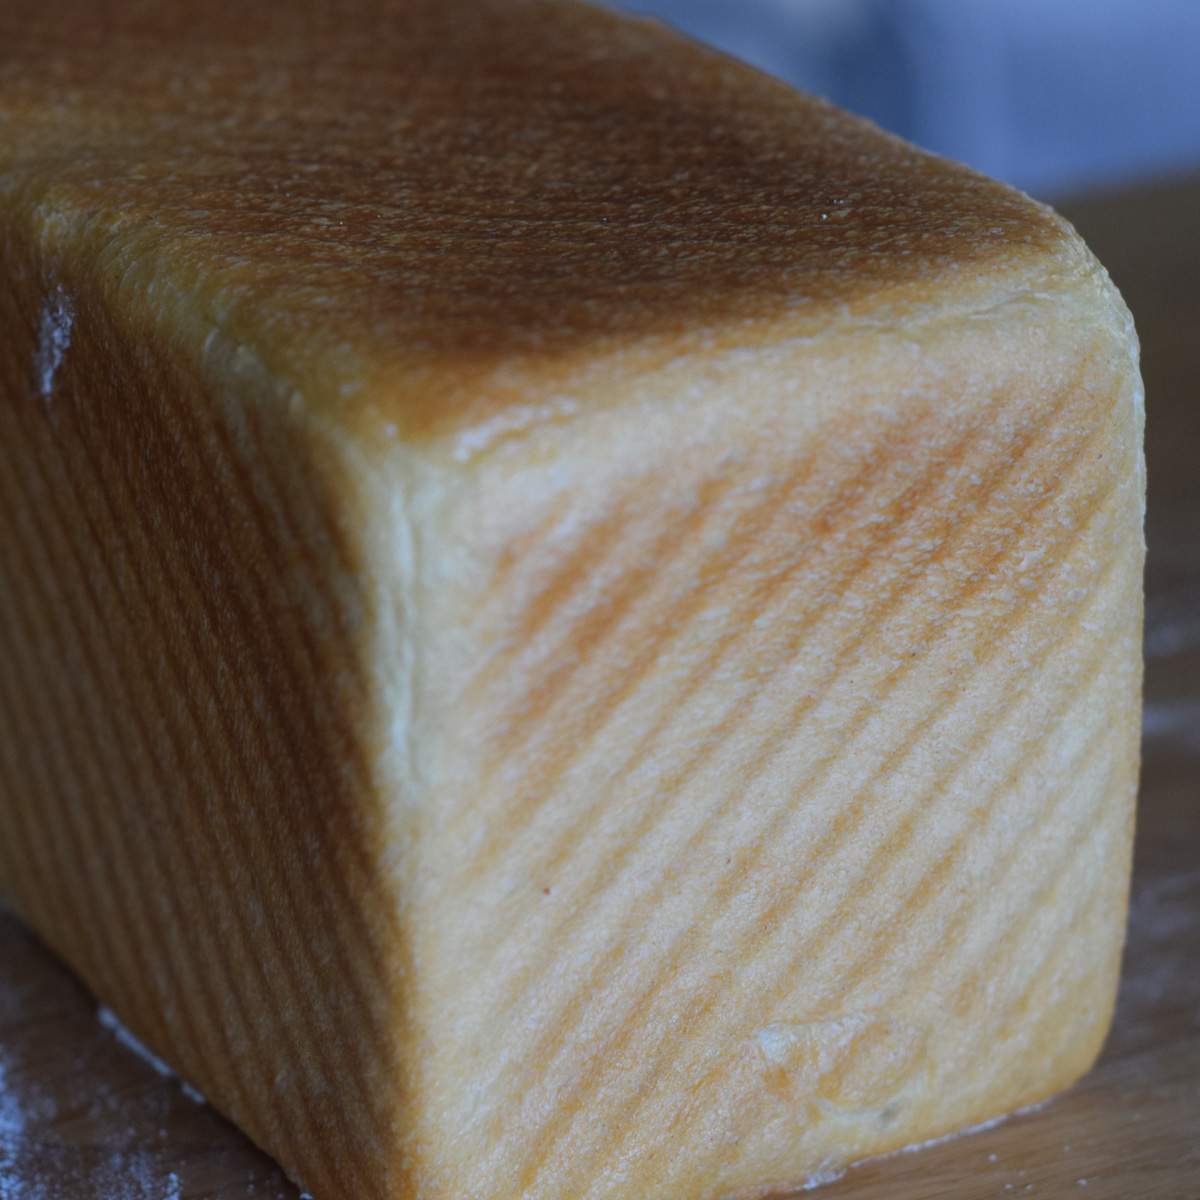
This Pullman tin shapes the loaf of bread into a perfectly square loaf and being metal all around ensures there is an even crust across the loaf. By having an even square tin it makes for a loaf of bread which looks like you could have bought it from a shop.
The bread ingredients can be substituted as you need and made into a healthy wholemeal loaf recipe or a soft and fluffy white bread by adding some sugar and oil.
🍞 Pullman loaf sandwich bread ingredients
To make this bread as similar to the kind of bread you would buy in a supermarket I have opted to use simple ingredients which will make a fluffy bread recipe.

- Flour - This recipe calls for white bread flour and is as basic as it comes. I use Shipton Mill flour or when I'm running low I opt for a simple and basic supermarket own brand white bread flour.
- Water - When baking bread the yeast works best in a warm but not hot environment. I aim for around 30C to 35C water (luke warm). This is achieved by using boiled water from the kettle left to cool down or topped up slightly with cold water from the tap. It is not advisable to use hot tap water as it will have been through the boiler system and not necessarily safe for food use.
- Yeast - Instant yeast works great for this recipe. You can use fresh yeast if you have a preference for it but any will work. I opt for the Allinson's easy bake yeast which is available in a tin with a resealable plastic cap to keep it fresh.
- Salt - Any table salt will do. While coarser sea salt will do the job, I prefer to use that for any topping or decoration. The table salt is finer and blends into the dough a little easier.
- Sugar - Regular cane sugar will suffice for this recipe. The sugar helps work with the oil and the yeast to give the fluffy effect.
- Oil - I find that either olive oil or vegetable oil will work well in this recipe. If trying to be a bit healthier I'll opt for olive oil but I've not found it makes a drastic difference to the outcome.
See the recipe card towards the end of this post for quantities of each ingredient.
🥄 Instructions for baking bread in a Pullman loaf tin.
The main process of baking bread in a Pullman loaf pan follows the usual techniques as covered in my bread making guides. The difference comes during the shaping part when the dough is placed in the greased tin and the lid slides closed.
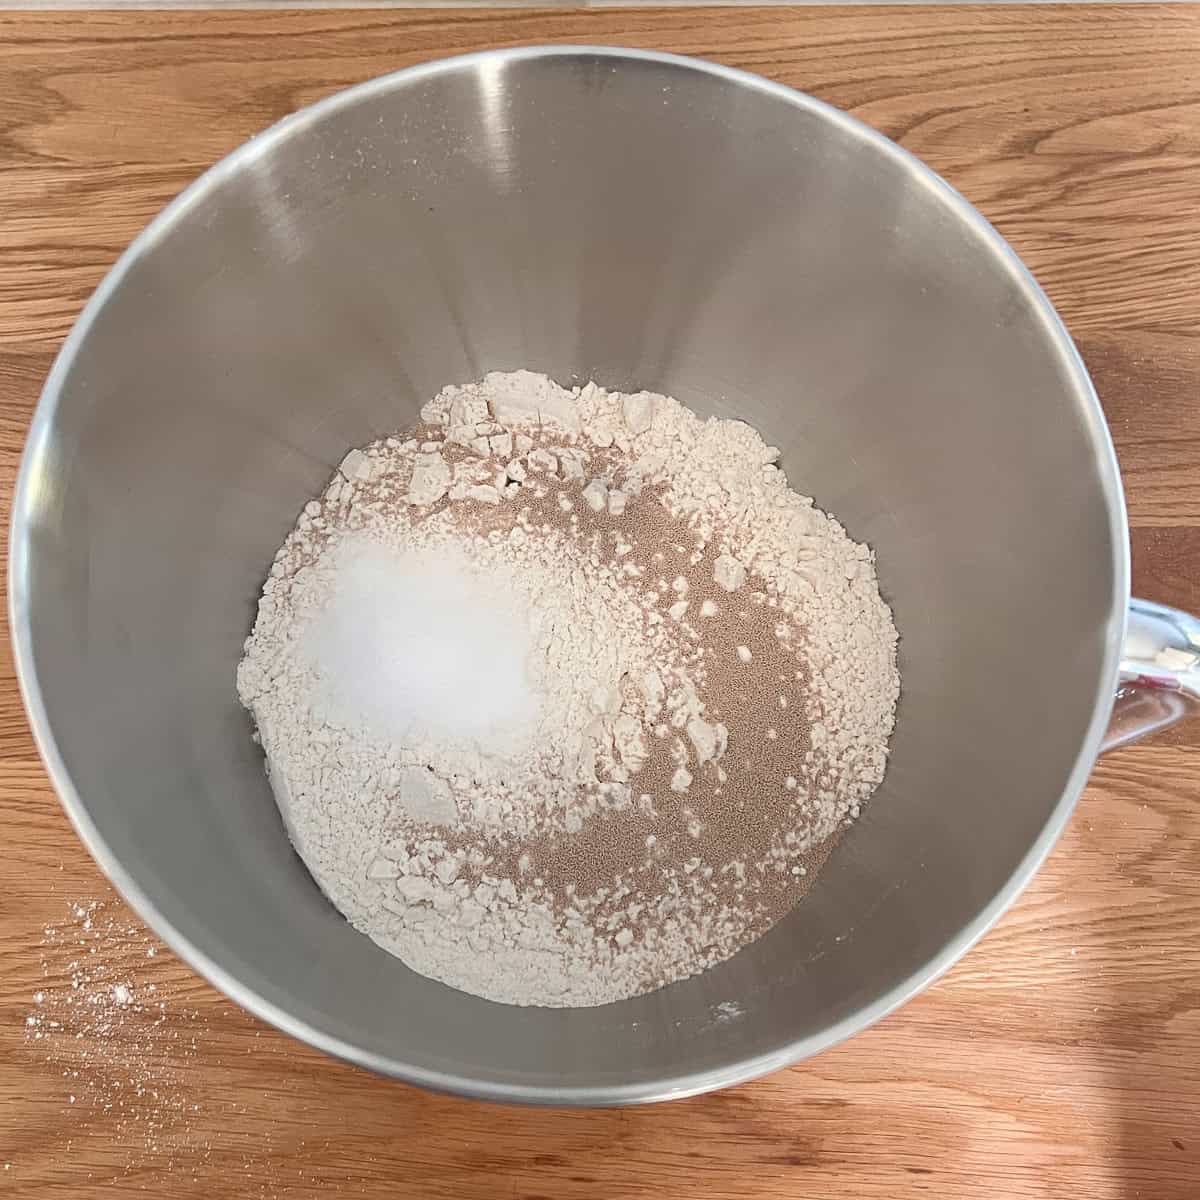
- Step 1: Combine all your ingredients into a large bowl and combine thoroughly.

- Step 2: Mix with a dough hook for at least 5 minutes on speed 1 and then for another 5-7 minutes on speed 2 (Kenwood KMix). Alternatively knead by hand for around 10 - 15 minutes until the dough firms up. Once kneaded, leave to rise in a greased mixing bowl until just under double in size (around 60 to 90 minutes).
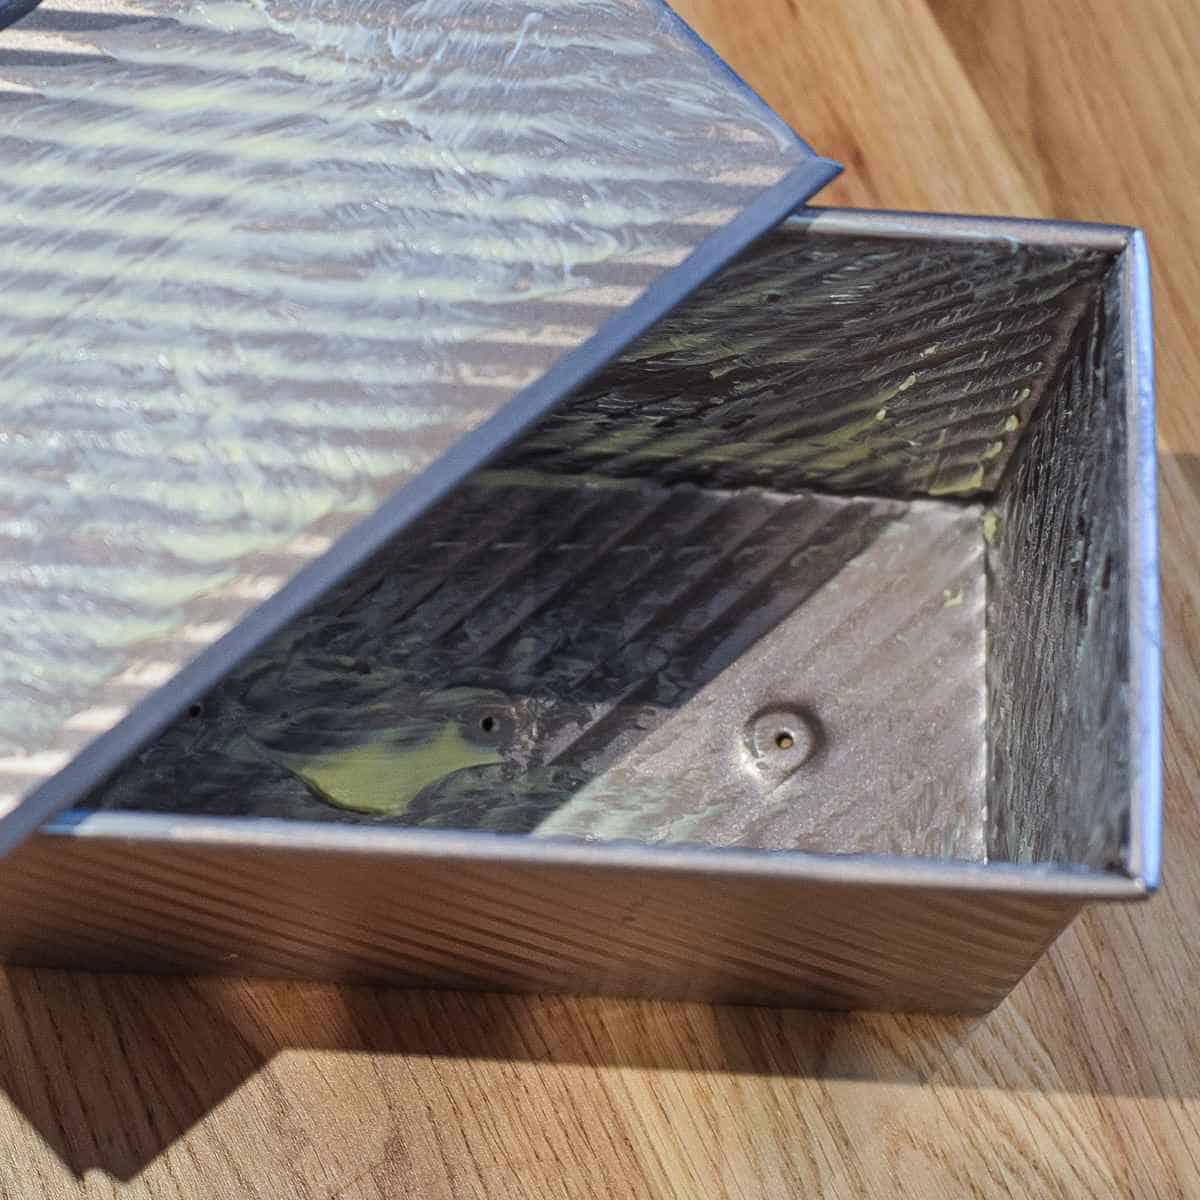
- Step 3: In the meanwhile, grease your Pullman loaf tin with unsalted butter or stork. You can also use an olive oil spray for ease. Make sure to spray the underside of the lid as well as the main tin.
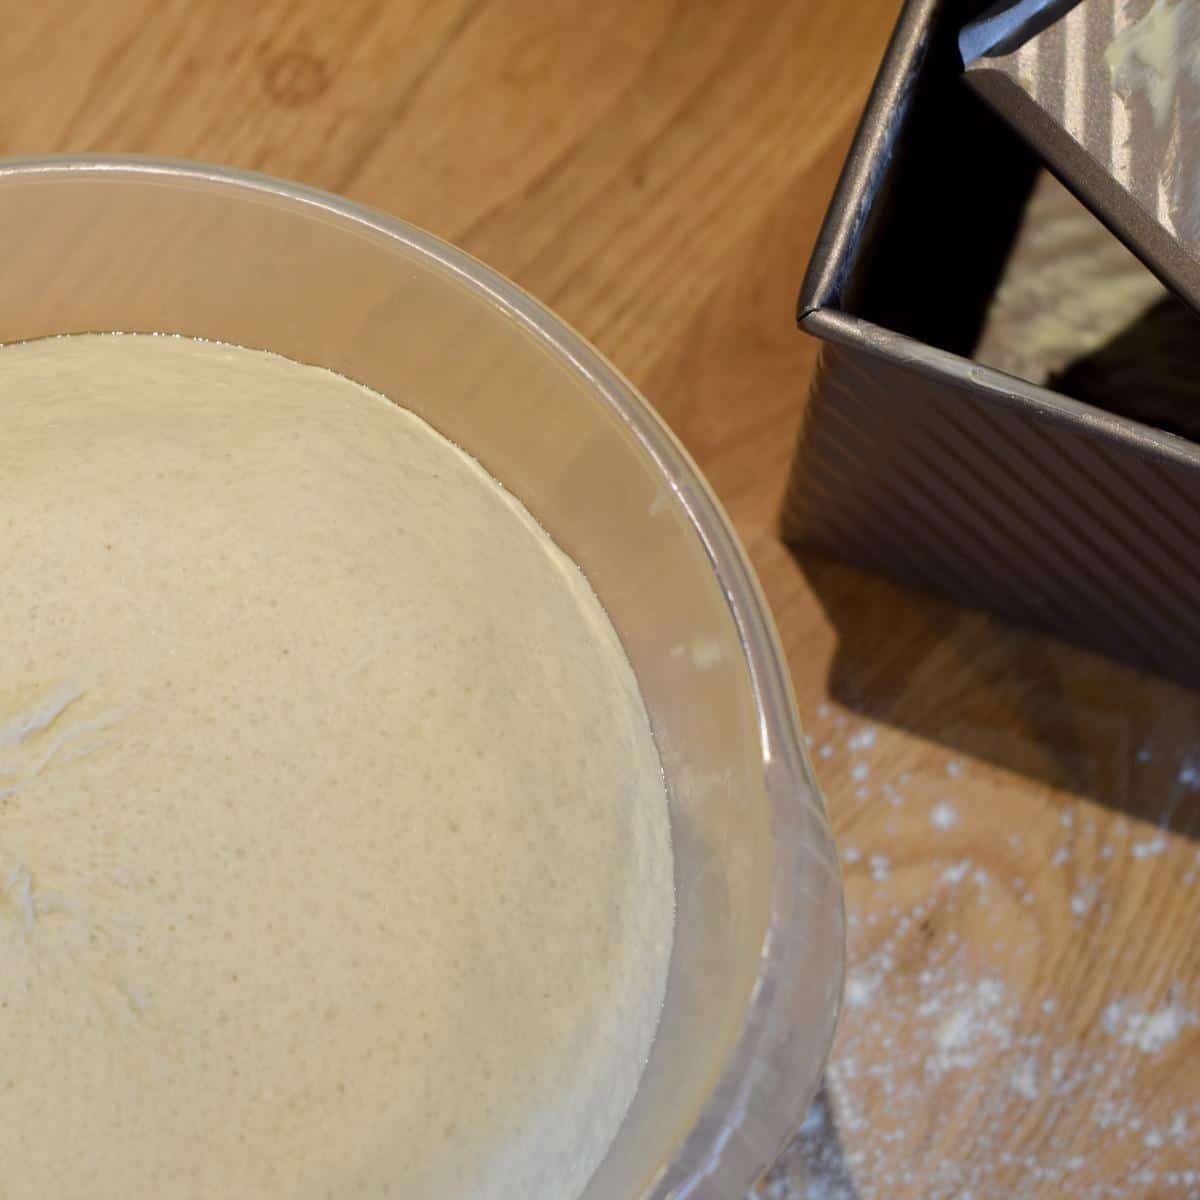
- Step 4: Check your dough has risen and then tip onto a floured work surface.
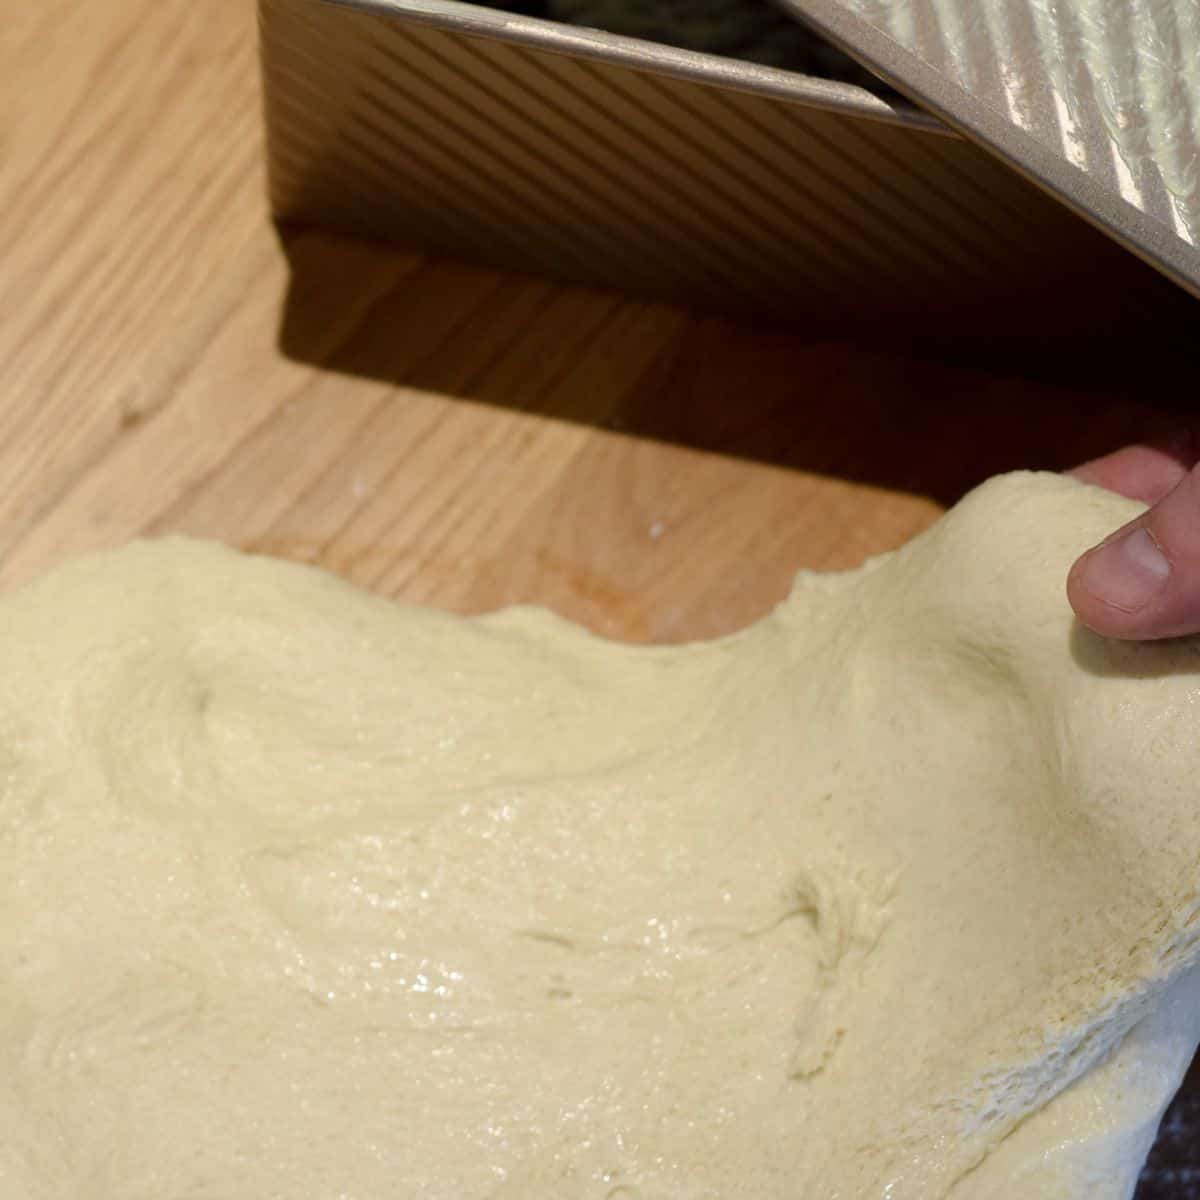
- Step 5: Stretch the dough out into a rectangular shape ready for shaping.
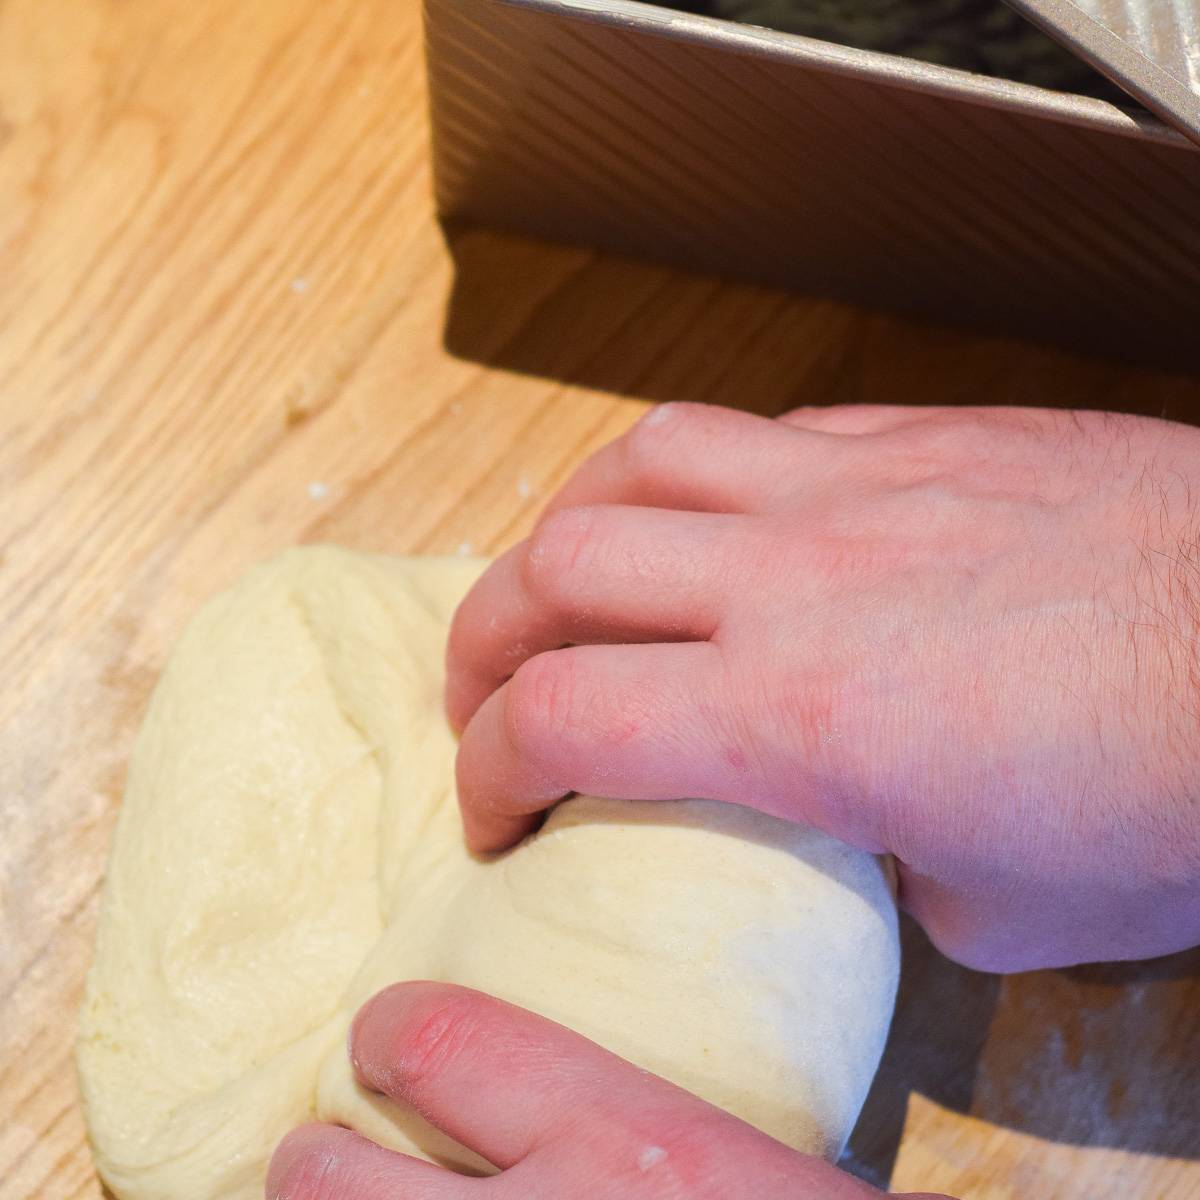
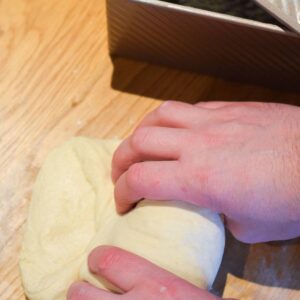
- Step 6: Working along the dough, roll into a loaf shape, tucking the sides in as you go.
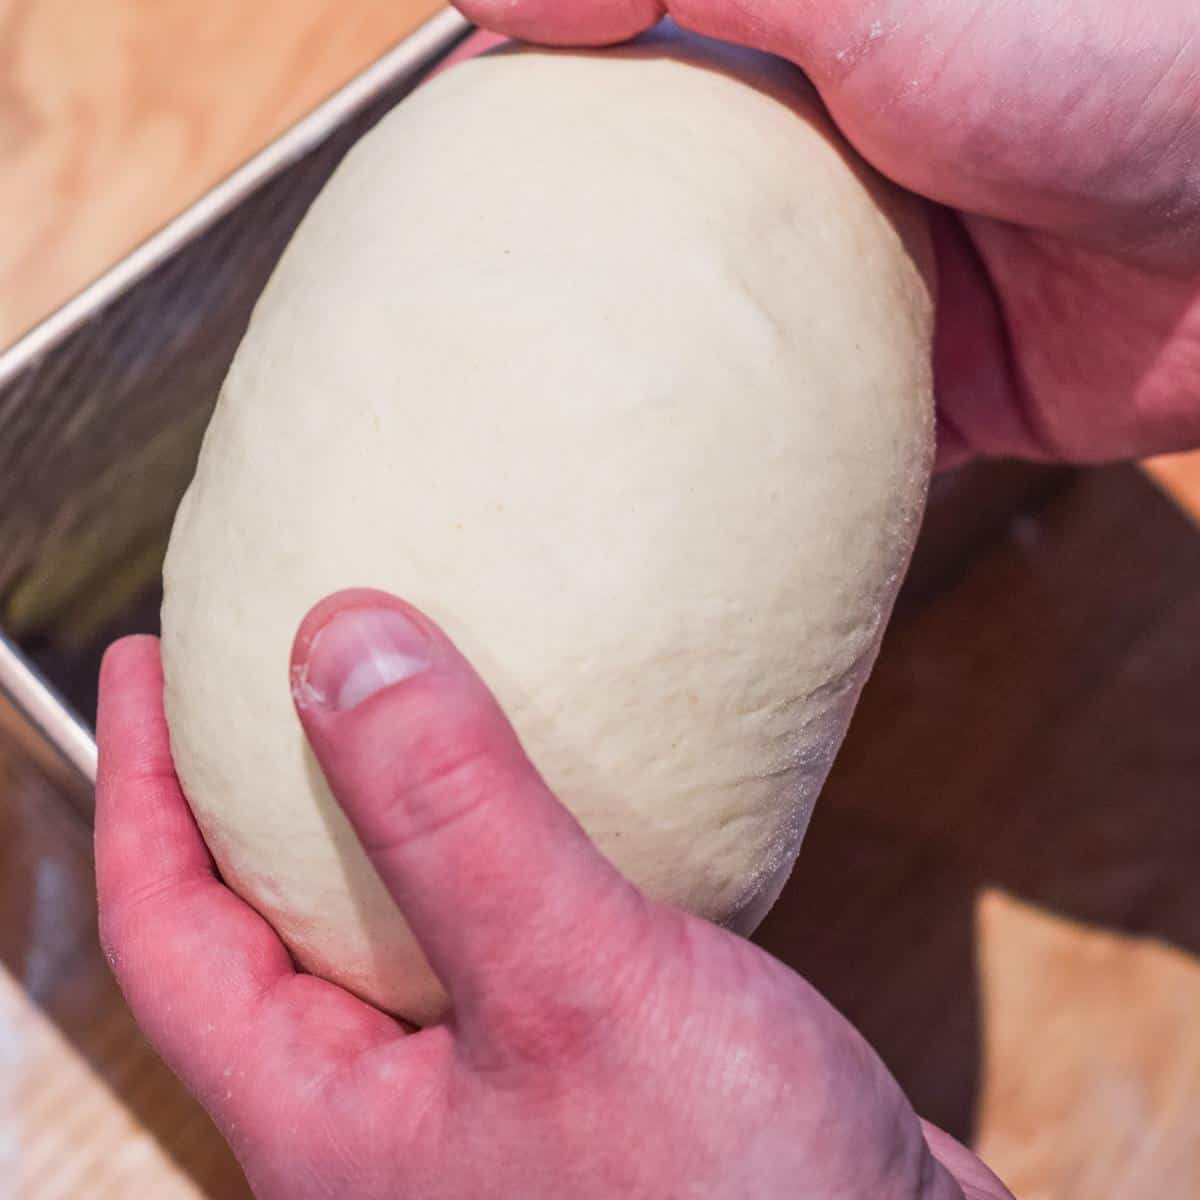
- Step 7: This should roll into an oval shape. Place this into your pullman tin ready for the second prove.

- Step 8: Let the bread dough rest for the second prove - again until almost double in size again. You can put the lid on the tin for this part. Preheat the oven to 200C.

- Step 9: With the lid on the tin, put the tin in the oven for 30 minutes. Once the time is up, take out and check the loaf. It should sound hollow when tapped.

- Step 10: Allow to cool on a wire rack before slicing. Serve and enjoy.
Making sure to allow the bread to cool down before you slice it up will be the difference between an easy to slice loaf and a bread which feels sticky. As difficult as it is to do, try your hardest to avoid slicing until full cool!
Hint: The Pullman bread tin should be greased before baking the bread. However you can use a bread tin liner before the dough goes in to keep things nice and clean. Make sure to get the right size for your loaf tin. Loaf tin liners for baking bread normally come in a 1lb liner size and also a 2lb liner size.
How much dough do you need for a Pullman tin?
Fill a Pullman tin about two-thirds full with dough before the final prove. The dough then rises to just below the lid and bakes into the corners as it expands. Too little dough and the loaf will not reach the top or the corners. Too much and it can force the lid open or bake into a tight, dense crumb.
The table below is a starting guide for the common tin sizes. Use it alongside the fill level, since tin dimensions vary between brands.
| Tin size | Common dimensions | Dough to use | Makes |
|---|---|---|---|
| 1lb (450g) | Around 21 x 10 x 10 cm | The recipe as written (400g flour) | One small square sandwich loaf |
| 2lb / 2.2lb (900g to 1000g) | Around 23 x 10 x 10 cm (9x4x4 inch) | The 2x option in the recipe card, then check the fill | One large square loaf |
| Extra-long (13 inch) | Around 33 x 10 x 10 cm | Scale up from the recipe card and check the fill | One long loaf for bigger batches |
I bake with the 1lb tin and prefer smaller loaves so I can freeze them in the quantities I want. If your tin is a different size, weigh your dough the first time and note what gives you a two-thirds fill, then use that figure every time.
⌚ Pullman loaf tin cooking times
Baking in an oven
The loaf should be cooked in a preheated oven for around 30 minutes for a 1lb (450g) loaf or 40 minutes for a 2lb (1000g) loaf. The oven temperature should be set to 200°C (390°F). The tin can be placed directly on the oven shelf and the lid of the Pullman tin should be closed.
Cooking in an air fryer
Using a Ninja Foodi you can utilise the steam bread mode for the cook. Making sure the air fryer is prepared with the roast tray at the bottom, pour in 300ml of warm water (hotter water allows a faster pre heat steam process). Then switch on at 175°C for 30 minutes. The pre-steam will build up and then begin the bake.
Which Pullman tin should you buy?
Choose your tin by how much bread you want to make rather than by brand. A 1lb tin makes one small square loaf, which I find easier to freeze in the amounts I use. A 2lb tin makes a larger loaf if you want fewer, bigger bakes. Most Pullman tins are aluminised or non-stick steel with a sliding lid. The main things to check are that the lid slides freely and the tin feels sturdy, since a thin tin can warp over time.
| Tin | Best for | What to check |
|---|---|---|
| 1lb (450g) Pullman tin | Small loaves, easy freezing, first-time bakers | Lid slides smoothly, fits your oven and air fryer |
| 2lb / 2.2lb Pullman tin | Larger single loaves, batch sandwiches | Heavier gauge steel so it does not warp |
| Extra-long Pullman tin | Long sandwich loaves, bigger batches | Even greasing along the full length |
I bake with the 1lb tin. Check the latest price on Amazon UK.
If you want a larger loaf, the 2lb size is the usual next step. Check the latest price on Amazon UK.
🆘 Pullman loaf baking tips
My Pullman loaf collapsed in the tin?
If you find at the end of you bake that the bread dough has collapsed and the bread has not risen then it may be that the dough was under or over proved. Check the level of yeast being added and the salt is right too. For guidance on the calculations have a look at the bread hydration calculator utility.
For guidance, this recipe is 62.5% hydration, which means for the 400g of flour we use 62.5% of that amount as water (250ml to be precise).
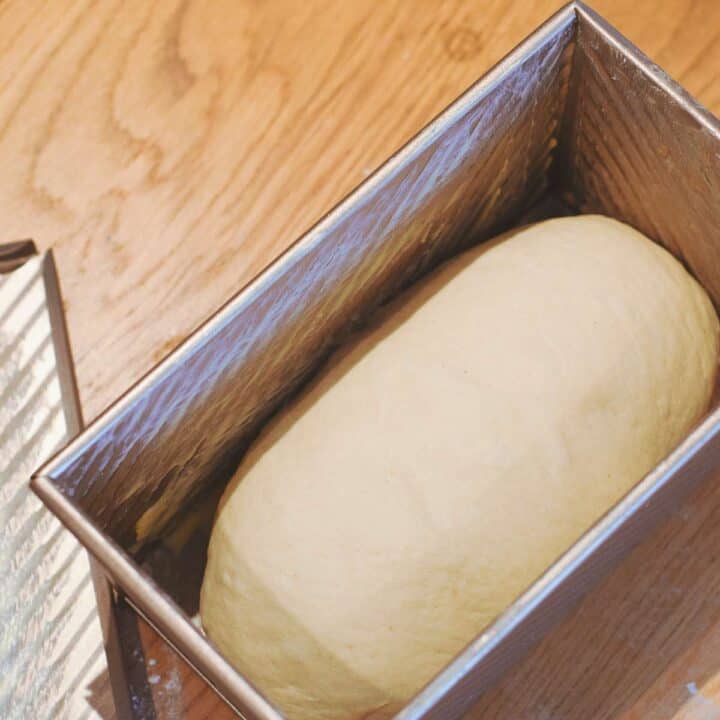
💧 Measuring fluids - Top Tip
Note that when it comes to water, grams and millilitres are interchangeable so this means 200ml of water is the same as 200g of water.
🧈 Substitutions for basic white bread ingredients
The main information in this post relates to the baking method and the tin that is used however there are some substitutions to the recipe shown here. This means you can make it a bit more healthy or add some twists to the loaf to spice things up.
- Sugar - try adding honey in place of the sugar, again using 1 table spoon. This is a more natural ingredient and works well with the oil.
- Oil - using olive oil instead of vegetable oil will be a little more healthy on the heart.
- Wholemeal flour 50/50 - you can make this recipe with half wholemeal flour and half white bread flour. This will make a 50/50 best of both loaf which will still be an excellent sandwich bread.
The recipe is full vegetarian and if you omit the butter then the bread can be made as a fully vegan Pullman loaf recipe too.
🍽 Variations on a Pullman loaf
The bread can be made into a dessert or continental type loaf (a lot sweeter) by adding the following to the dough:
- Eggs - adding an egg is one of the extra ingredients required to create an enriched dough. This will give it some extra rise and some lighter taste.
- Chocolate chips - at the point of rolling the dough into the loaf shape, sprinkle on some chocolate chips into the dough so they melt in when baked. This will give it a 'pain au chocolat' style to the bread.
🍴 How to use a Pullman loaf tin
The key piece of equipment when it comes to this recipe is the Pullman loaf tin. In my recipe here I am using a 1lb Pullman loaf tin (450g Pullman loaf tin) which will bake a small sandwich loaf. There are other size tins of this type which you can use including an 1000g loaf Pullman tin (2.2lb tin) or even an extra long sandwich pullman loaf tin. If baking a 2lb loaf, use the 2x option in the recipe card (essentially doubling the ingredients).
Either of these tins are fine to use for the recipe with the decision being based on how much bread you want to make. I prefer to make more smaller loaves to be able to freeze them in the quantities I desire.
There are lots of brands available with one of the market leadings being the Kitessensu Pullman Loaf Pan with Lid.
Baking with a Pullman loaf tin
When cooking with the Pullman loaf tin I like to leave to lid on so that I am able to get the square effect of the loaf. It is possible to do an open bake with a Pullman loaf tin which means to bake some bread without the lid on. This just means the loaf will get taller and rise beyond the lid. It can look quite nice and will result in a less dense airy loaf. It's really up to your preference as to what type of bread you bake.
The holes underneath the Pullman tin will allow for steam to circulate. The ridged edges on the tin sides make for a nice shape on the crust once the bread is sliced.
❄ Storing bread once it is cooked
The bread will last a couple of days out in the open (you can even use your Pullman bread tin to store the loaf in also.
If prepared and stored in the freezer, the bread will be good for up to 6 months. You can use freezer safe sandwich bags to store the bread in. Make sure to get a larger size to allow for the width of the loaf.
You can slice the loaf once cooked and cooled down to give you a perfect sandwich loaf.
🌡 Top Tip - Freezing bread advice
If you are planning to freeze your bread, slice the loaf up before it goes in the freezer. That way, when you only need a couple of slices out for a sandwich it is really simple to take out and use without needing to defrost the whole loaf of bread.
❔ FAQ
The key to a good slice loaf is to bridge your hand between the slice being cut and the main loaf. This will stop the bread falling away and allow you to cut evenly. A good quality bread knife is important to have to be able to cut bread successfully.
The Pullman tin can go in the air fryer and can be used to make a loaf of bread using the bread prove mode. I use a Ninja Foodi 15-in-1 air fryer multi pot and the 1lb Pullman loaf tin fits perfectly in the main container. Follow my white loaf in a Ninja Foodi recipe on how to make this.
The holes allow for air circulation at the bottom of the tin which in turn makes for a more even cook. It also allows steam to flow so the bread does not get soggy.
Fill a Pullman tin about two-thirds full with dough before the final prove. The dough then rises to just below the lid and bakes into the corners as it expands. Too little dough and the loaf will not reach the top or the corners. Too much and it can force the lid open or bake into a tight, dense crumb.
🥪 Related recipes similar to a Pullman loaf
Looking for other recipes like this? Try these:
💘 Pairings for a sandwich bread loaf
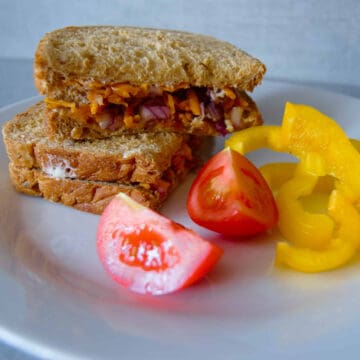
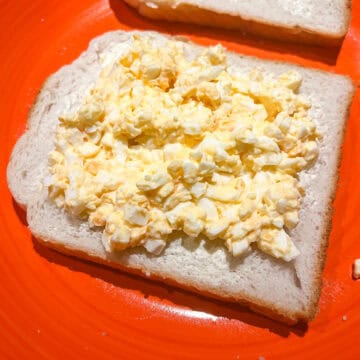
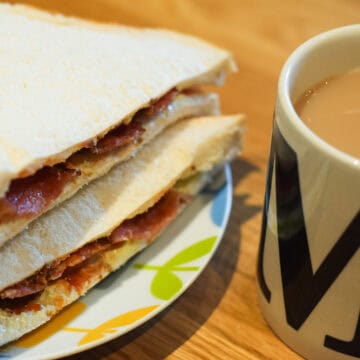
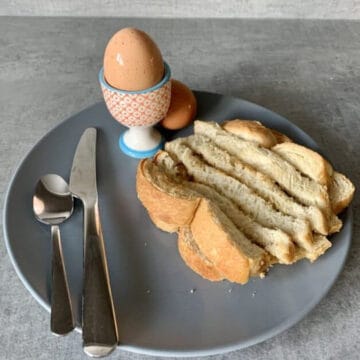
These are some suggestions for recipes you can make using the bread using a Pullman loaf tin:
The Recipe
Square Sandwich Bread in Pullman Loaf Tin
Equipment
- 1 Pullman loaf tin (small) This recipe is for a 450g (1lb) loaf tin
- 1 Pullman loaf tin (large) This is for a larger 900g (2lb) tin
Ingredients
- 400 g Bread flour
- 250 ml Water ml or g, they are the same when it comes to water
- 1½ teaspoon Yeast
- ½ tablespoon Salt
- 1 tablespoon Sugar
- 1 tablespoon Oil See instructions for oil types
- 50 g Stork for greasing the tin. Butter will also work
Instructions
- Mix the 400g flour, yeast, salt and sugar ingredients in a bowl. Mixing the dry ingredients together will help combine things for a more even dough.400 g Bread flour, 1½ tsp Yeast, ½ tbsp Salt, 1 tbsp Sugar
- If using a stand mixer, mix with a dough hook attachment for at least 5 minutes on speed 1 (Kenwood K-Mix & Kitchen Aid) and then speed 2 for another 5 minutes. Gradually add the water and oil during the first minute of mixingIf you are kneading by hand, work the dough for around 10 to 12 minutes until it begins to resist and the dough starts to firm up adding the water and oil gradually.Once kneaded, leave to rise in a greased mixing bowl until just under double in size (around 60 to 90 minutes). This time will depend on the yeast activity and your room ambient temperature.250 ml Water, 1 tbsp Oil
- In the meanwhile, grease your Pullman loaf tin with unsalted butter or stork. You can also use an olive oil spray for ease. Make sure to spray the underside of the lid as well as the main tin.If using Stork or butter, use a piece of kitchen roll with the butter on it to rub it all around. The important parts are to get this into the corners and bottom edges to avoid the bread sticking.50 g Stork
- Once the dough has risen to just below double in size, flour a work surface and tip out.
- Stretch the dough out into a rectangular shape ready for shaping.
- Working along the dough from the edge nearest to you, roll into a loaf shape, tucking the sides in as you go. Keep the outer edge as tight as possible as a tight skin on the dough will provide a more even rise.

- This should roll into an oval shape. Place this into your Pullman tin ready for the second prove.
- Let the bread dough rest for the second prove - again until almost double in size again. You can put the lid on the tin for this part. At this point, preheat the oven to 200℃ (390℉).
- With the lid on the tin, put the tin in the oven for 30 minutes and bake at 200℃. Once the time is up, take out and check the loaf. It should sound hollow when tapped.
- Allow to cool on a wire rack before slicing. Serve and enjoy.
Notes
Baking tips
The guide times for baking are above, I've found that 30 minutes is a good time for a nice colour loaf (based on 450g of dough). If using a bigger tin such as the larger 1000g (2lb) tin then you may want to consider baking a little longer - around 40 minutes. You can bake a bit longer for a darker crust but check as the bake goes on to ensure you don't burn the edges. To finish off the loaf and get a more colourful top, take the lid off for the last 10 minutes of baking. You can tell the bread is baked when removing the lid and tapping on the loaf. If it sounds hollow then the bread is cooked.Cleaning the tin
You should never really put bread tins in the dish washer. The best way to clean these is to wipe with some kitchen roll to get rid of any residual grease and then use warm soapy water to wash it. Wait for it to dry thoroughly before putting away.Nutrition
More posts like this

7 responses to “Square Sandwich Bread in Pullman Loaf Tin”
-


Makes a great loaf that looks professional. -
This bread is so easy to make but also looks great. I've used it for sandwiches for the kids. The freezing tips work well too. Thanks! -
Great recipe, easy to follow and wields great bread! -
This is so easy. Thanks! -
Is this recipe for the 1lb loaf or the 2lb?
-
Hi Jared, thanks for your note. The basic recipe here is for the 1b (400g) version. If baking a 2lb loaf, use the 2x option in the recipe card (essentially doubling the ingredients).
-
Hi Jared,
This is for the 400g (1lb) tin. But you can use the 2x in the recipe card to get the 2lb version.
-


Leave a Reply