


Affiliate Disclosure As an Amazon Associate I earn from qualifying purchases. This post may contain affiliate links. For more details, refer to my Disclaimer page.
I want to make the most of my 15 in 1 Ninja Foodi air fryer steam function so with my addiction to bread making, it only seems right that I make some Ninja Foodi 15 in 1 White Bread. Let me show you how I did this.
This is a post explaining how to bake a loaf of white bread in the Ninja Foodi 15 in 1 air fryer multi cooker.

This bread is baked using the 'Prove' and then the 'Steam Bread' function of the Ninja Foodi 15 in 1 air fryer. There are 5 sections to this bake:
- Mix the dough - Stand mixer
- First Prove - Air fryer 'Prove' mode
- Shape the dough - See the Shaping the dough video
- Second Prove - Air fryer 'Prove' mode
- Bake - Air fryer 'Steam Bread' mode

While this looks like a lot of sections to follow, the timings are quite simple and you can get a loaf made easily with accurate ambient temperatures able to be set.
Contents
Ingredients
The bread in this recipe is a basic 4 ingredient white loaf (flour, salt, water, yeast). You can use this method for lots of different breads but the timings are generally quite standard.
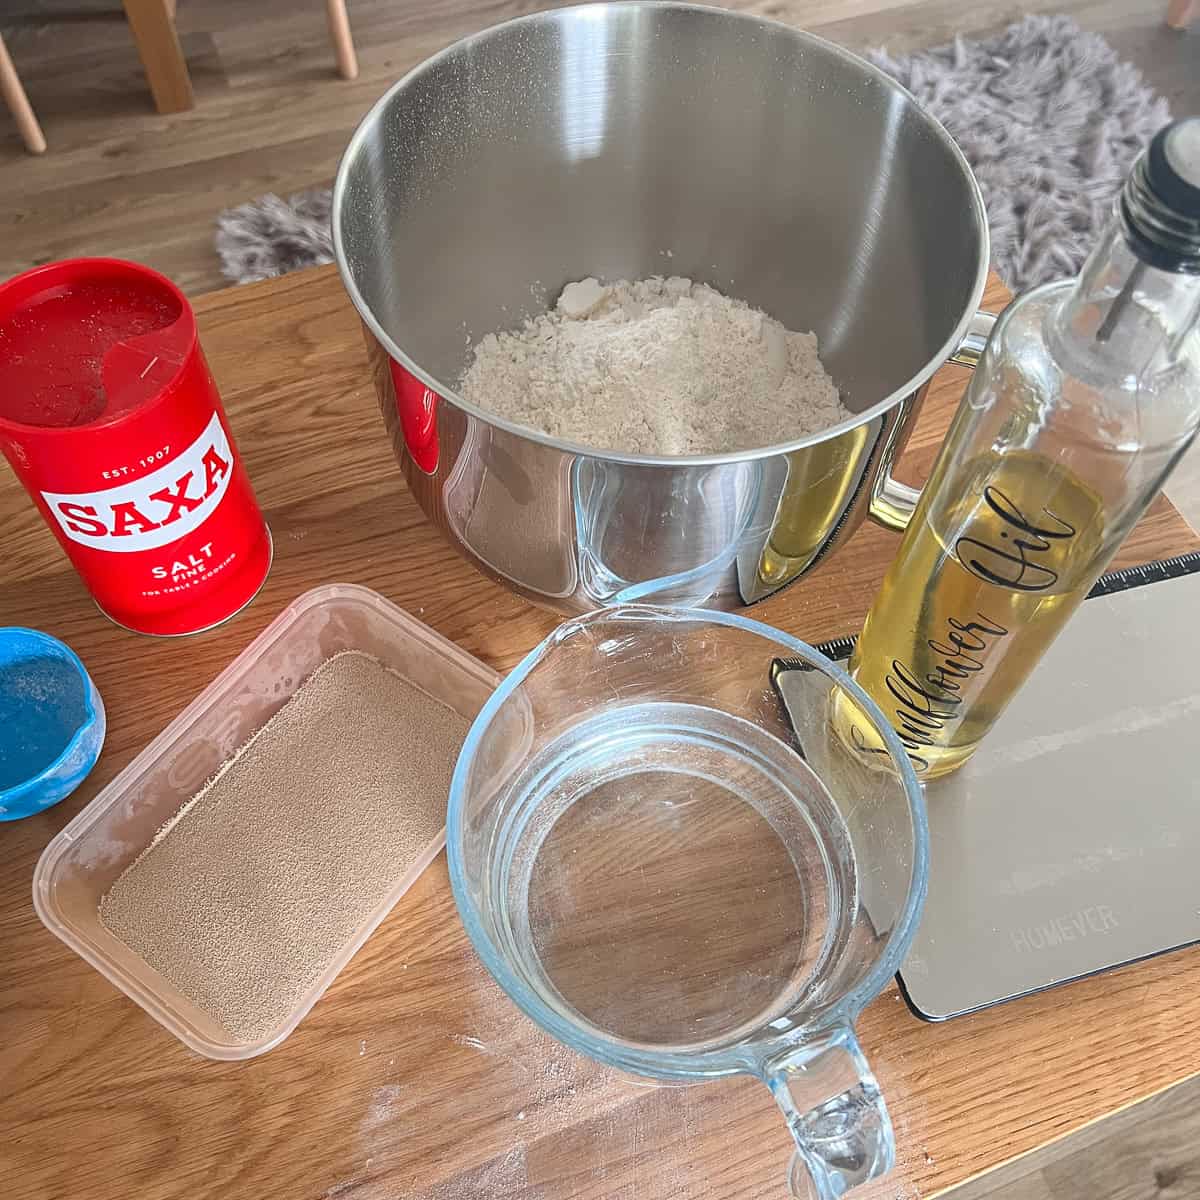
- Water
- Bread flour
- Salt
- Yeast
- Oil (for greasing)
See recipe card for quantities.
Equipment
Air Fryer with Steam Bake
There are a few pieces of equipment I use in this recipe which make it different from my other recipes. Firstly, the Ninja Foodi 15 in 1 Air Fryer. I expect the fact you have found this post will mean you want to bake bread using the Steam Bread function of your air fryer.
Any air fryer which offers the Steam Bake, Prove or Steam Bread function will work for this recipe but you may need to consult your manual. This post is for the Ninja Foodi. If you don't have one, you can always get one from Amazon.
Bread Tin for Air Fryer
I made my own tin for this by taking a normal bread baking tin (the thinner flimsy kind you can buy online like these) and then bending the short side sides up with a pair of pliers, and the long sides out. Below is the tin how it was (right) and what I did to mine (the battered looking tin on the left!)
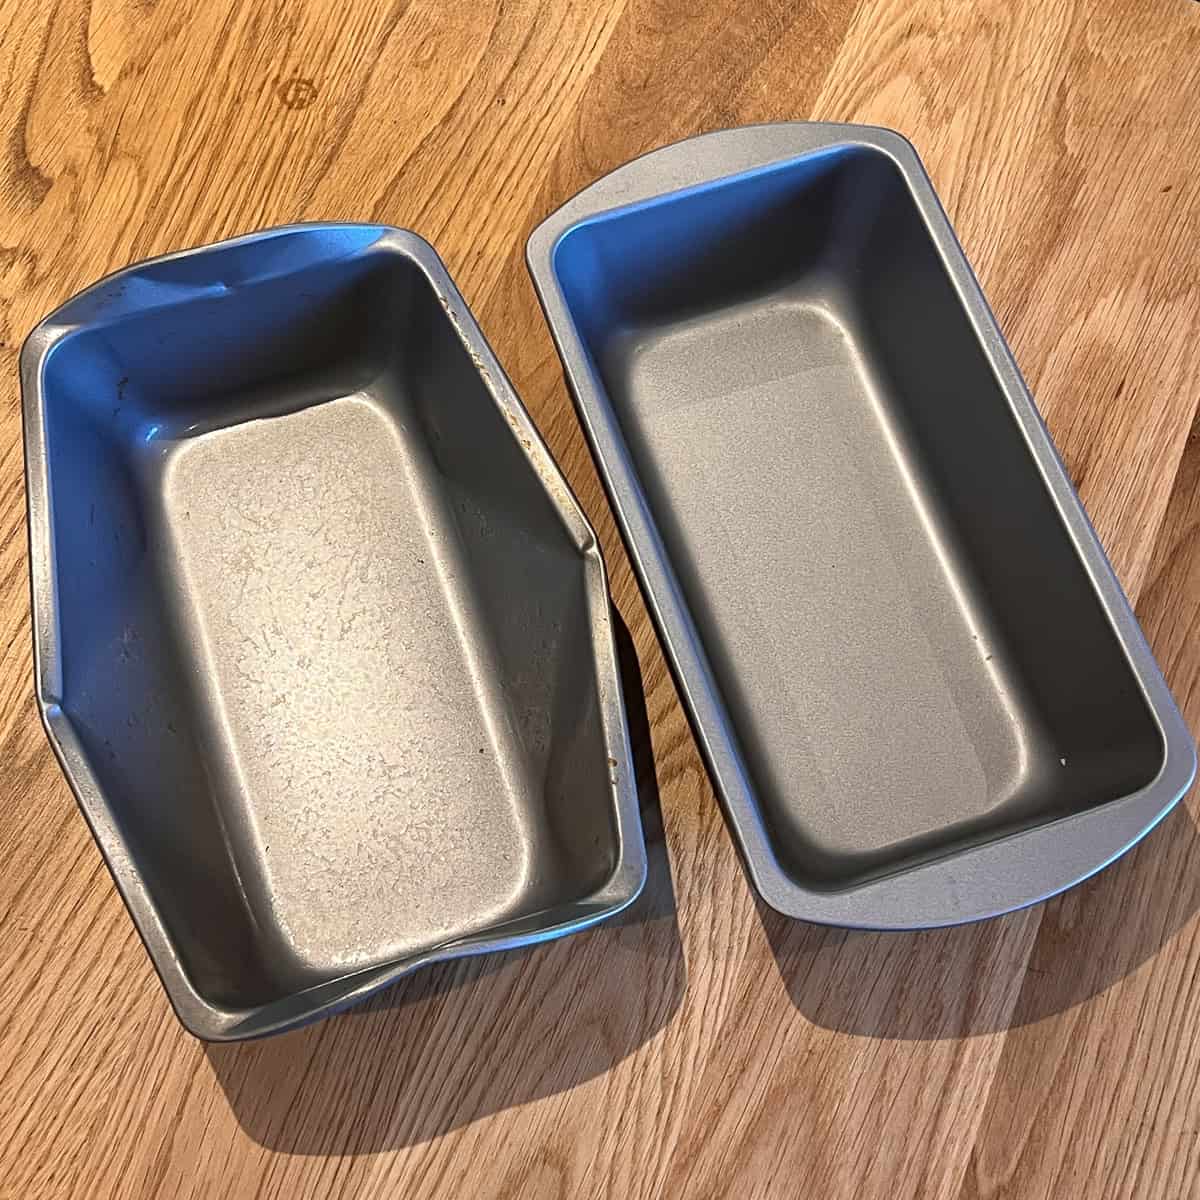
I didn't need to distort it out of shape too much, but just enough that it would fit in my air fryer. Obviously if you have an air fryer which will fit in the tin without changing it too much then great. I had to do this. I could of course have just bought a round bread tin, but where is the fun in that?
Instructions
This is a bit of a long winded explanation of how to make this and as mentioned above, there are a few stages to it. Trust me though, the bread is tasty.
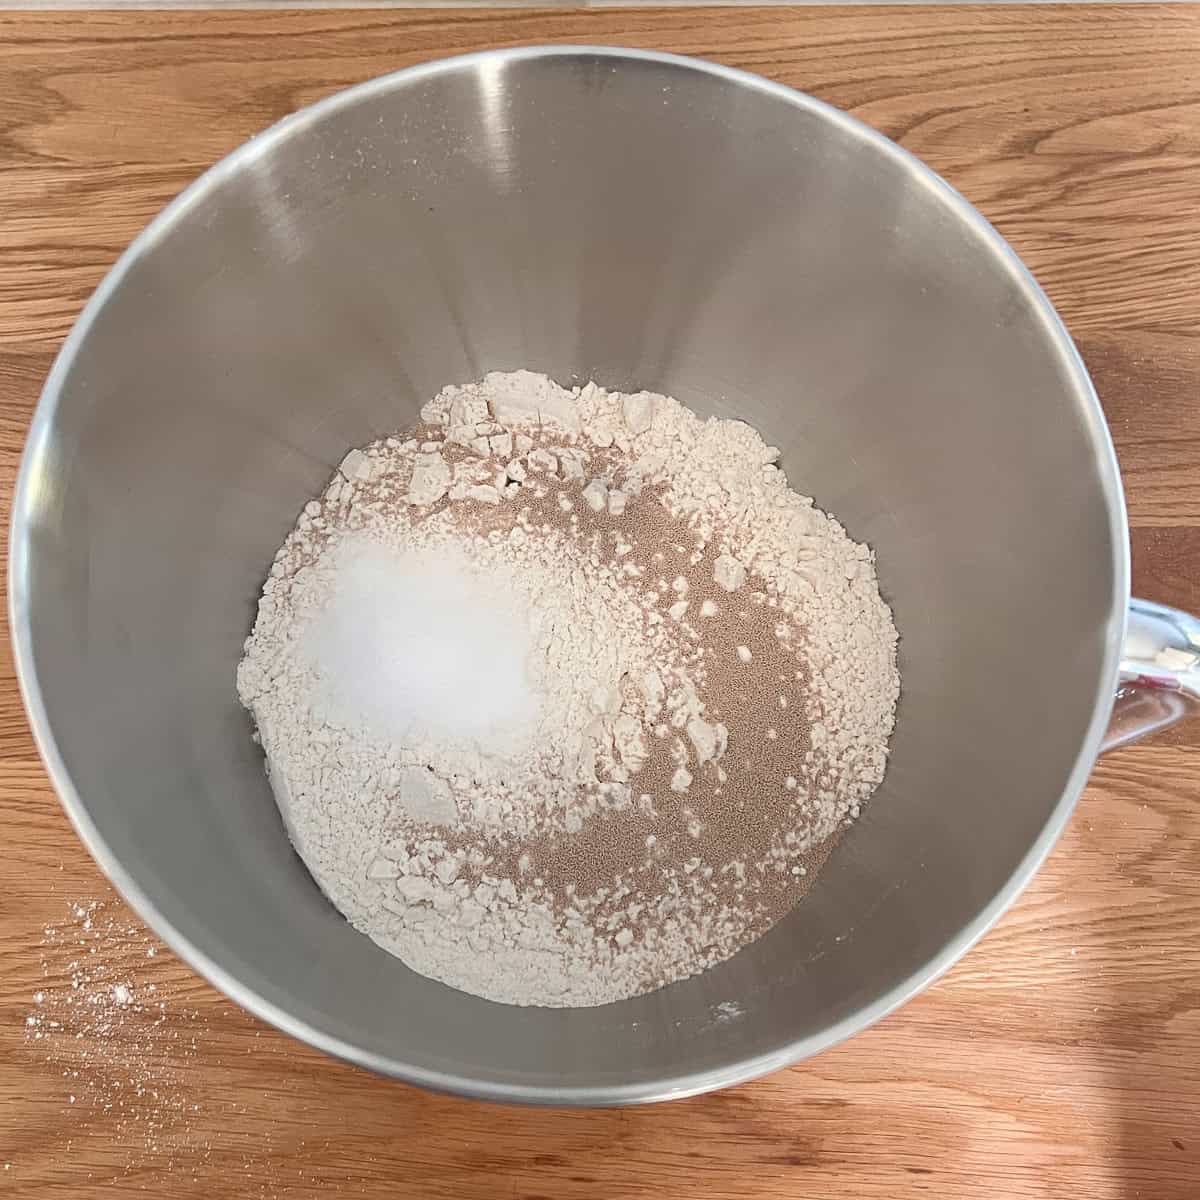
- Place all the ingredients in the mixing bowl.
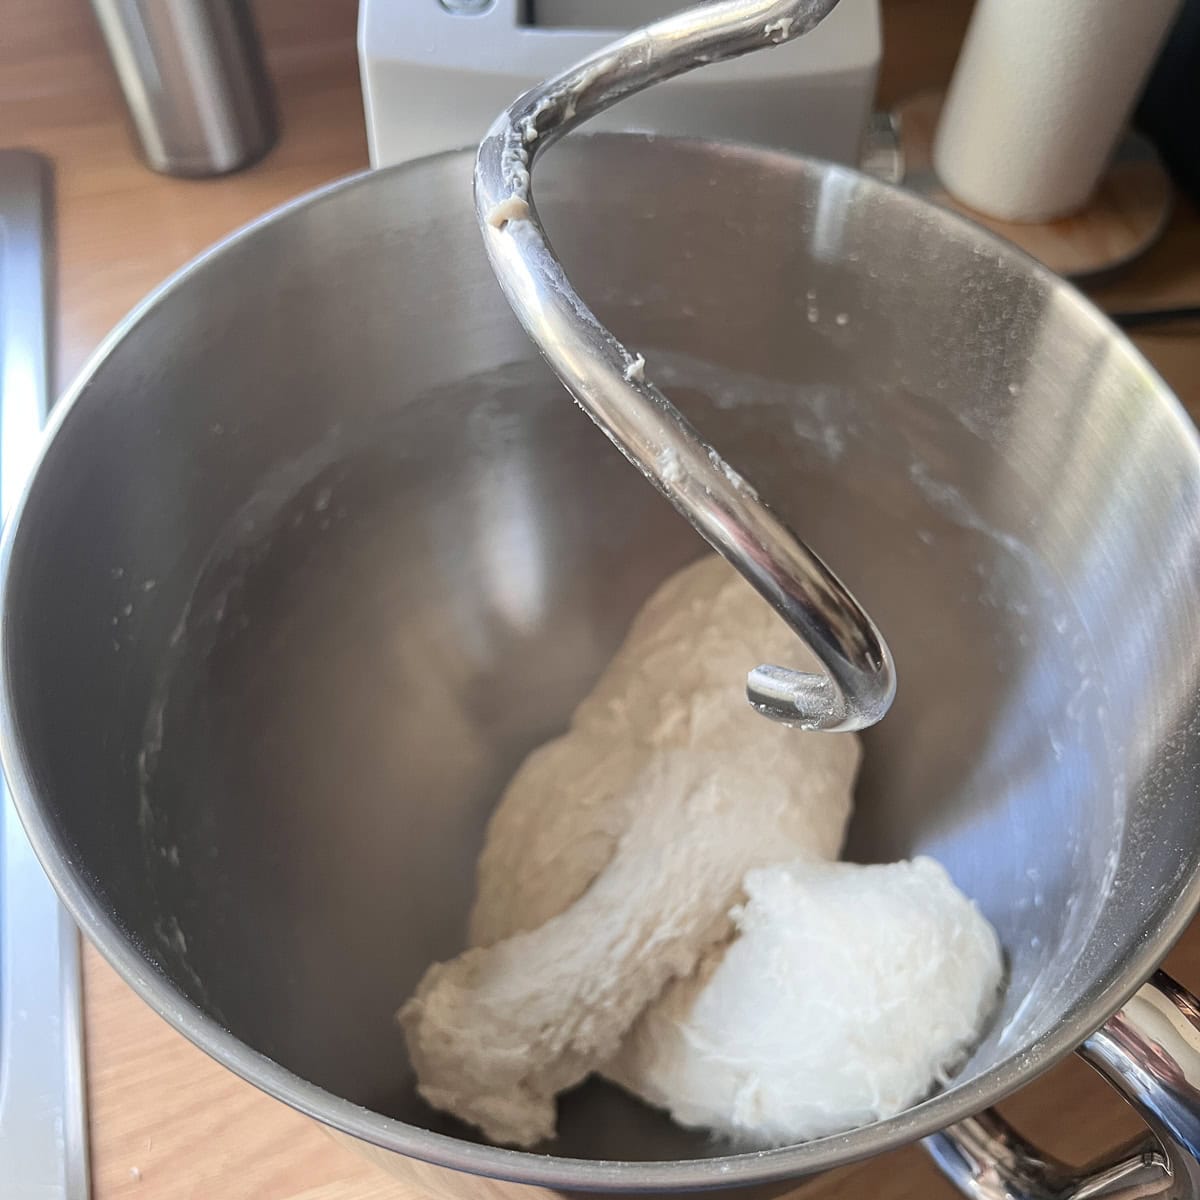
- Mix with a stand mixer for 5 minutes on low speed with a dough hook attachment. After 5 mins let it stand for 5 minutes.

- After the rest time, mix for a further 5 minutes. The dough should be smooth and come away from the edge of the bowl.
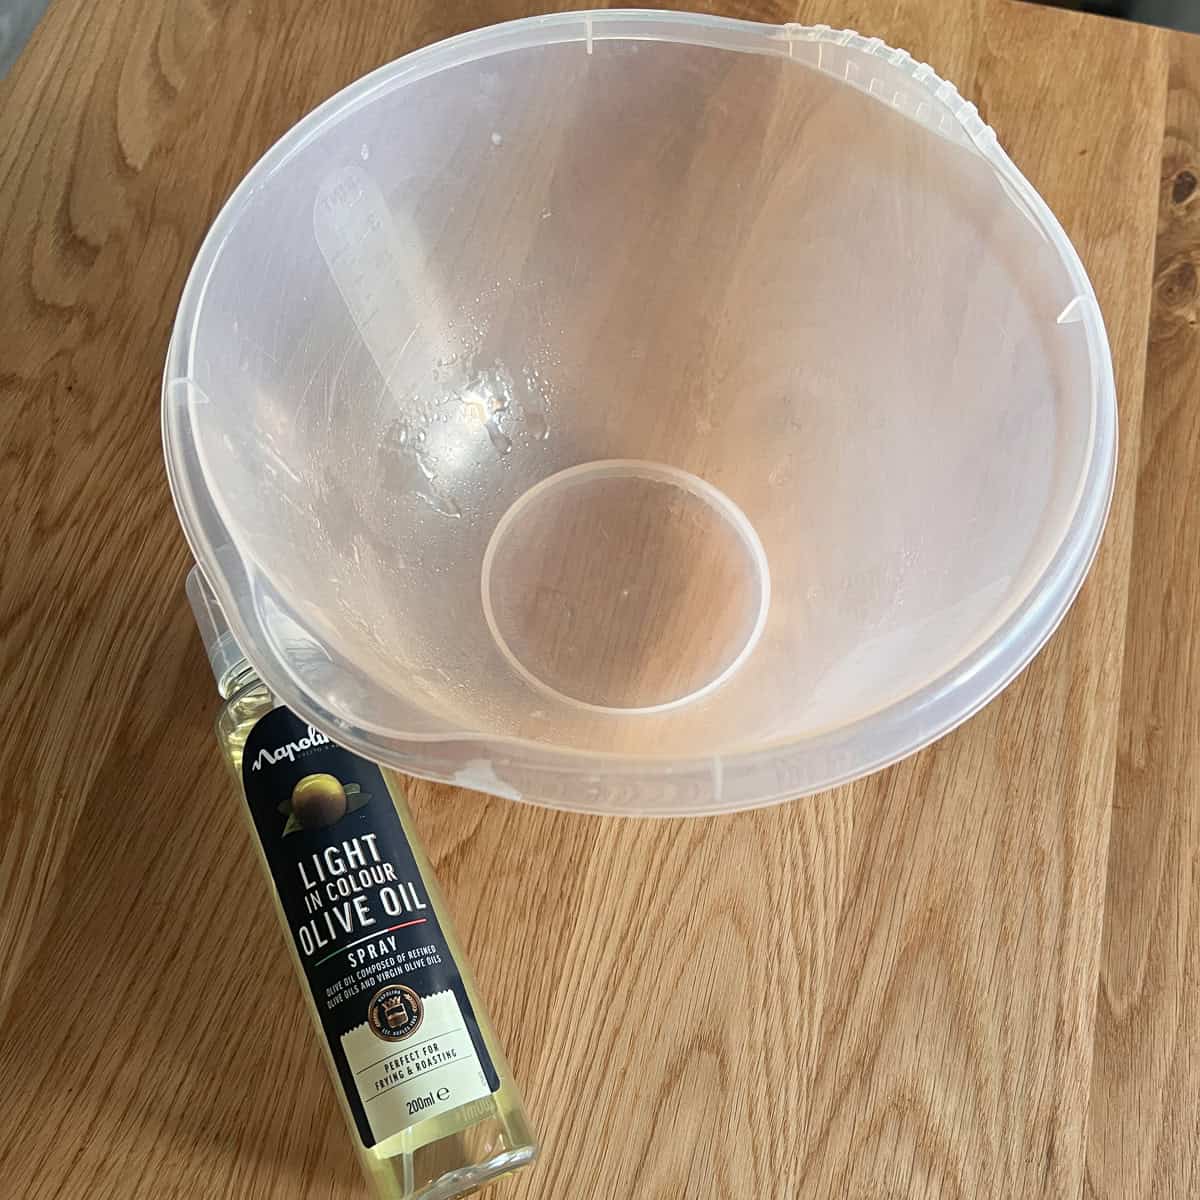
- Grease a smaller mixing bowl (one which will fit in your air fryer) using spray oil or cooking oil. Just a light coating.
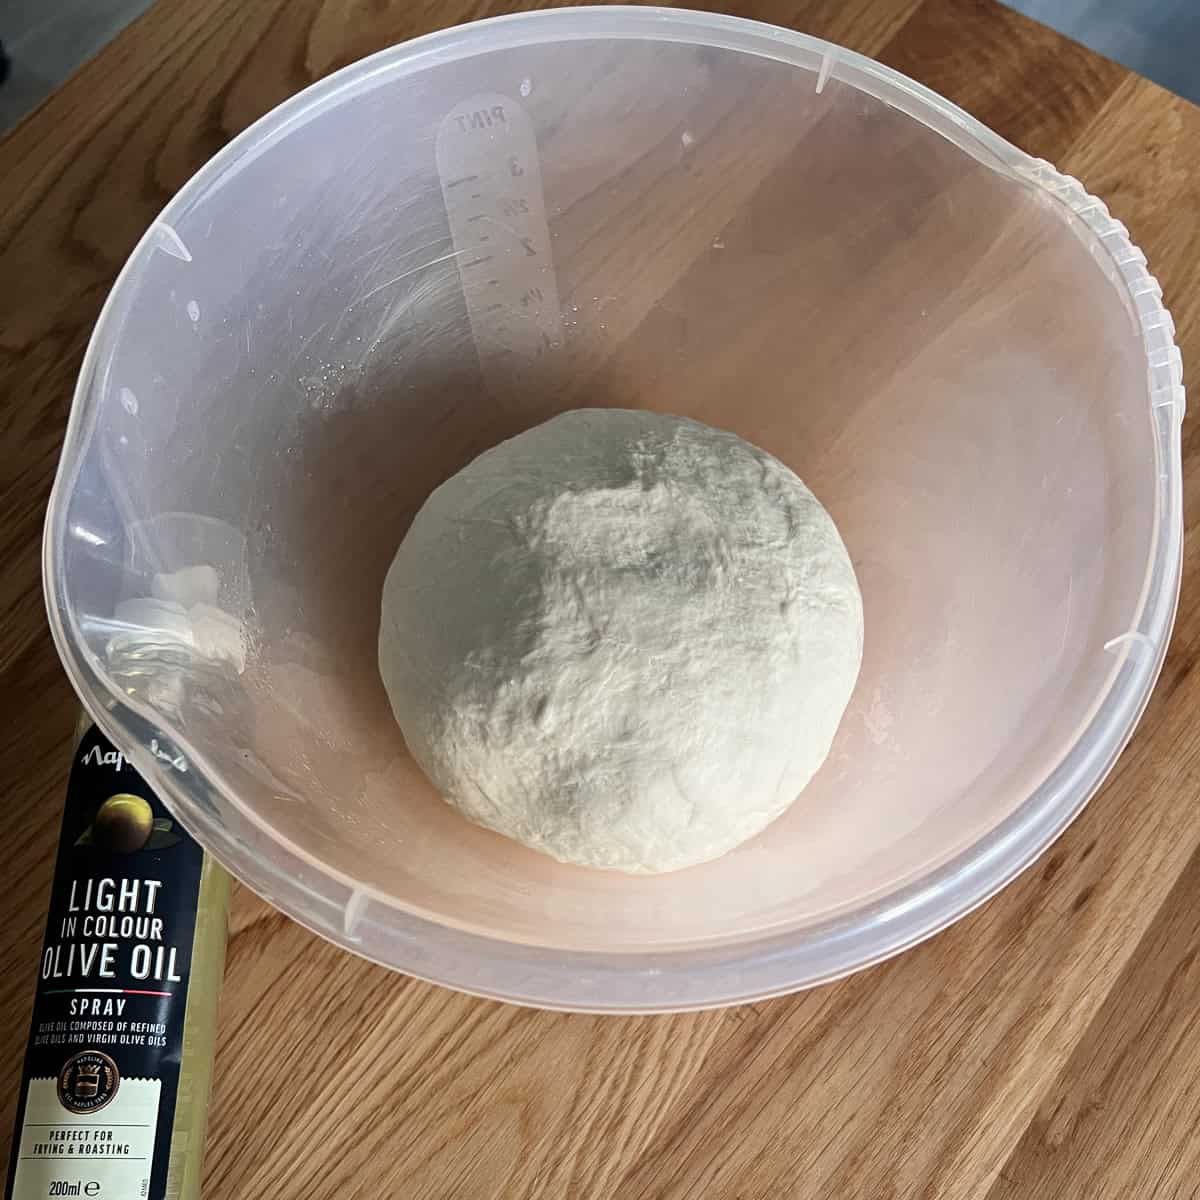
- Form the mixed dough into a smooth ball and place in the greased bowl.
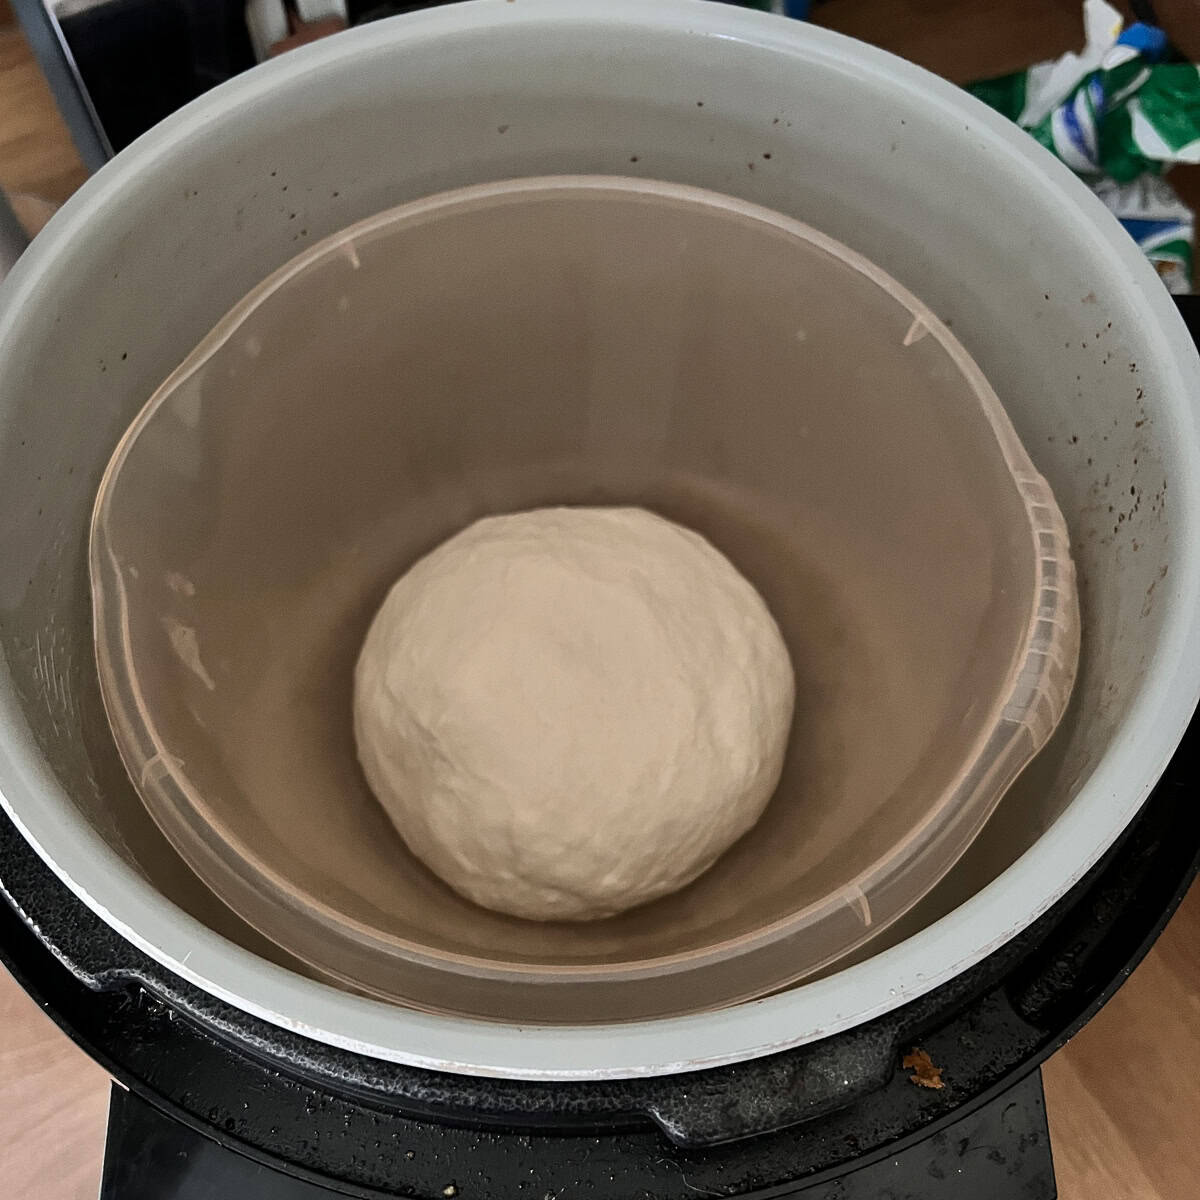
- Place this bowl containing the dough into the air fryer main pot. No roast plate or mesh needed, just put the mixing bowl directly in the pot. (A plastic mixing bowl is ok, the air fryer won't get hot in the 'Prove' process.)
Prove 1 - 60 to 90 mins at 25c
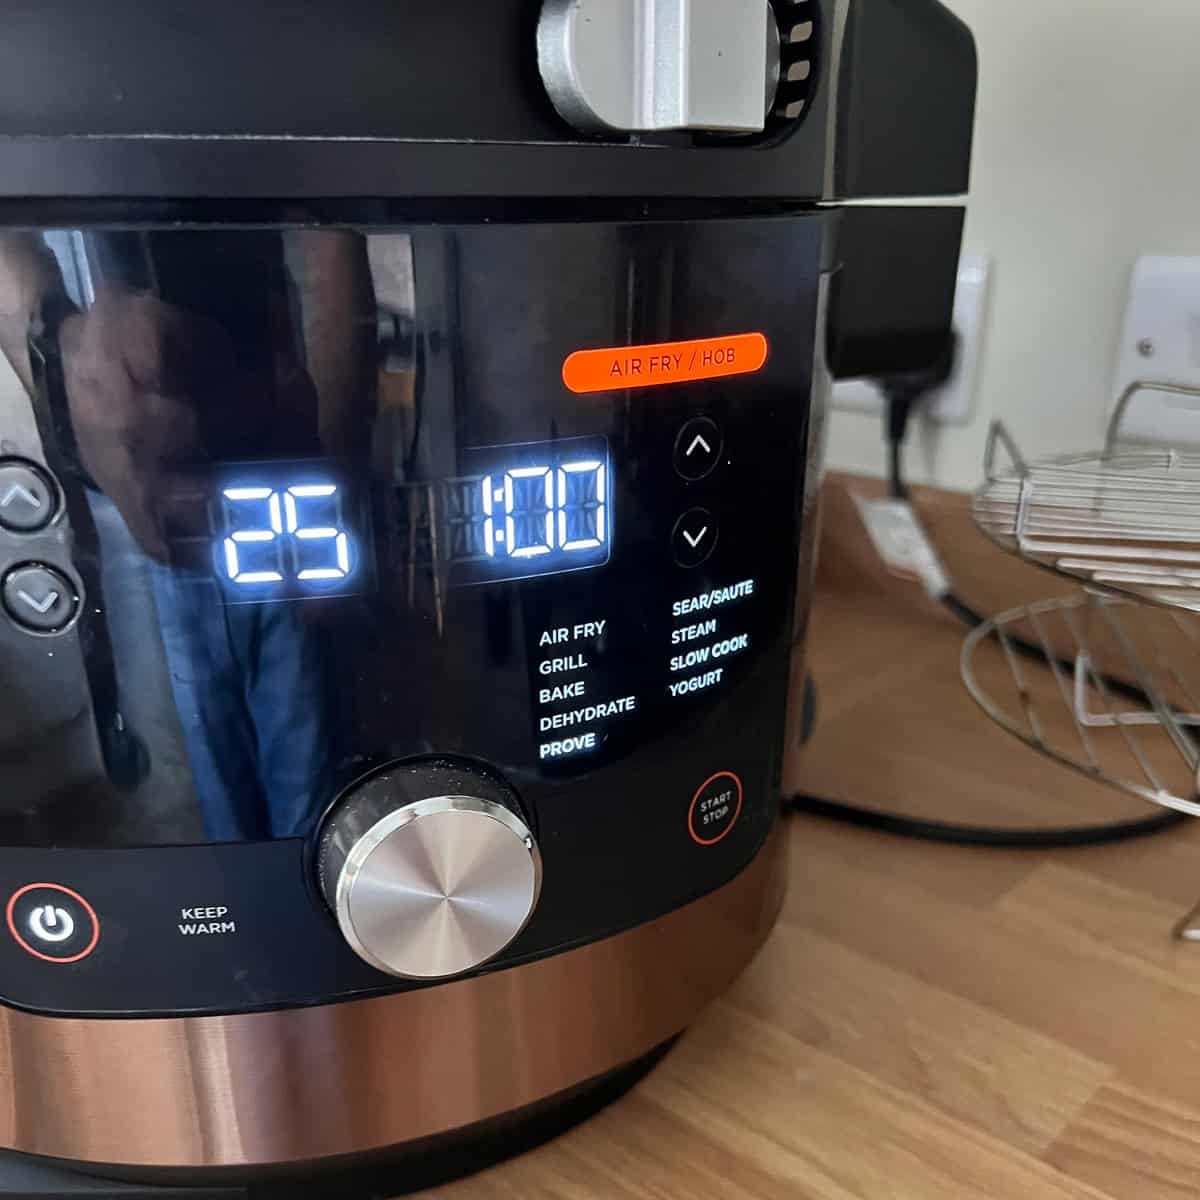
- Set the air fryer to 'Prove' for 1 hour at 25c degrees.
The vent valve on the top should be open.
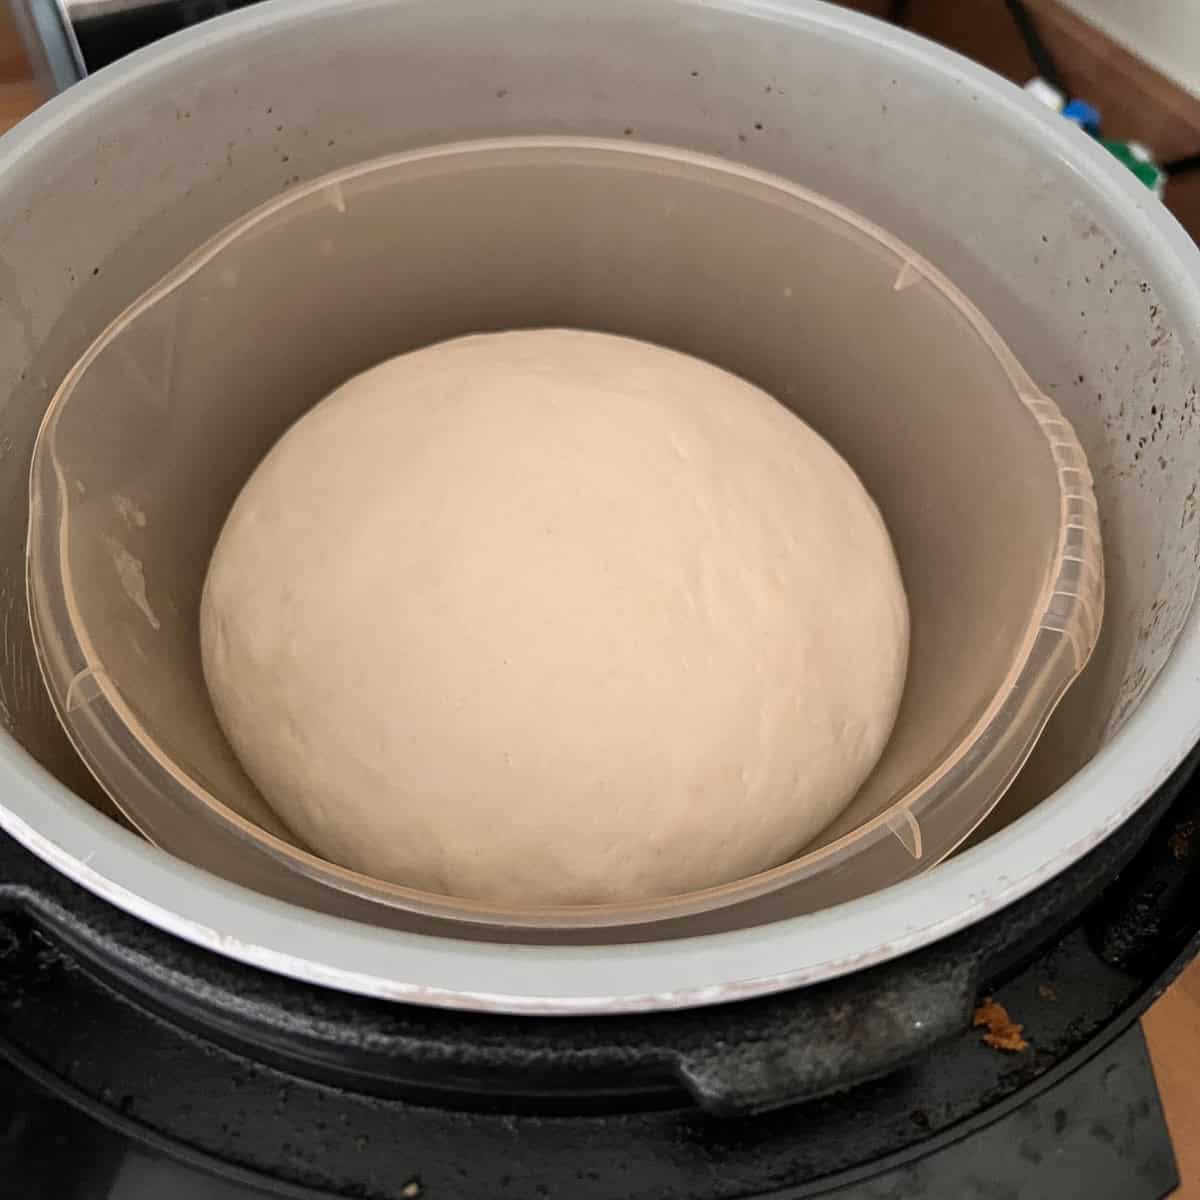
- Check on it after 1 hour. If still not doubled in size, give it another 20 to 30 minutes.
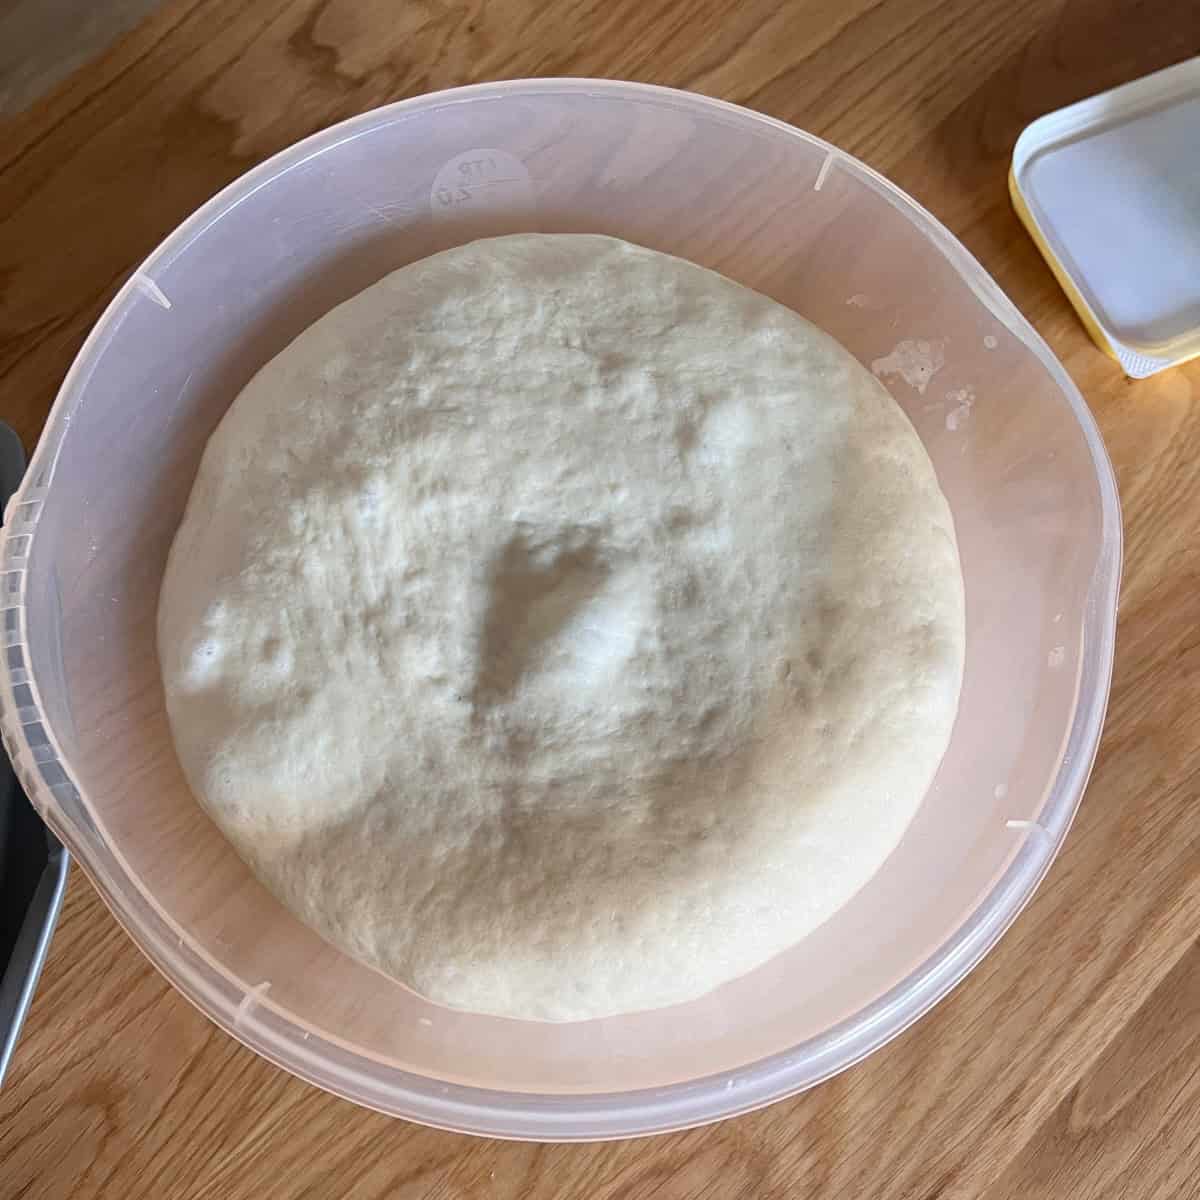
- Once doubled, the dough is ready to shape.
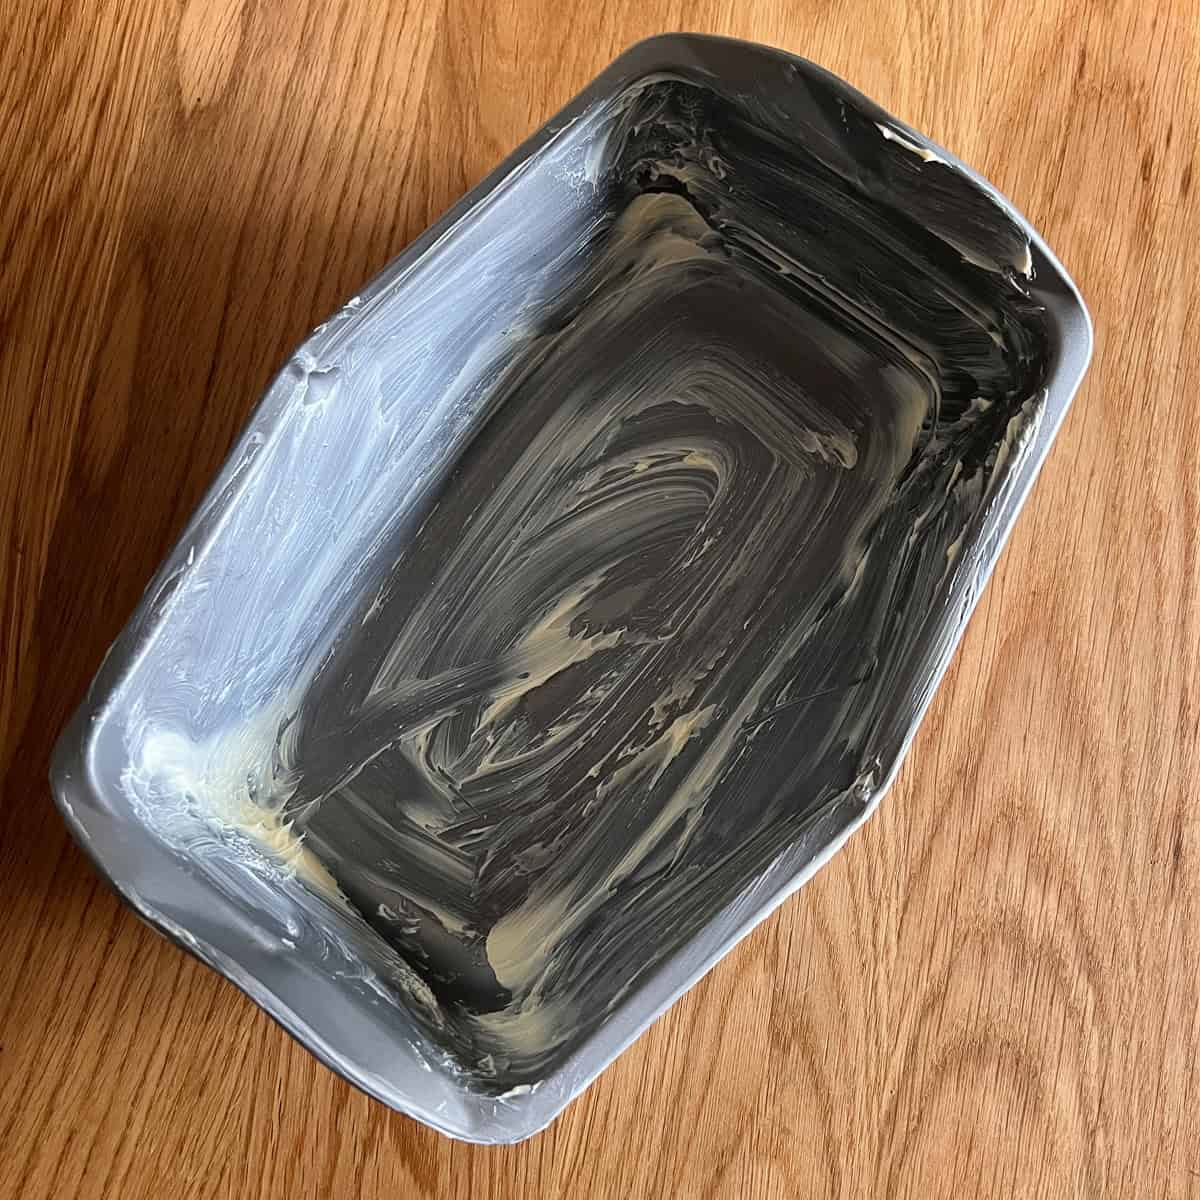
- Prepare the bread tin by greasing with Stork or oil.
Shaping & Prove 2 - 45 minutes at 35c
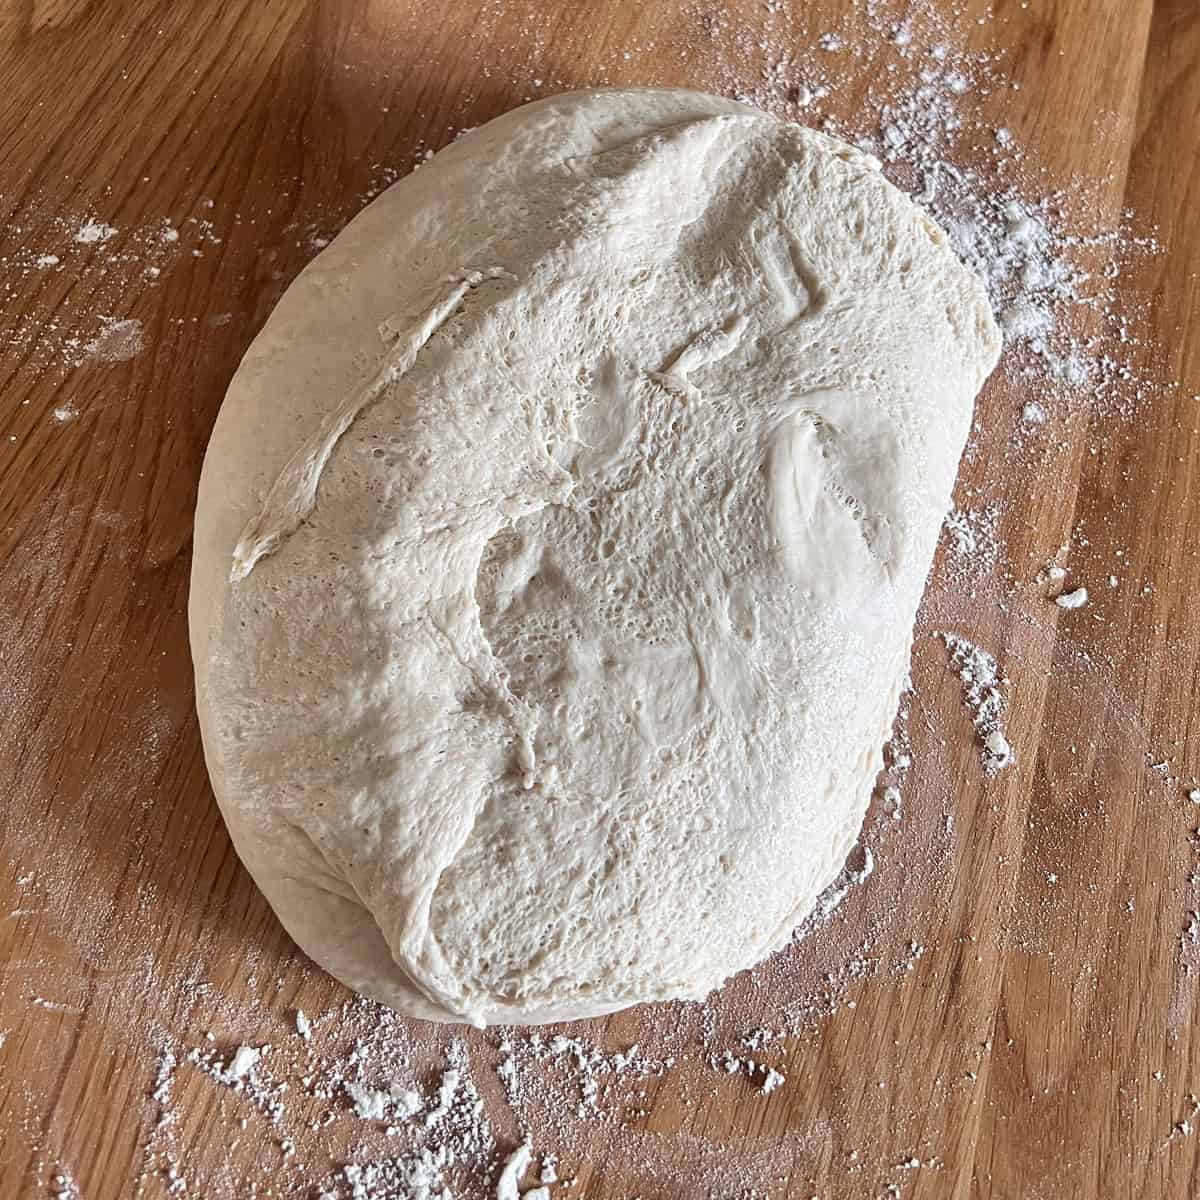
- Spread the dough on a floured surface and shape as shown in the video. Place the shaped dough into the greased bread tin.

- Place the greased bread tin and dough back into the air fryer.
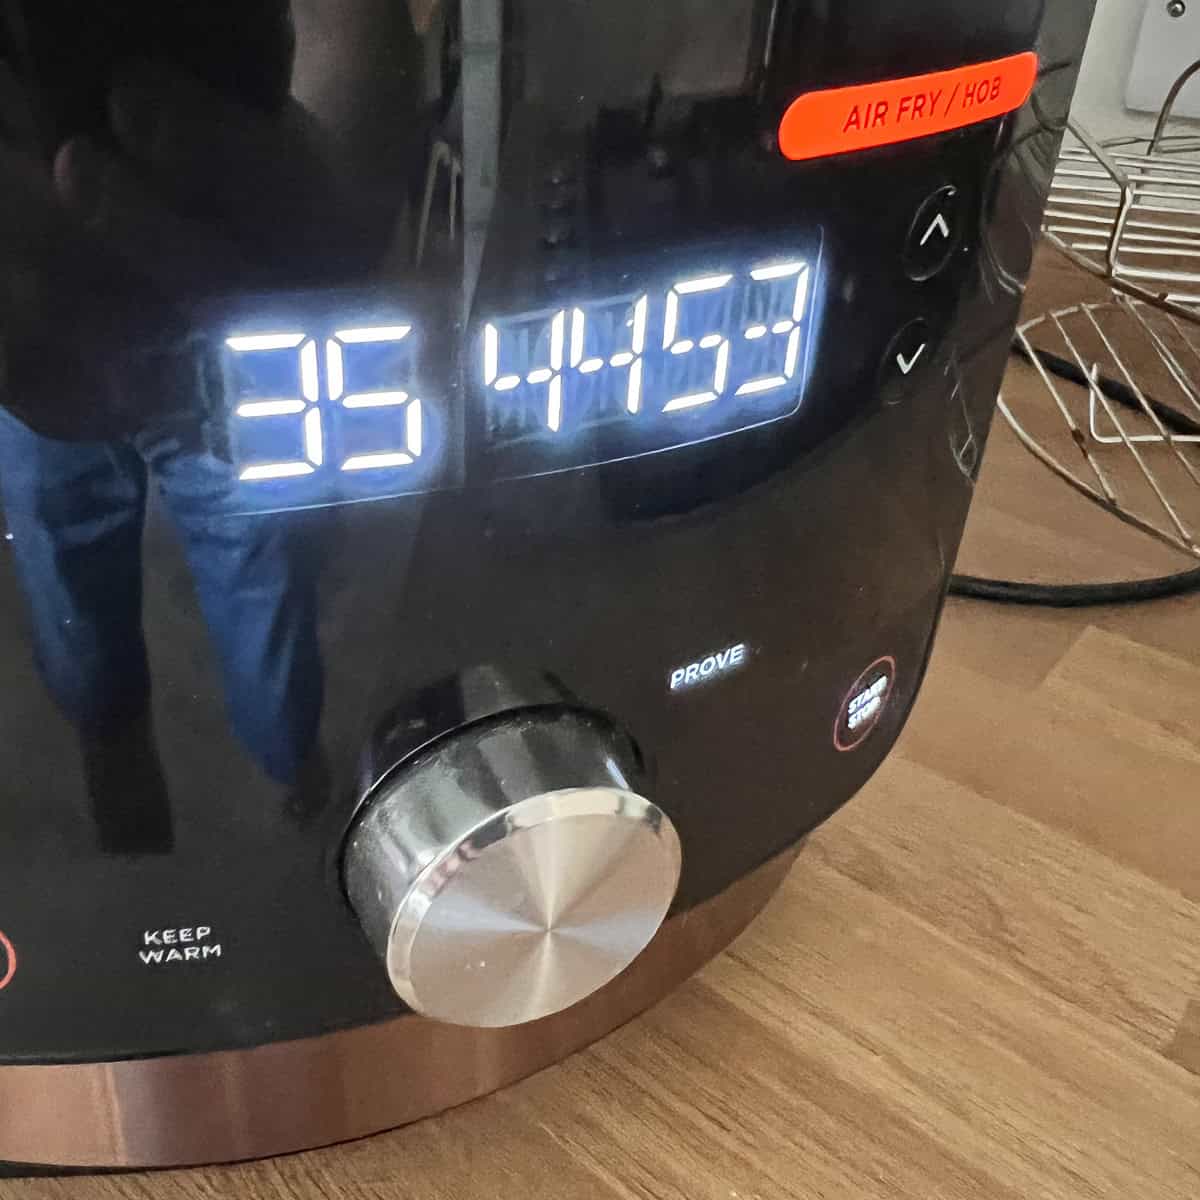
- For our second prove, select Prove and choose 35c for 45 minutes.
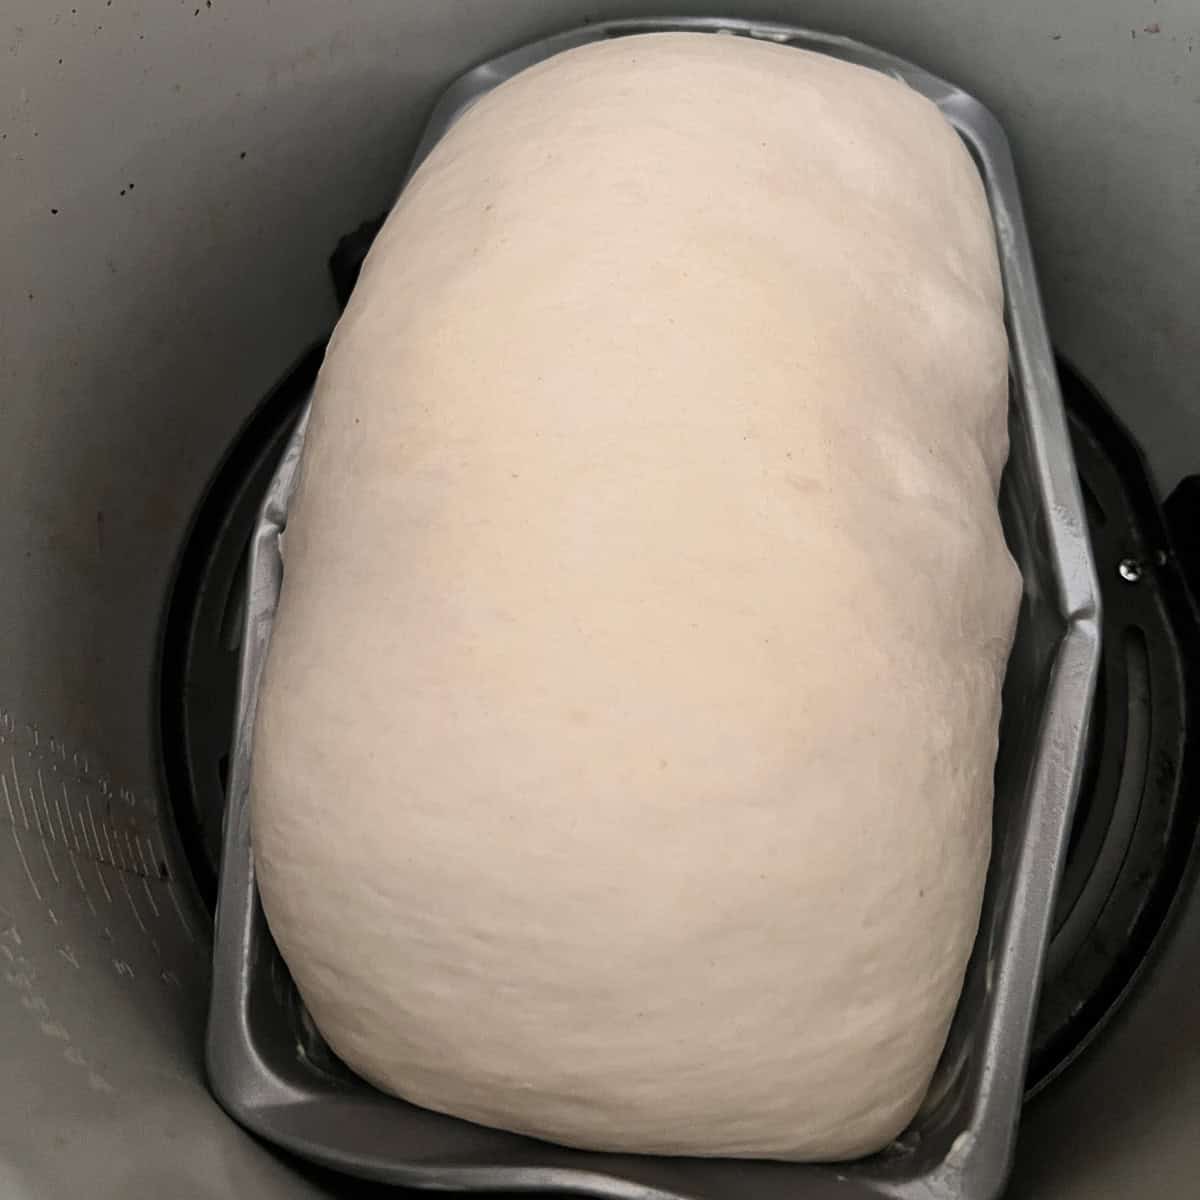
- The dough will have filled the bread tin after this time.
Baking
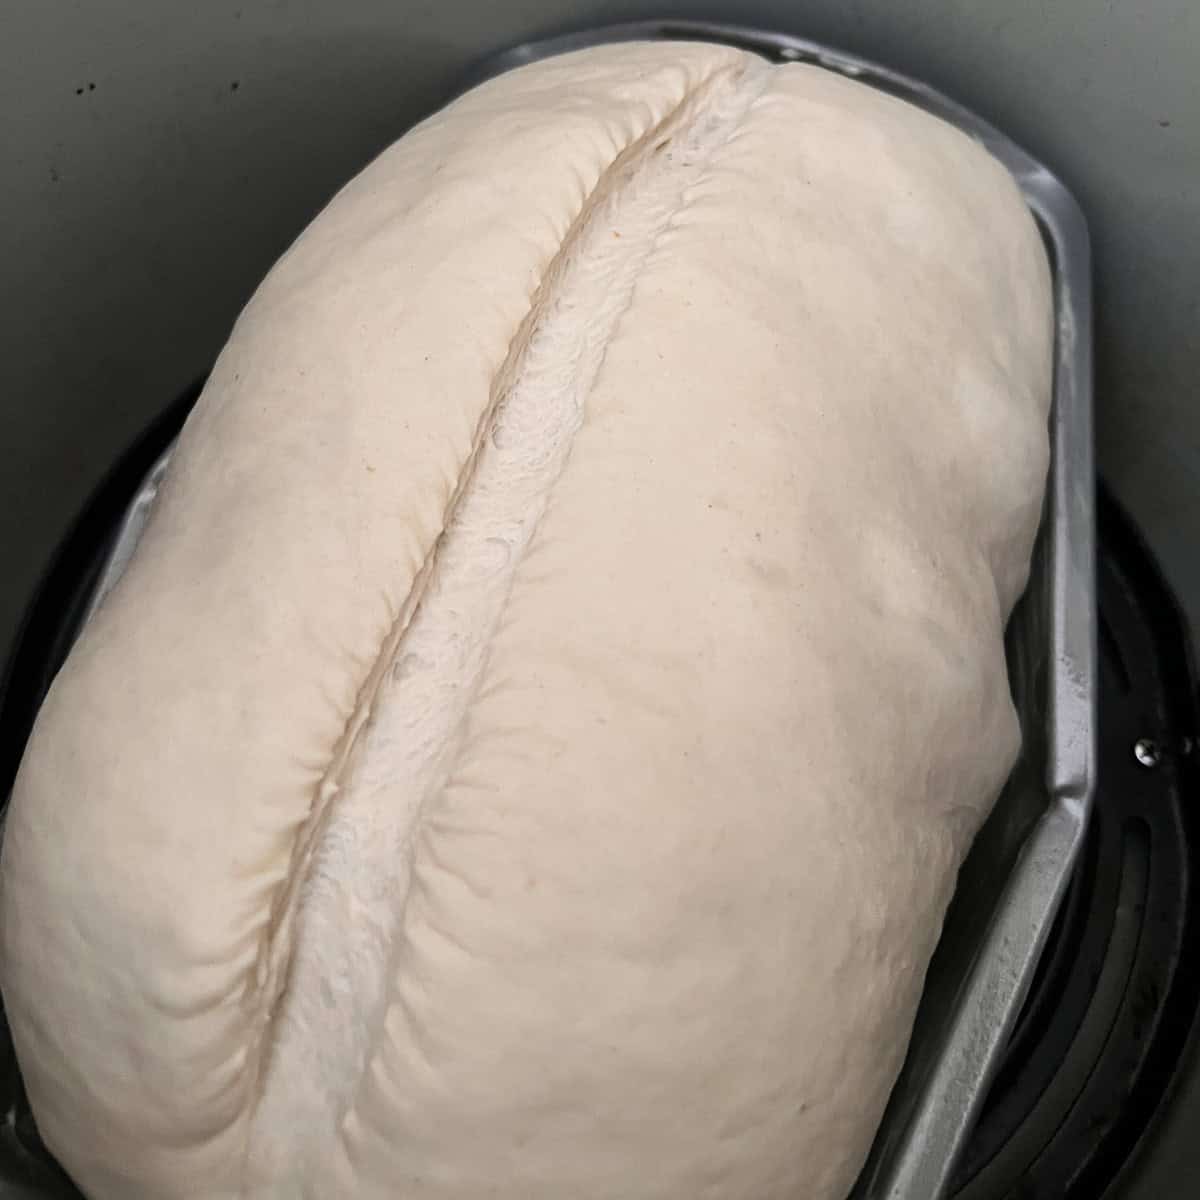
- Remove the tin from the air fryer, put the roasting grate in the pot and pour in 200ml of boiling water (to help create the steam). Place the bread tin back in (sitting it on the roasting grate) and score the top of the bread with a sharp knife or bakers lamé. Close the lid.
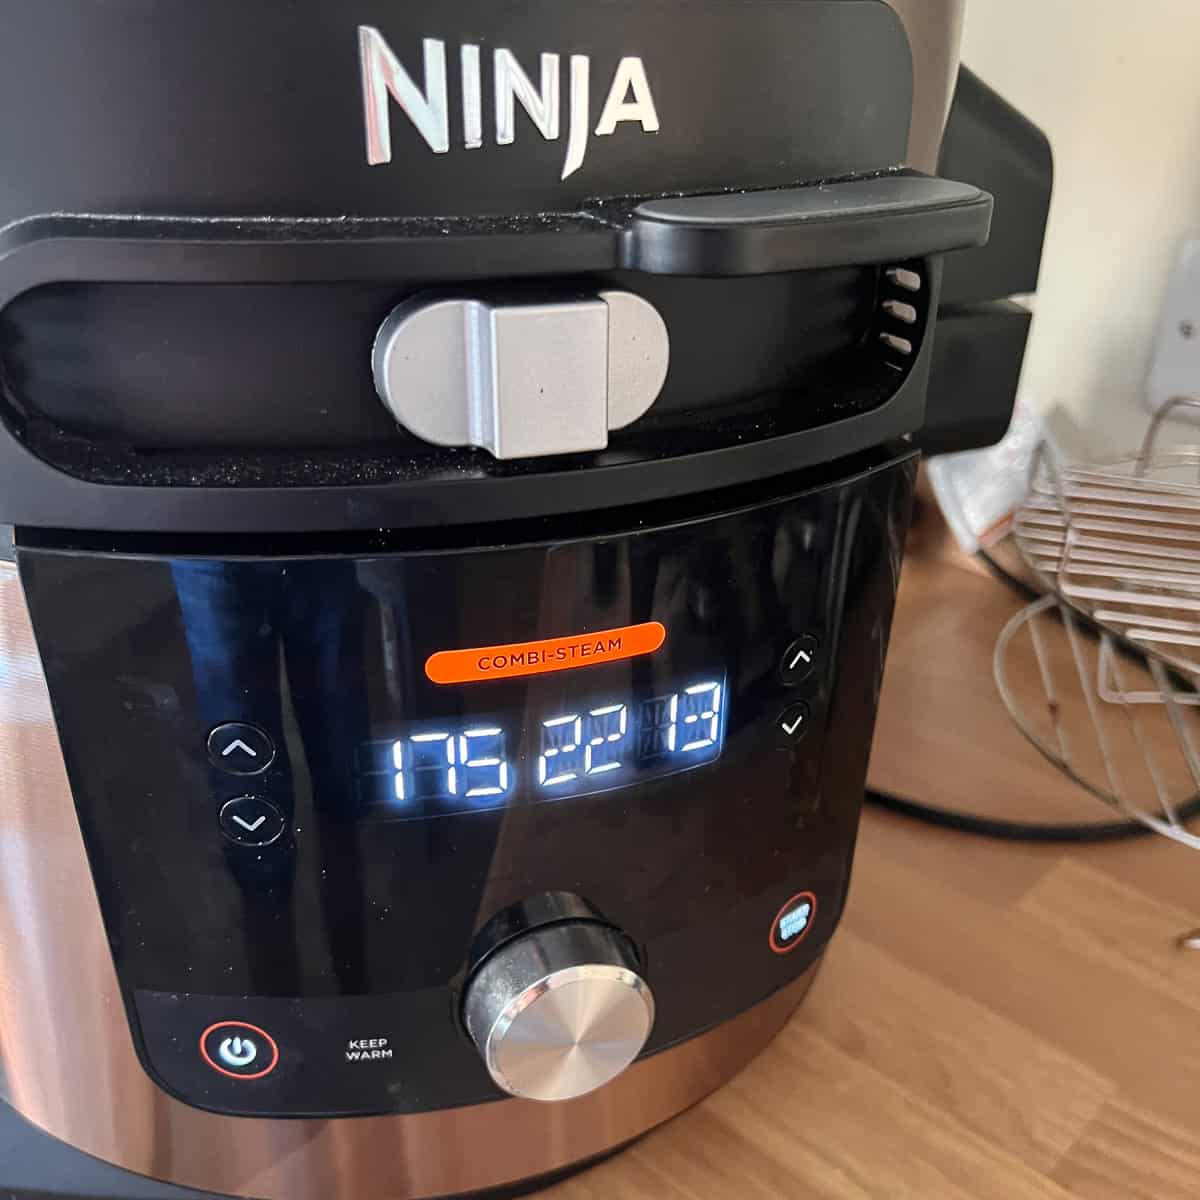
- Slide the main switch over to the middle (for Steam options) and choose 'Steam Bread'. Select 175c for 35 minutes.
The steam will build in "Pre---" mode for a little while before cooking. This is expected and why we used boiling water (to allow the steam to build quicker).
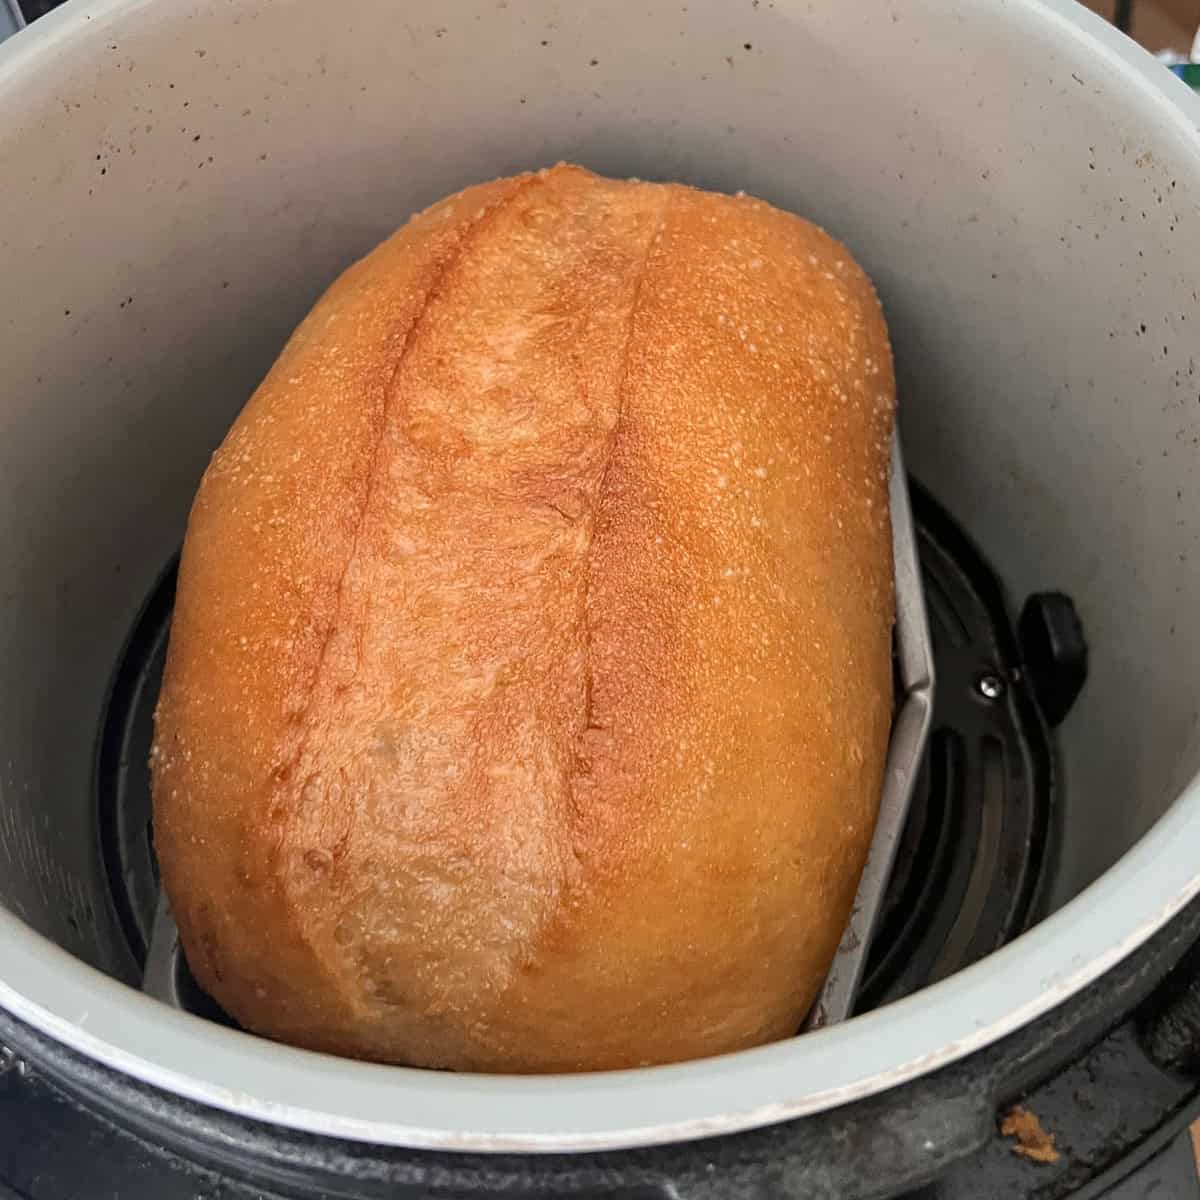
- When the bread is baked and the timer finished, open the lid and marvel at your creation!

- Notice the blistering bubbles on the loaf crust. Transfer it to a cooling rack. Tap the underside of the loaf to make sure it's cooked (it will sound hollow if tapped). Ideally wait at least 30 minutes before slicing.
You can try all kinds of flour to vary the bread that comes out, but the process is generally the same.
Key Temperatures and Times
| Process | Setting | Temperature | Time |
|---|---|---|---|
| Initial rise (prove 1) | Prove | 25C | 60 - 90 minutes |
| Second rise (prove 2) | Prove | 35C | 45 minutes |
| Bake | Steam Bread | 175C | 35 minutes |
Shaping The Dough
Maintaining a tight skin on edge of the dough is a key trick to getting the dough to rise nicely. Trying to explain this how to roll the dough into the correct shape is not easy, so please see the video below to demonstrate this.
Keeping the dough tight and close in will help the shape remain consistent and smooth thus a better rise.
Variations
There are so many variations you can make to this recipe by changing flour, adding sugar or oil, eggs even. Changing the ingredients to produce an enriched dough (sugar and eggs for a sweeter dough) will mean you can make treats like my cinnamon swirls.
Some other ideas you can try:
- Wholemeal - use a wholemeal flour instead for a healthier loaf.
- 50 / 50 - Try using 250g white and 250g brown flour for a best of both type loaf.
- Pizza dough - make this into a pizza dough by using 00 flour and following the steps all the way up to step 9 before balling it up into 220g balls for a pizza base.
Storage
As with most of the breads I make, generally I will slice them up once they are cooled and the freeze at least half of the loaf. I separate the loaf into two bags so one goes in the freezer and the other remains on the top for the next couple of days.
The bread itself will last about 2 days before it starts going stale. However if it does, it still makes great toast.
If you put the bread in the freezer, generally it will be good for up to 3 months.
Top Tip
Slicing before freezing just makes it so much simpler when needing to get some bread out for a piece of toast or sandwich. However if the slices are frozen together, use a butter knife to carefully prise them apart and they should pop apart easily. Make sure to do this on a solid surface and be careful the knife does not slip.
FAQ
Bread is best proved in 2 phases. The first prove should be about an hour for the initial rise at 25c to 30c. The second (once shaped) should be around 45 minutes at 30c.
Yes - a round metal tin will work well. Alternatively you can shape a thin metal rectangular tin to make it fit.
Related
Looking for other recipes like this? Try these ones:


The Recipe

Ninja Foodi 15 in 1 White Bread
Equipment
Ingredients
- 500 g Bread flour
- 290 g Warm water
- 1 ½ teaspoon Yeast
- 1 ½ teaspoon Salt
- 25 g Butter/Stork optional
- 32 g Sugar optional
- 2 tablespoon Milk powder optional
Instructions
- Mix all the dry ingredients together. Gradually pour in the water and mix together.If using a stand mixer, put everything in the mixing bowl and attached a dough hook.500 g Bread flour, 290 g Warm water, 1 ½ tsp Yeast, 1 ½ tsp Salt, 25 g Butter/Stork, 32 g Sugar, 2 tbsp Milk powder
- Knead the dough for for around 10 minutes until it forms a smooth ball which resists when pressure is added.If using a stand mixer, mix on low for 5 minutes, let it rest for 5 minutes and then mix on a low/medium speed for another 5 minutes.
- Place the dough on a little greaseproof paper or mixing bowl (which fits in the air fryer) and place inside. Switch on to Prove mode and choose 60 - 90 minutes at 25℃. This will be the first rise or 'Prove 1'.
- Once complete, take the dough out and it should be twice the size as before it went in. Knock out all the air and shape into the loaf shape. Place into a greased tin (bent out of shape to fit in the air fryer if needed). Place back in on Prove mode for 45 minutes at 30℃. This is the second rise or 'Prove 2'
- After the time is up, add some water to the air fryer base (makign sure the roasting grill plate is in so the tin is not sat in water). Switch the slider over to the middle and choose 'Steam Bread' mode. Bake for 35 minutes (plus extra pre-steam build too) at 175℃.Once cooked, tap the underneath of the loaf to make sure it's all cooked properly. A cooked loaf should sound hollow.
Nutrition
More posts like this
4 responses to “Ninja Foodi 15 in 1 White Bread”
-


Tried this recipe at the weekend. The crust came out well and looked good. I had a round tin so didn’t need to make any changes to my bread tins. -
Tastes nice. Can’t you just buy a smaller tin though?-
I suppose so :-).I was probably just being cheap!
-
-
Made this for the first time and will be making it again. It was so easy.


Leave a Reply