


Affiliate Disclosure As an Amazon Associate I earn from qualifying purchases. This post may contain affiliate links. For more details, refer to my Disclaimer page.
This is one of my favourite sourdough recipes UK style. My no knead sourdough makes the whole process easy. The process from start to finish will vary in time but if you've other things to do, this is the no knead bread recipe for you.
This is a recipe for sourdough bread which does not require kneading of the dough, or any form of stretch and folds. The recipe is an experimentation however this was a success in the outcome and is therefore a method I use quite regularly now.
Contents
- Why use a no knead sourdough bread recipe?
- Ingredients for no knead sourdough bread
- How to make no knead sourdough bread
- Some notes on shaping sourdough bread
- Substitutions you can use in this sourdough recipe
- Variations of this no knead bread you can try
- Equipment for making no knead sourdough bread
- How to store Sourdough bread once you've made it
- Top tip
- FAQ for sourdough bread
- Footnote - Some tips for success
- Try these other bread making recipes
- Pairing ideas for no knead sourdough bread
- The Recipe
- Your Comments
Why use a no knead sourdough bread recipe?
This started out as one of those “what if” days. I had the flour, the starter, the vague intention of making bread... but not the motivation. I couldn’t face the stretches and folding dance, so I thought, “Let’s mix it and see what happens.”
Guess what? It worked. Not flawlessly every time, but close enough that it became a regular go-to when life’s a bit hectic (or I’m just feeling lazy).
If you are looking for bread dough styles and detailed instructions how to make it, try my bread dough calculator. This offers all weights and measures to get a great dough.
Originally this would be a standard recipe sourdough such as this one. But the difference being I would not give it any attention.
TLDR; It worked really well and use it when I just need some bread but don't have time. It's not always perfect, but it still tastes amazing.
Benefits
- Minimal hands on time and useful for when you are in a rush or don't have time to do all the stretching and folding.
- Ideal for beginners as it is a great way to learn about how doing things differently affects the outcome.
- Consistent results with less effort means you are getting the same results each time.
Why it's a UK friendly recipe
- I'm using flour which is mainly available in the UK (standard bread flour).
- My measurements are in grams and not in cups. You can always convert using my unit converter page if you want to try different measurement types.
- Timings and ambient temperatures fluctuate widely depending on the time of year here in the UK. This has a big effect on how quickly proving times need to be.

Ingredients for no knead sourdough bread
My no knead sourdough recipe is quite a basic method. The only ingredients are flour, water, salt.
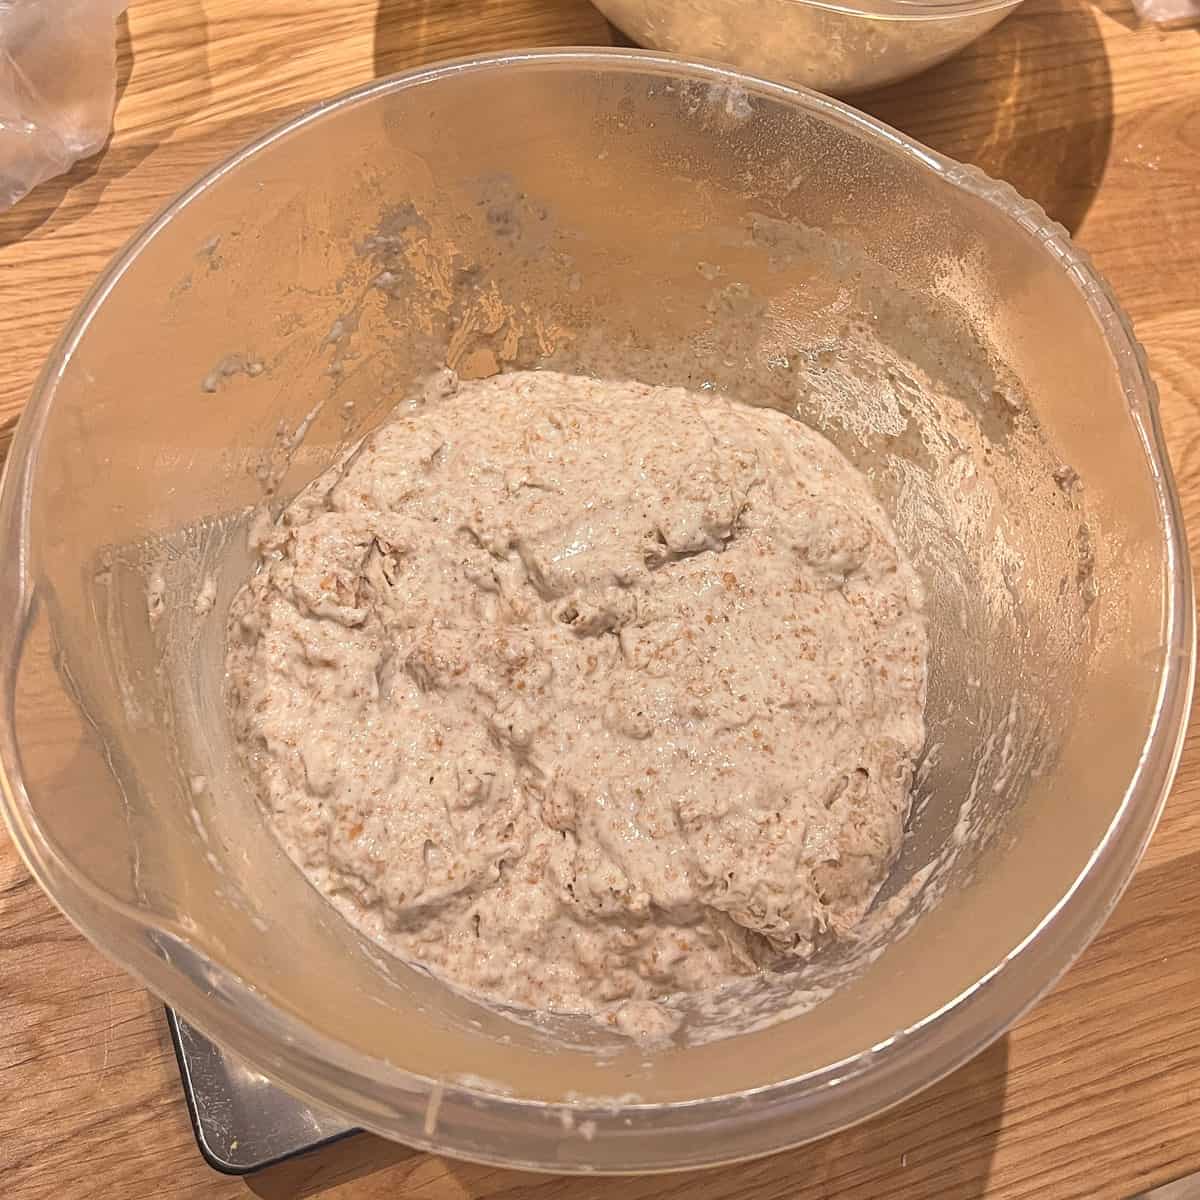
- Flour - I use Shipton Mill flour for all my bread recipes that call for a bread flour. I will use 350g bread flour and 150g wholemeal or whole wheat flour. This gives a nice crumb to the bread and the wholemeal grain again makes a healthy loaf of bread.
- Water - My water is normally cool boiled water, cooled to 30C or around there. Warm to the touch but not hot.
- Salt - I use 2% salt for the weight of the flour. So if using 500g of flour I will use 10g of salt. However as I'm trying to be quite health conscious and reduce my salt intake, I actually only use 7g of salt in a loaf. This makes for a reduced salt bread recipe and doesn't taste much different.
- Starter - While strictly this falls into the 3 ingredients (flour and water) you need this made before you can make a loaf of no knead bread. Use one of my many starter recipes to get going. Or buy a ready made sourdough starter.
For variations on flour weights and ratios, use my bread hydration calculator to work out what you need.
See recipe card for quantities.
How to make no knead sourdough bread
Now you have the ingredients, you have to follow the 3 steps to making the loaf.
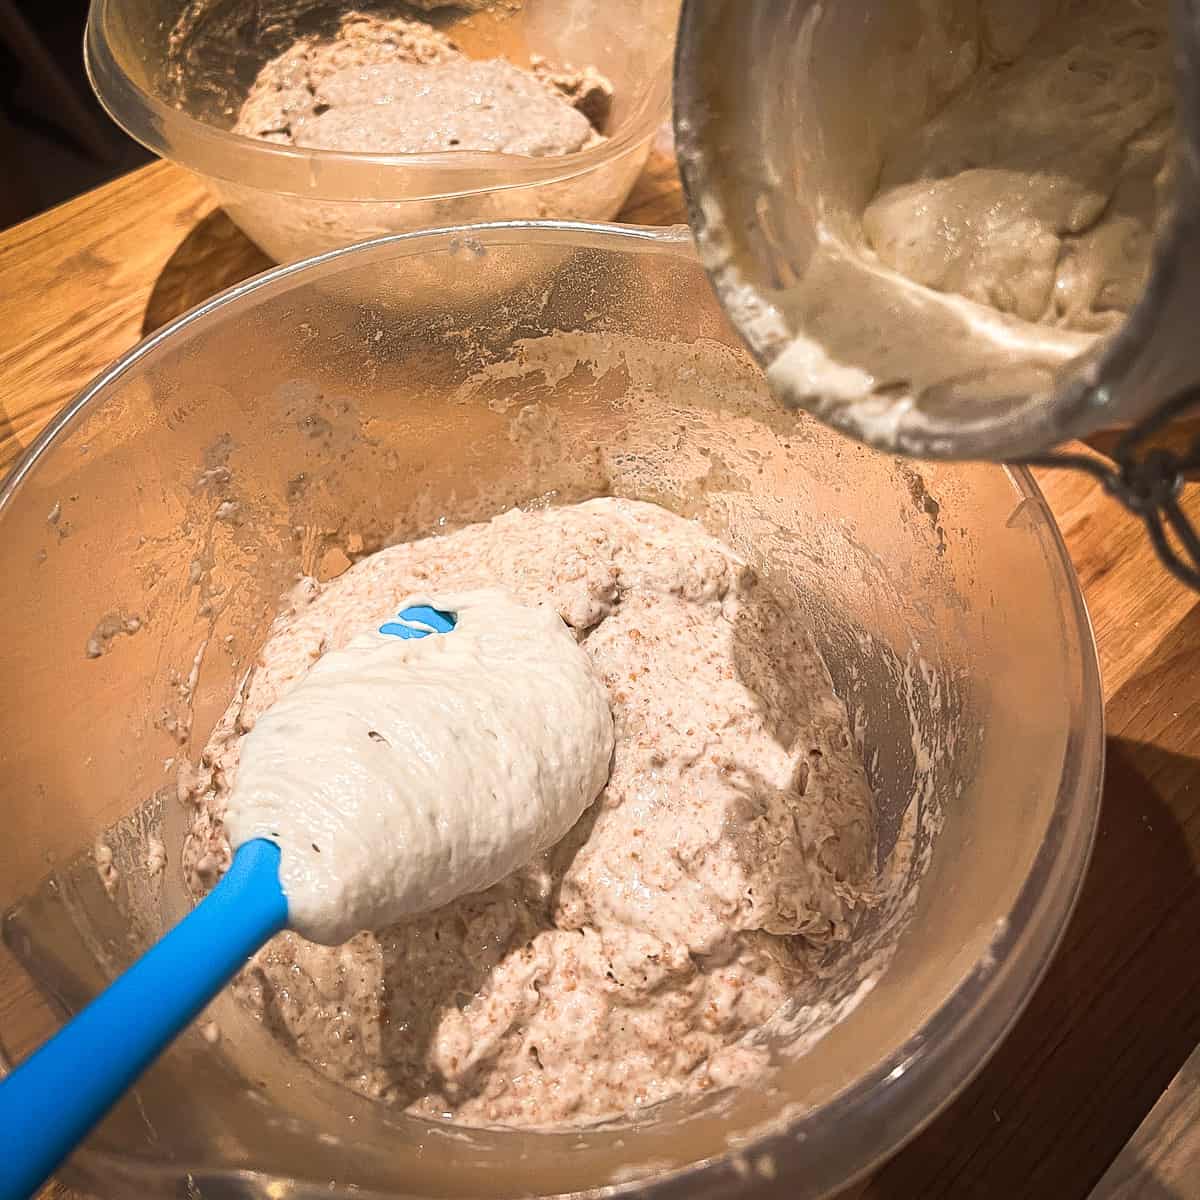
Put all the ingredients in the bowl and mix with your hand or spatula until they have all come together.
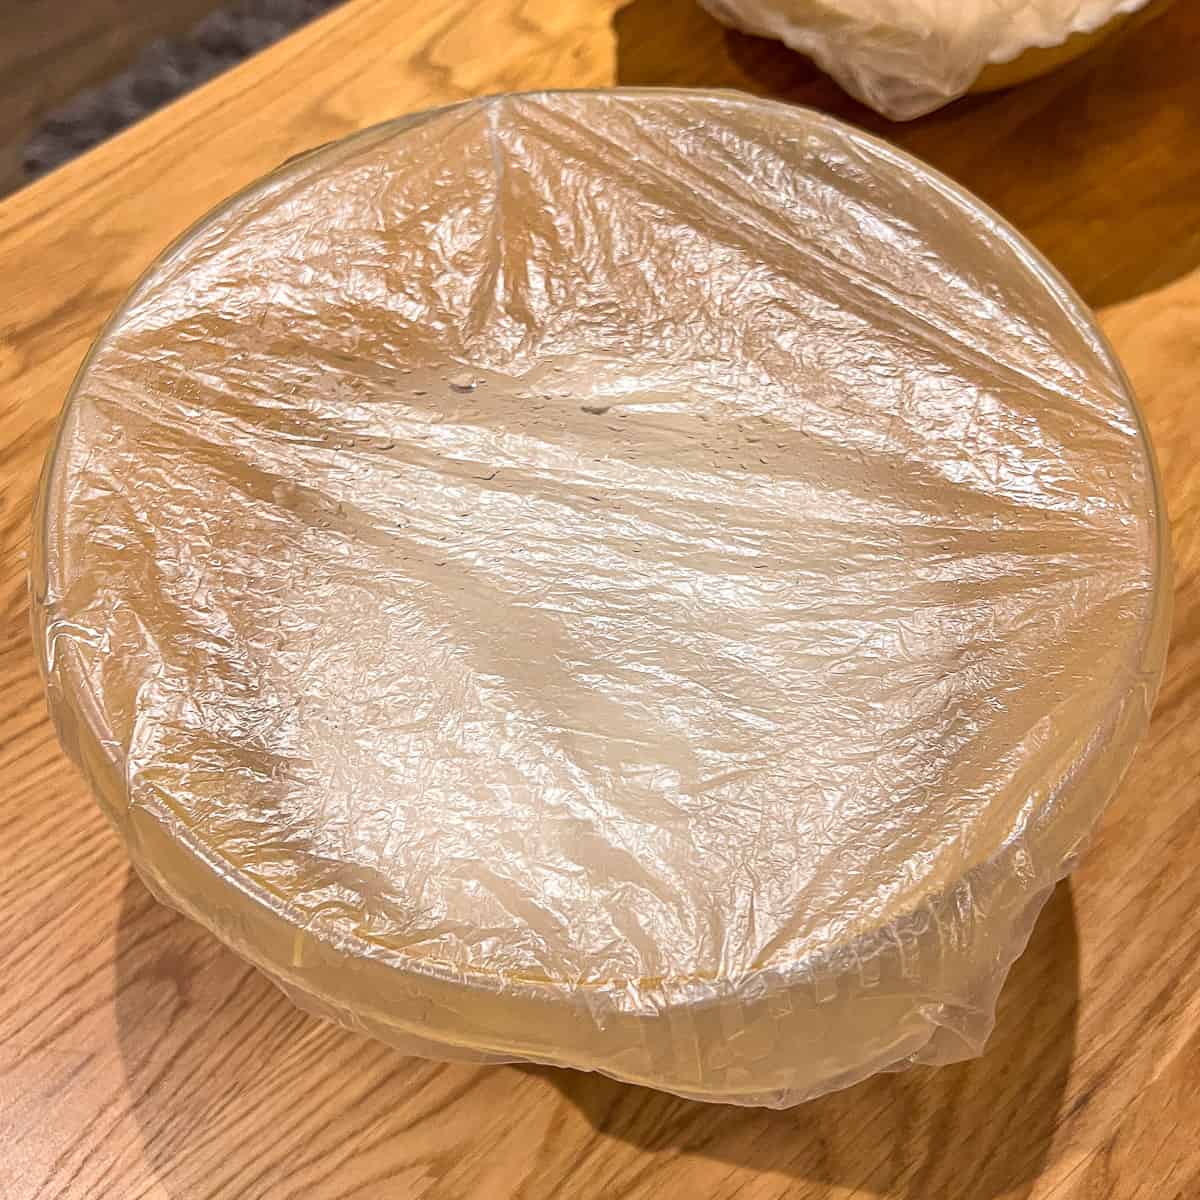
Cover and leave until you have bubbles. For UK sourdough recipes this could be up to 14 hours depending on ambient temperatures.
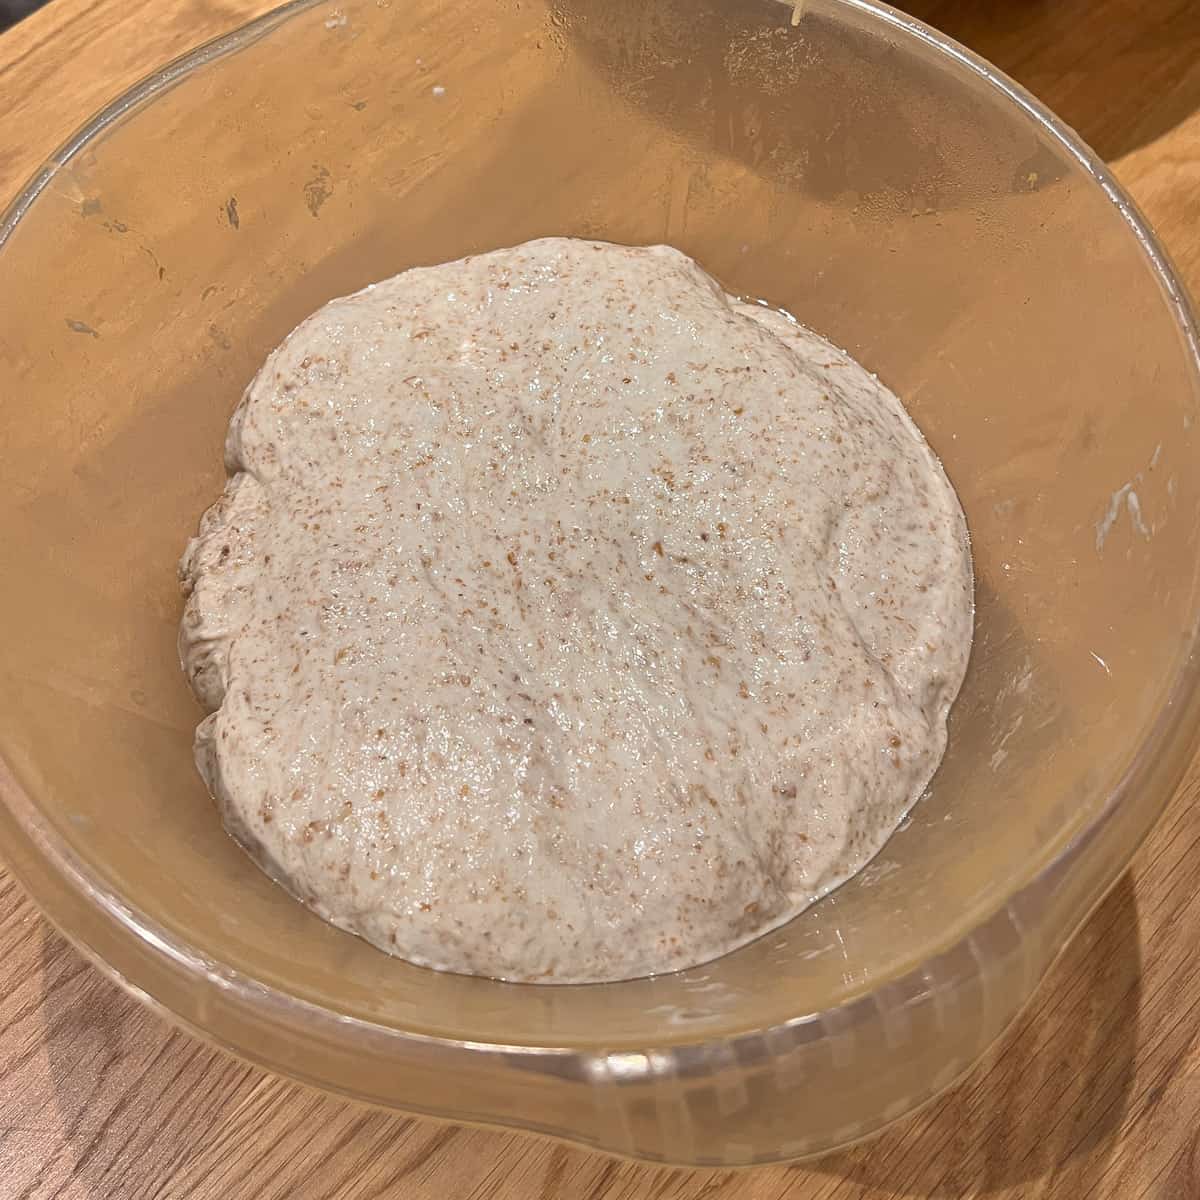
When dough has increased in volume and bubbles are forming, it's time to shape.
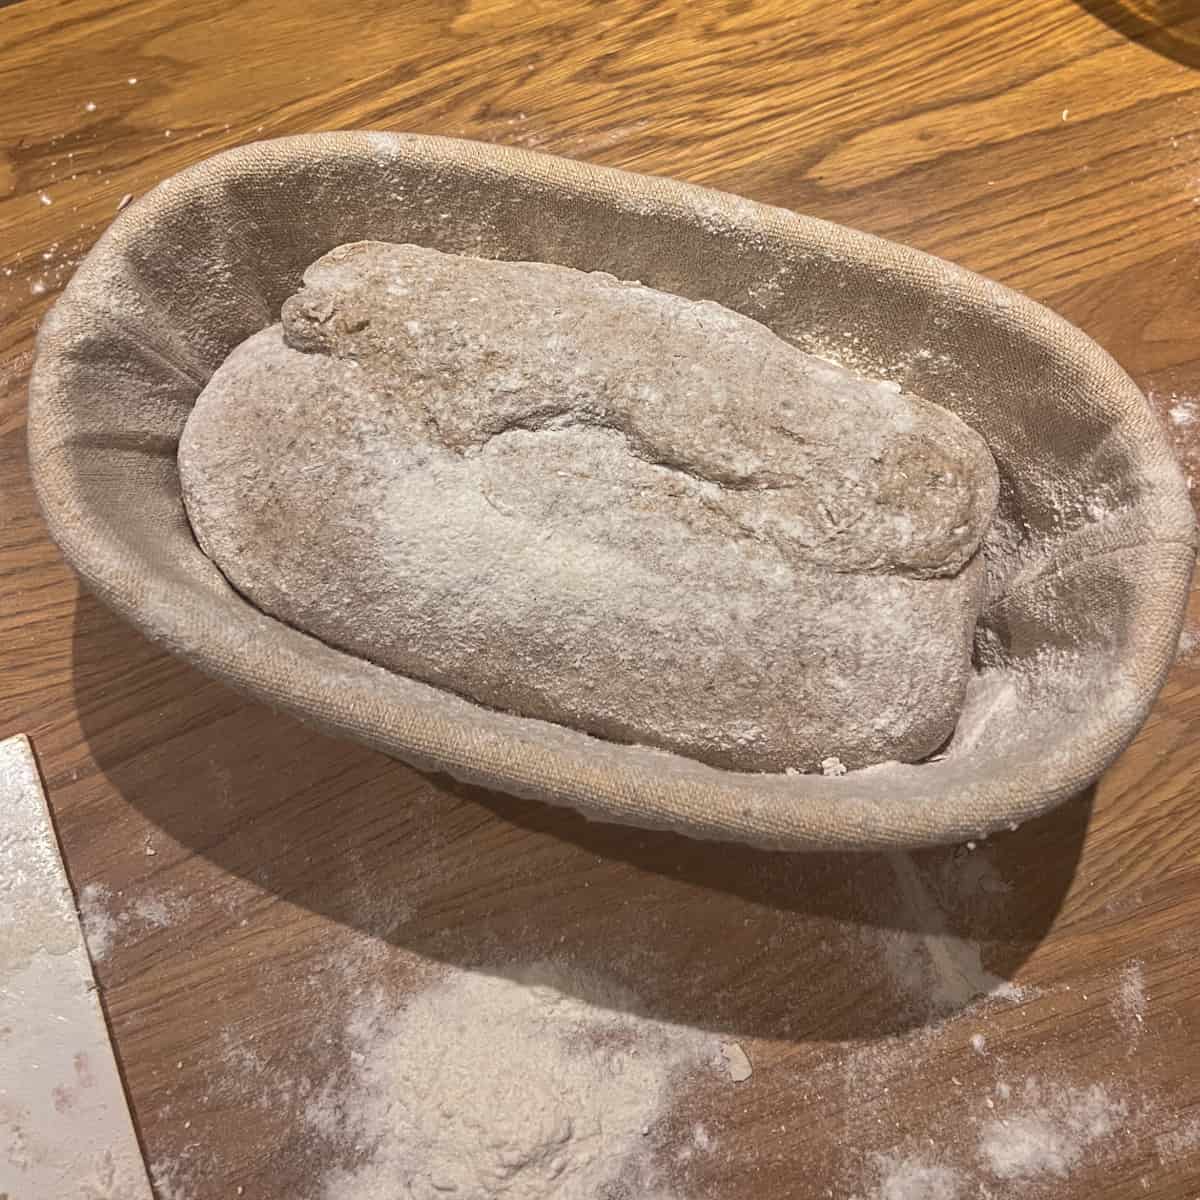
Shape, place in banneton and put in fridge overnight or for at least 12 hours.
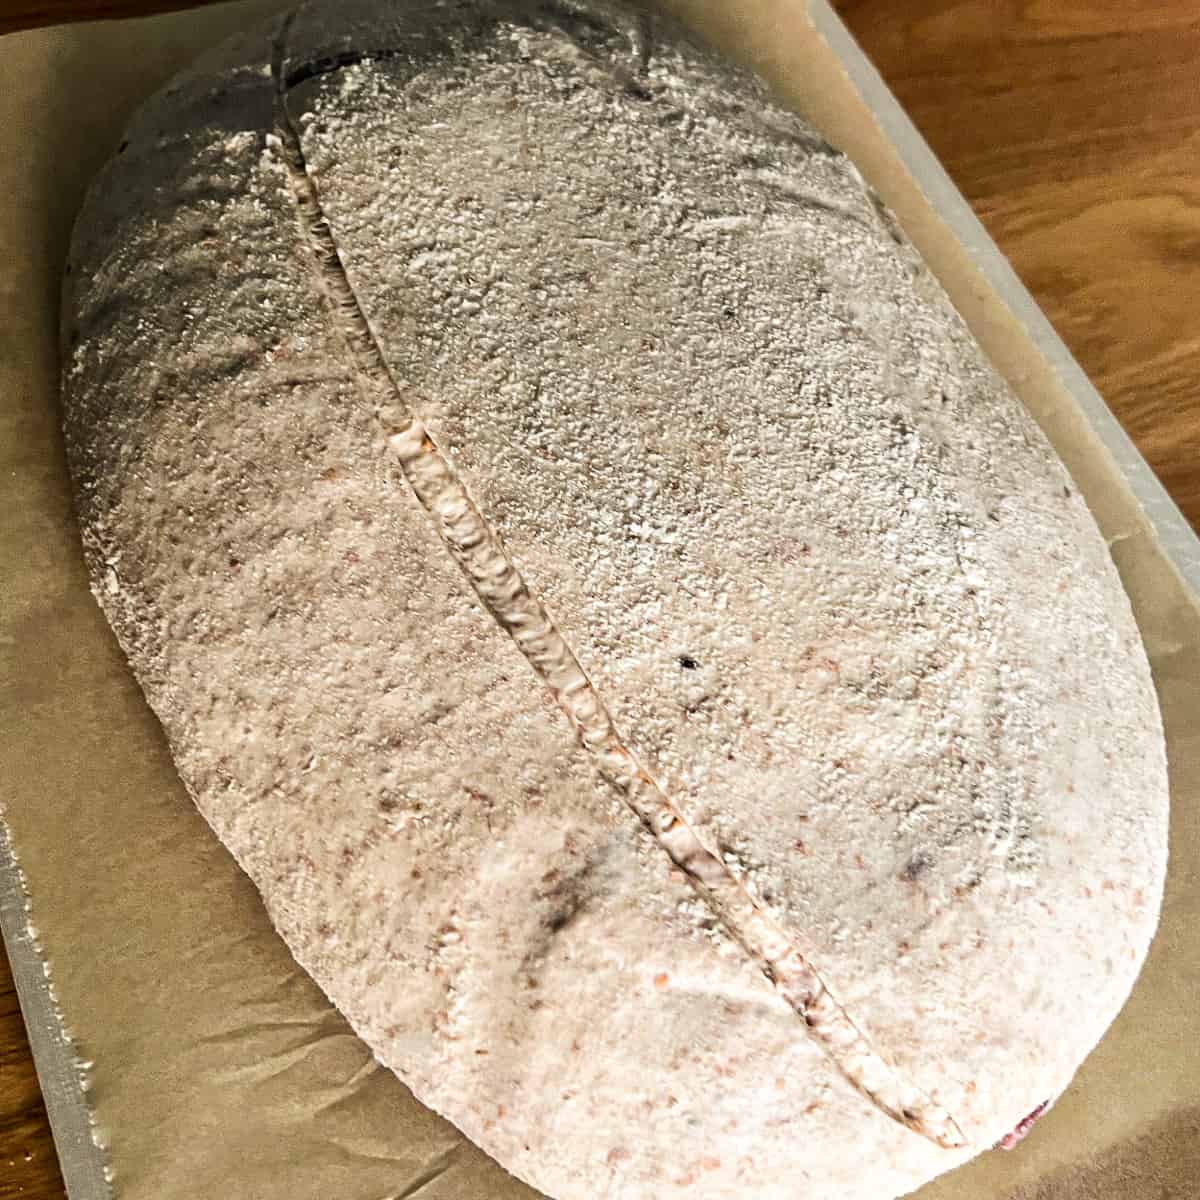
Flip out onto baking paper and score bread dough when ready.

Bake for 30 to 40 minutes in a hot oven of about 200C. Once cooked, place on a cooling rack.
It really is that simple. No stretching and folding, no prodding and poking. Just mix and leave. That is why it's a no knead sourdough!
Some of the sourdough OG will not like this recipe, but it worked for me and is very convenient. I can fit this in and around my working day.
Chef's Hint: Pop a tray of water in the oven before baking. This will help create steam and get you a better rise.
Some notes on shaping sourdough bread
Rolling and tucking
When you get to shaping the bread the key to a successful shape it to make sure the skin of the outer dough is tight. This can be achieved by rolling the dough into itself and making sure everything is tucked in tight. Then place the dough into the banneton basket.
Caddy Clasp Shaping Method
Another method to try is the 'Caddy Clasp' shaping technique. This is performed by gripping the dough between the palm of each hand, picking up and putting the dough into the banneton. Check out this video in this Instagram post showing how it's done.
Substitutions you can use in this sourdough recipe
This recipe is the basic of basic sourdough recipes and can't really be swapped out with anything less. However you can switch out the types of flour that are used.
- Bread flour - you don't need to use the specific recipe amounts. Make up 500g with bread flour, plain flour, T55 flour, wholemeal flour. Whatever you can use. Try experimenting and see how it comes out!
- Water - Who says it has to be water? Try beer bread. Or champagne!
- Salt - adjust the amount of salt to suit your diet. Try 1% instead of 2%.
Variations of this no knead bread you can try
While the basics are the same, you can add to it to make the bread more interesting.
- Spicy - add chili pepper flakes to the dough. A teaspoon will be plenty to start with.
- Nduja paste - this nduja sausage paste helps spice it up even more. Check out my nduja pizza for inspiration.
Equipment for making no knead sourdough bread
The key pieces of equipment you will need are a good dough scraper. This works as an extension of your hand and makes handling dough much easier.
Another useful piece of equipment is a banneton basket. This will be used to prove the bread in. Quite often you can buy a bakery kit from amazon which includes basic items such as bannetons, dough scrapers and other useful tools.
How to store Sourdough bread once you've made it
Store the baked bread in a bread bin or bread bag. This will keep the bread good for 2-3 days.
If you want to have the bread last longer or you don't think you will eat it as quickly then you can freeze the bread. I recommend slicing the bread with a good bread knife before freezing it. To make slicing bread easier, try using a bread slicing guide to help keep the pieces straight and even.
Top tip
Make sure you use a quality chopping board big enough for the bread to go on. Avoiding slipping by using a sturdy board with good feet.
FAQ for sourdough bread
Yes for sure. You can add it back in to starter mix, make sourdough discard recipes with it. Or you can cook it anyway and the blitz the bread into breadcrumbs. Or you can spread the dough out, add garlic and rosemary on it and drizzle with olive oil. Then cook in the oven for 20 minutes and you have a lovely focaccia.
You can use a bread slicing guide to make sure the pieces of bread you are slicing are cut evenly. Place the loaf in the guide and then run the bread knife between the guide slots to cut an even loaf.
A hot steamy oven, a good strong starter and a perfectly proved dough is the key to getting a good rise on a loaf. The ear forms when a 45 degree angle is scored along the dough before baking. All the above combined will give you a good rise and ear. But remember, practise makes perfect. Even the best bakers have off days!
Footnote - Some tips for success
I was recently updating this post and wanted to add in about the success I have had with this recipe over my bread making experience. While at first I found kneading and doing stretch and folds etc very time consuming, I've since learnt that it generally works out. Not all bread bakes work all the time but if you know what to look out for, you can usually fix it.
Overproving, underproving, cold proves, starter feeding, these are all terms you will come across and there is no silver bullet to getting a bake right. Once you know how dough behaves in your kitchen in your house in your area of the world then you will have it sorted. Climates vary all over the place and so learning how dough rises where you live will be the difference between success and failure (or somewhere in between). When I moved to my new kitchen it was only an hour further north than I used to live but this made a difference too.
Try these other bread making recipes
Looking for other recipes like this? Try these:
Pairing ideas for no knead sourdough bread
These are my favourite dishes to serve with no knead bread:


The Recipe
No Knead Sourdough Bread
Equipment
Ingredients
- 350 g Bread flour
- 150 g Wholemeal flour
- 357 g Water warm
- 10 g Salt
- 100 g Sourdough Starter
Instructions
- Mix all the ingredients in a bowl until there are no dry bits of flour left. Add more water if needed (1 tablespoon at a time). The dough should be sticky but not runny.350 g Bread flour, 150 g Wholemeal flour, 357 g Water, 10 g Salt, 100 g Sourdough Starter
- Leave it covered for 4 to 12 hours (all depending on climate and ambient temperature).You are looking for a risen dough with a few bubbles on the top. It should jiggle like a custard on a trifle when ready.
- Shape it and place into a banneton basket.
- Prove it overnight covered up using a cloth or shower cap for between 12 to 24 hours.
Open baking
- Tip on to a preheated baking stone. Bake at 200℃ in a steamy oven until golden brown and the bread sounds hollow when tapped underneath. This will be about 30 to 40 minutes. If in doubt, over cook it rather than under.
Dutch oven baking
- Bake for 20 minutes in a pre heated dutch oven with the lid on. Then remove the lid and bake for a further 20 to 30 minutes until the top has a nice golden brown colour.
Notes
Nutrition
More posts like this



Comments
No Comments
Leave a Reply