


Affiliate Disclosure As an Amazon Associate I earn from qualifying purchases. This post may contain affiliate links. For more details, refer to my Disclaimer page.
This was a recipe I've wanted to try for a while as I've seen charcoal sourdough in some artisan bakeries. Admittedly it doesn't look the most appetising while it's being made but the end result is really tasty.
This is a recipe for charcoal sourdough bread. The recipe will provide you a dark coloured loaf which tastes just like regular sourdough.
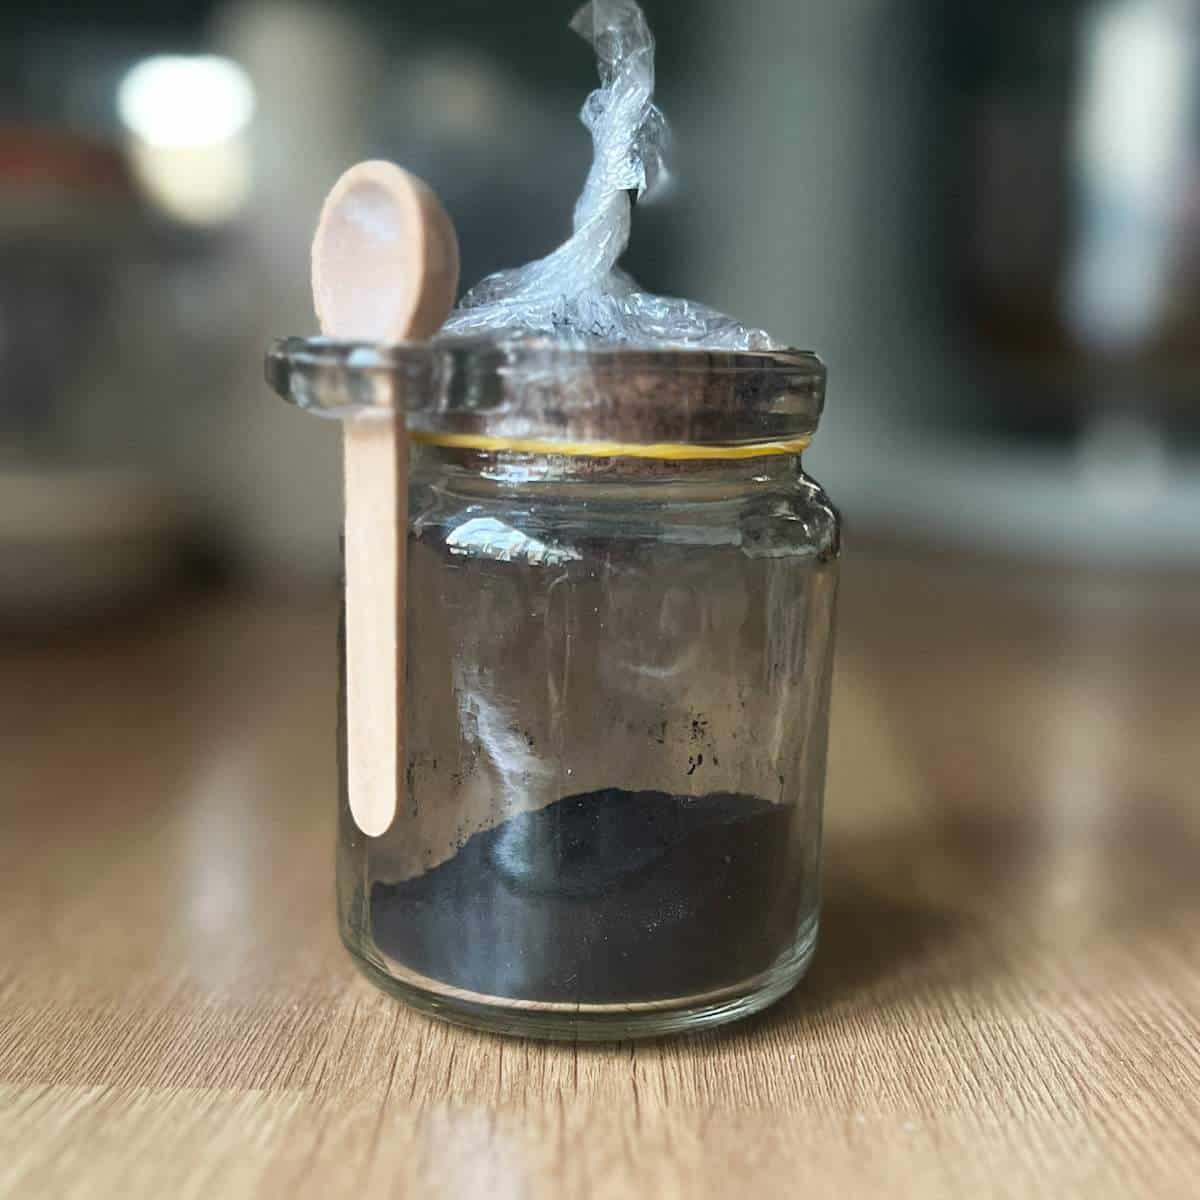
Just to be clear - I am not advocating charcoal for any health benefits. This recipe was an experiment to see what the process is like and how the bread would turn out.
Contents
Ingredients for charcoal Bread
As with all sourdough loaves, the requirements for ingredients are very simple. Sourdough is bread in its most basic form - a mix of flour, water and salt along with a sourdough starter culture which you can make yourself or buy freeze dried.
If you are looking for bread dough styles and detailed instructions how to make it, try my bread dough calculator. This offers all weights and measures to get a great dough.
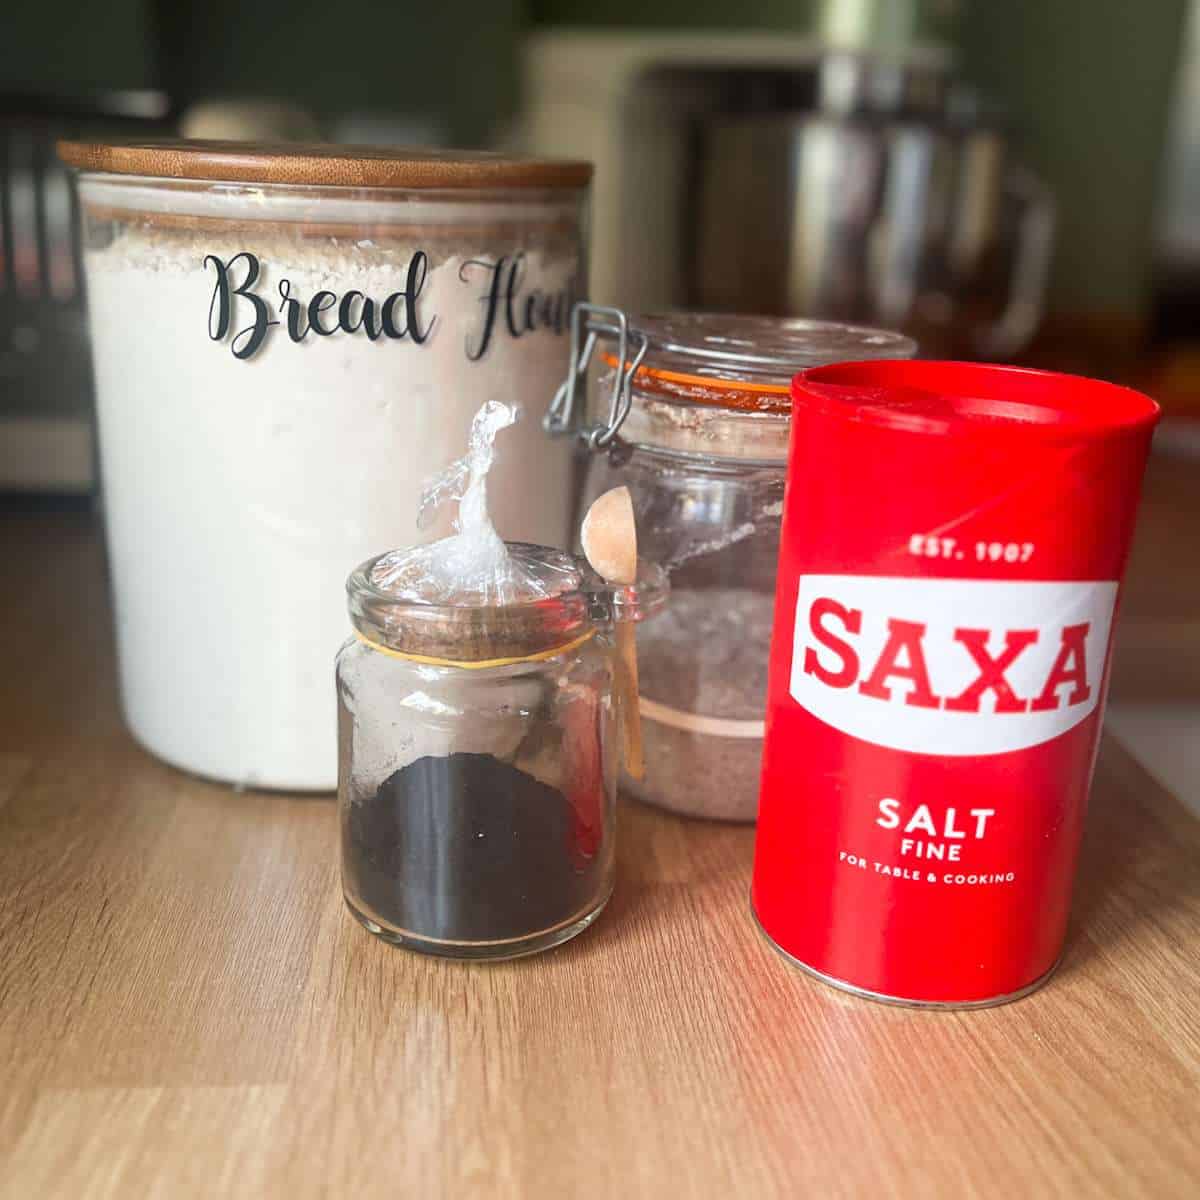
- Flour - I opt for strong bread flour in my sourdough breads. I generally use Shipton Mill flour as I have learned to work with how it absorbs water and have been impressed with previous results.
- Water - Luke warm water at around 30C will be the right temperature to mix in with your bread.
- Salt - Any fine grain table salt will work well for this recipe. You can use up to 1 tablespoon but I have been reducing my salt intake personally, so I opt for ½ a tablespoon for this recipe.
- Activated charcoal - The key ingredient to the dark colour of charcoal sourdough. I have bought my activated charcoal online. To find this I searched for food grade charcoal and was given a vast array of choice. I opted to check reviews and make sure that this is suitable for consumption.
- Sourdough starter - my starter is called Prue. She lives in our fridge and is a descendant of a San Francisco sourdough starter culture.
A note on activated charcoal, it gets everywhere and is a very fine dust. Just be careful when opening up the packet.
For all the quantities of ingredients, see the recipe card at the bottom of the post.
Feeding your starter
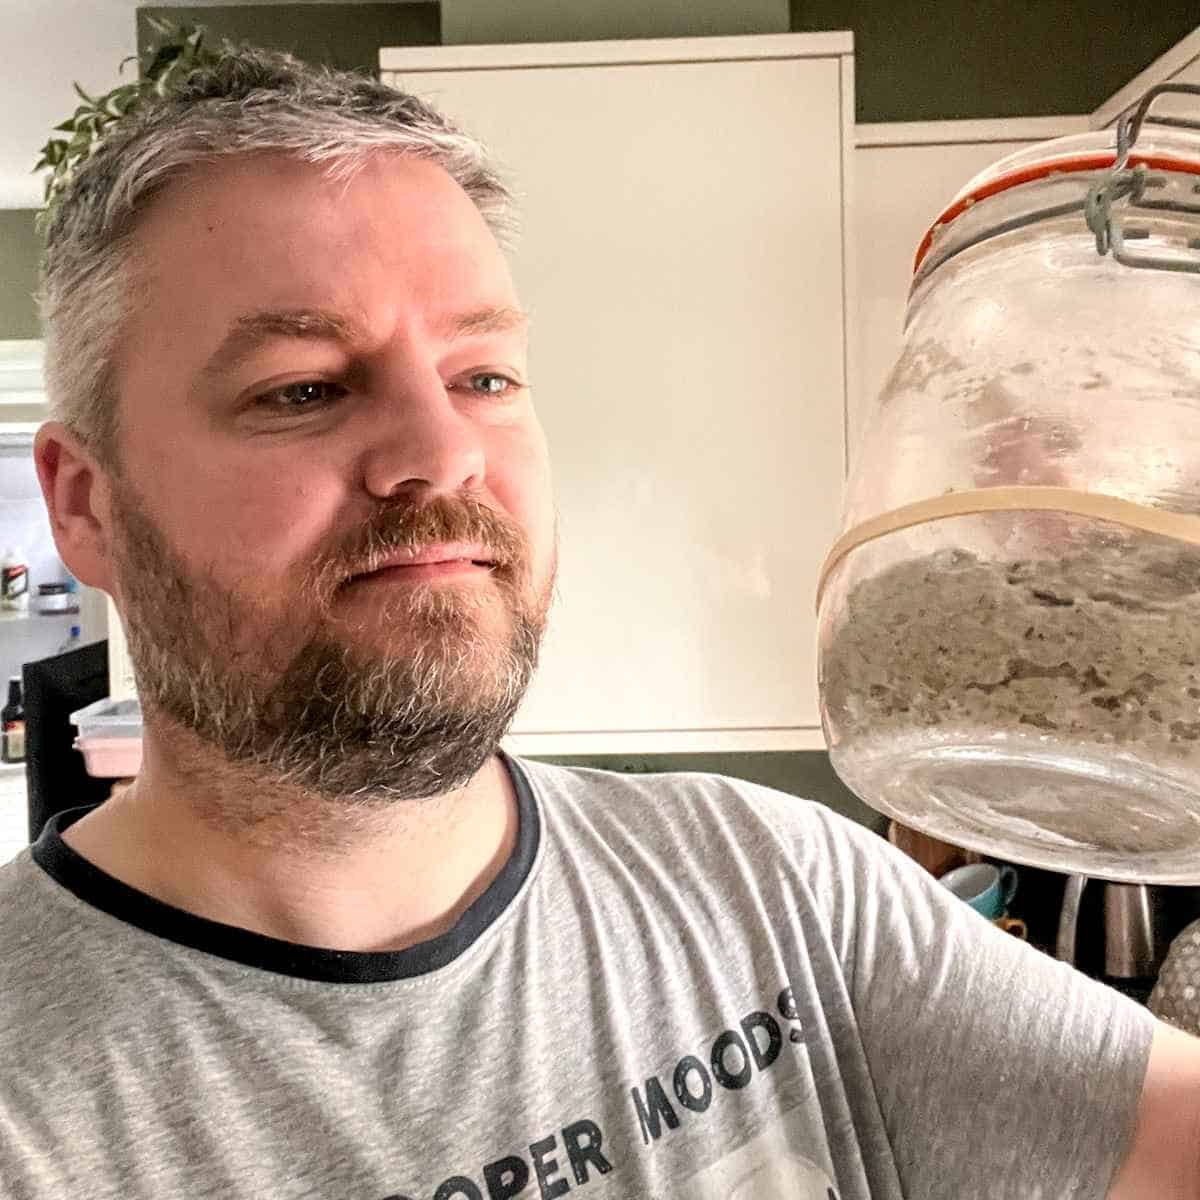
When you get hooked on bread baking like me you will find it can take over certain parts of your life! I was up too early on a Sunday morning just to feed my starter so I could bake later in the day. See below how proud I am of a sourdough starter and I'm still in my PJ's
How to Make The bread
The process to make a sourdough is quite long winded and unlike yeast based bread recipes sourdough takes time to ferment and prove. So while the actual parts to baking don't in their own right take a long time, the preparation and waiting in between can do. So be prepared to weave it in around your day.
I wrote a post on making sourdough in the working day. I was also featured in the Real Bread Campaign's monthly magazine and in an online article showing how to balance a work from home job and baking.
Don't be overly strict with timings, there is an element of trial and error when it comes to sourdough and it's never perfect every time.
For now though, let me take you through the steps I used to bake my charcoal loaf.
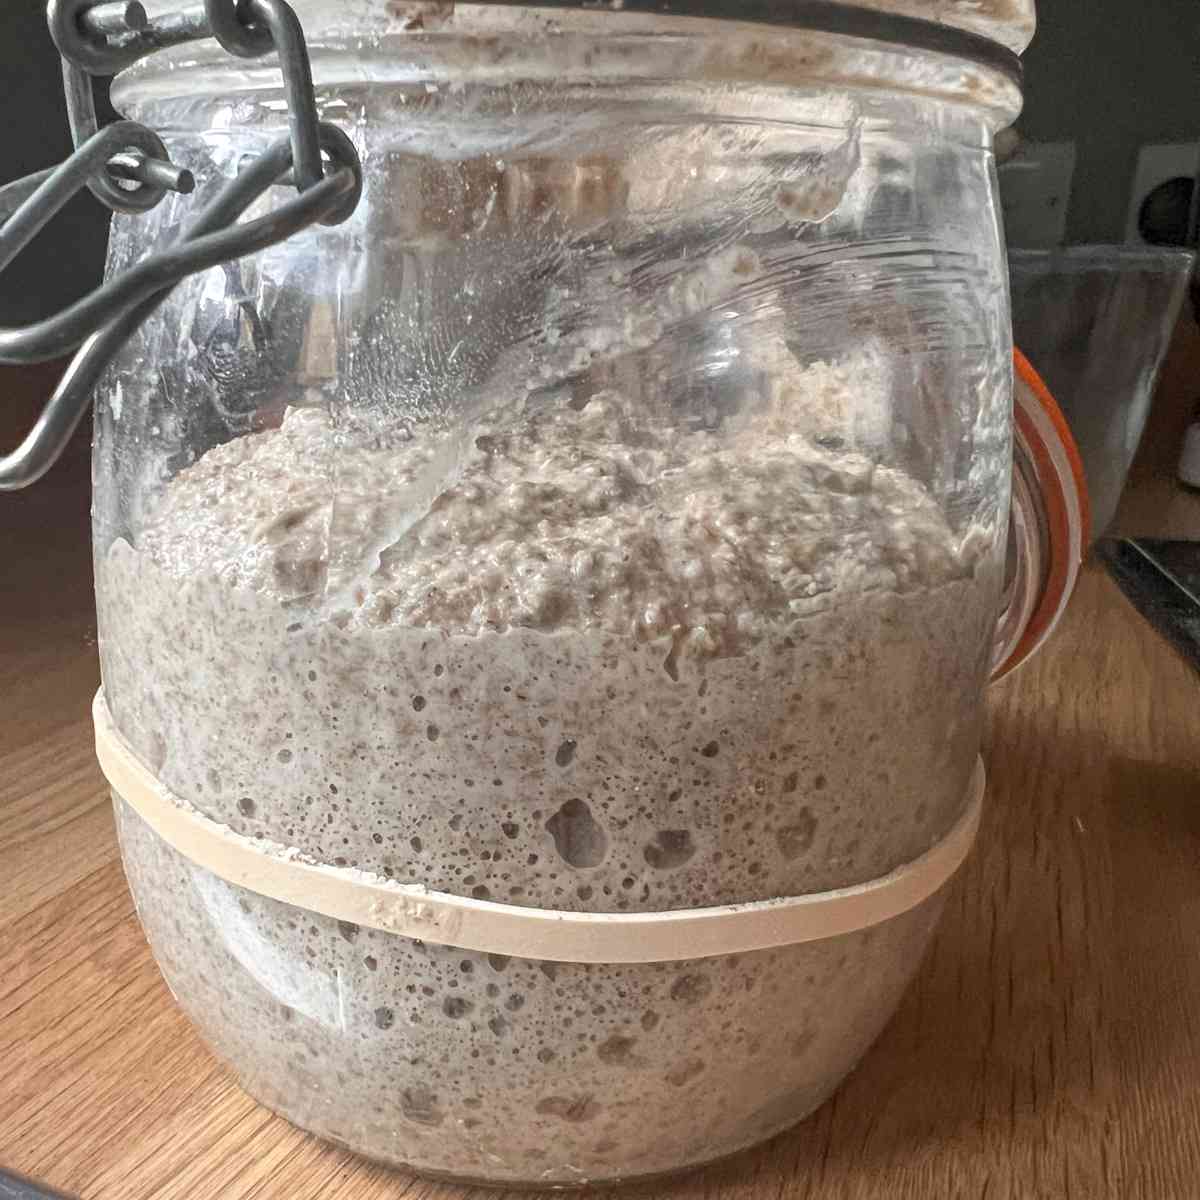
- Have an active starter ready to go. This is Prue and she was fed in the morning (see above picture!) This is her 3 hours later, doubled in size and ready to go.
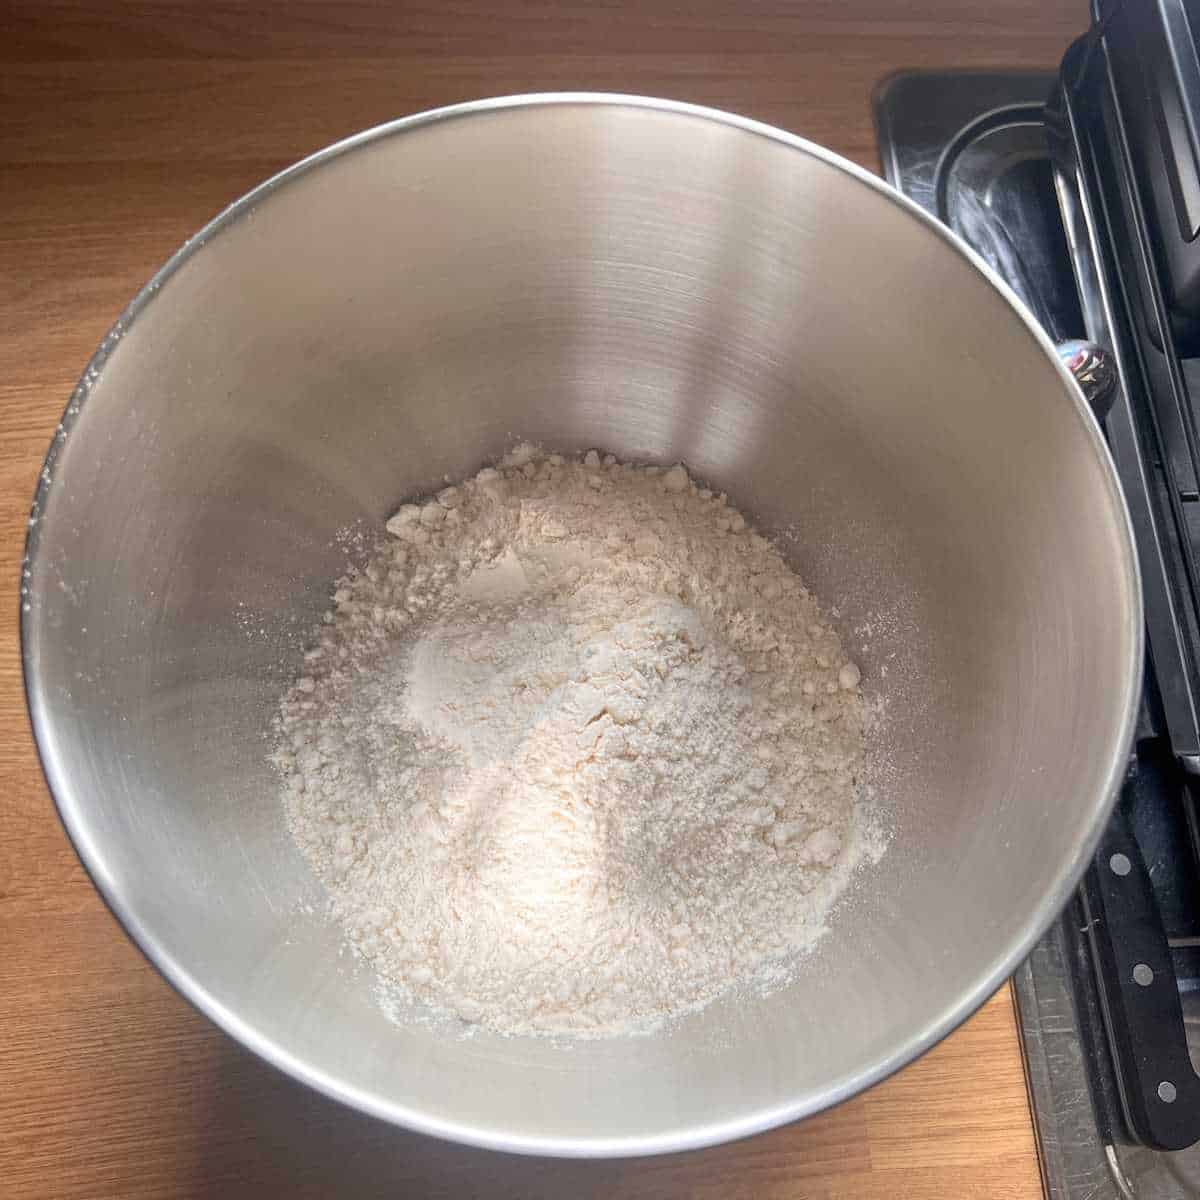
- Mix the flour and charcoal together while they are dry. (I failed to do this during my photos but I recommend it's done at this point).
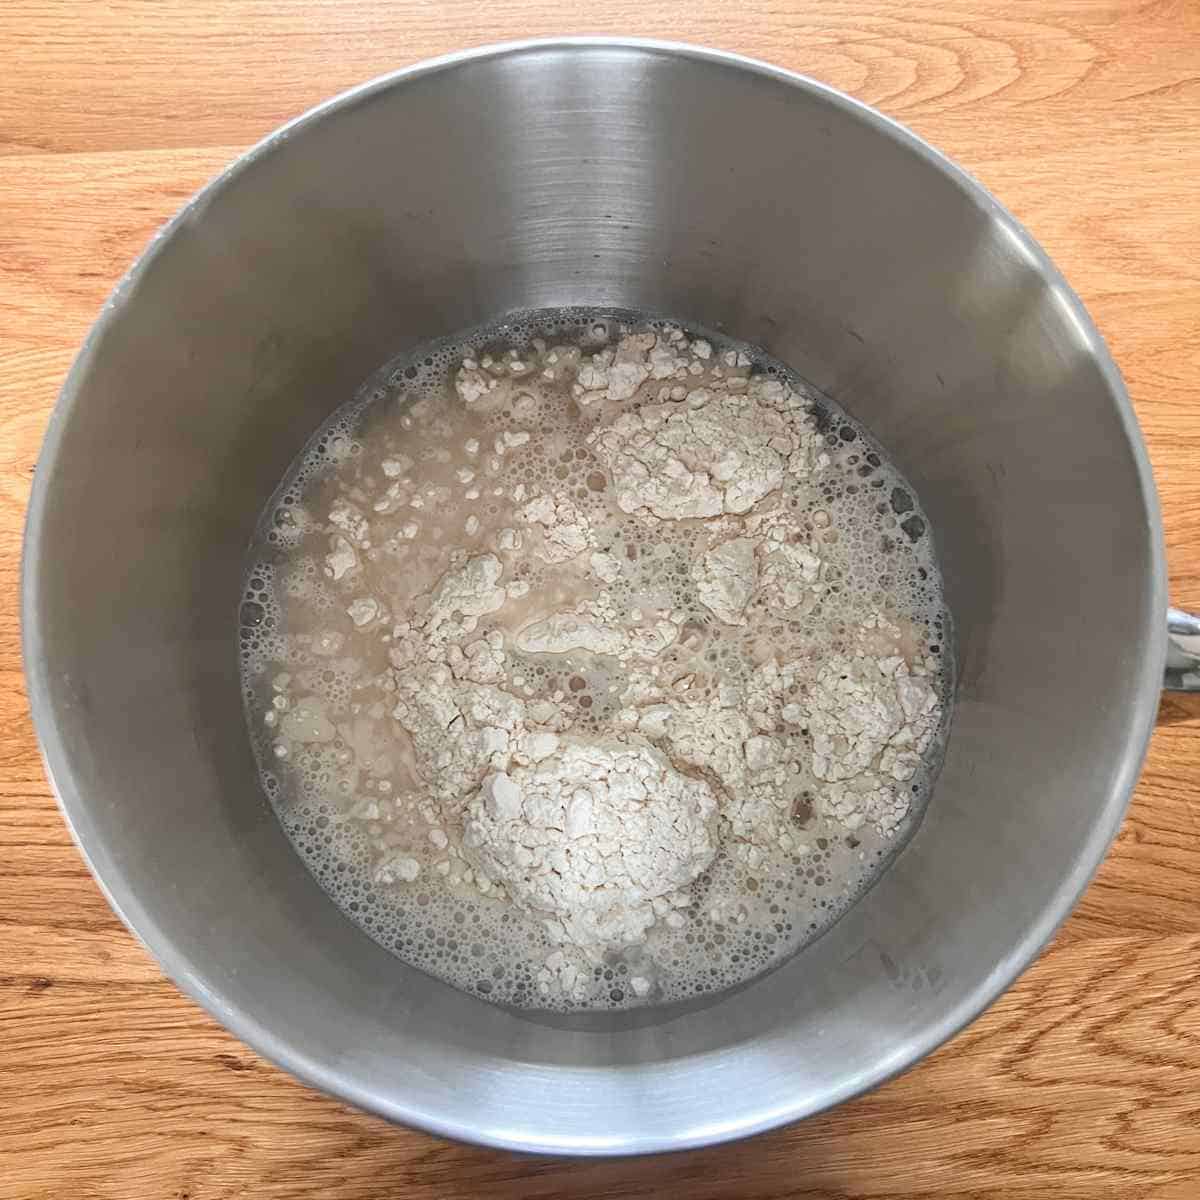
- Add the water and mix to a shaggy dough. Leave it to autolyse for 30 minutes.
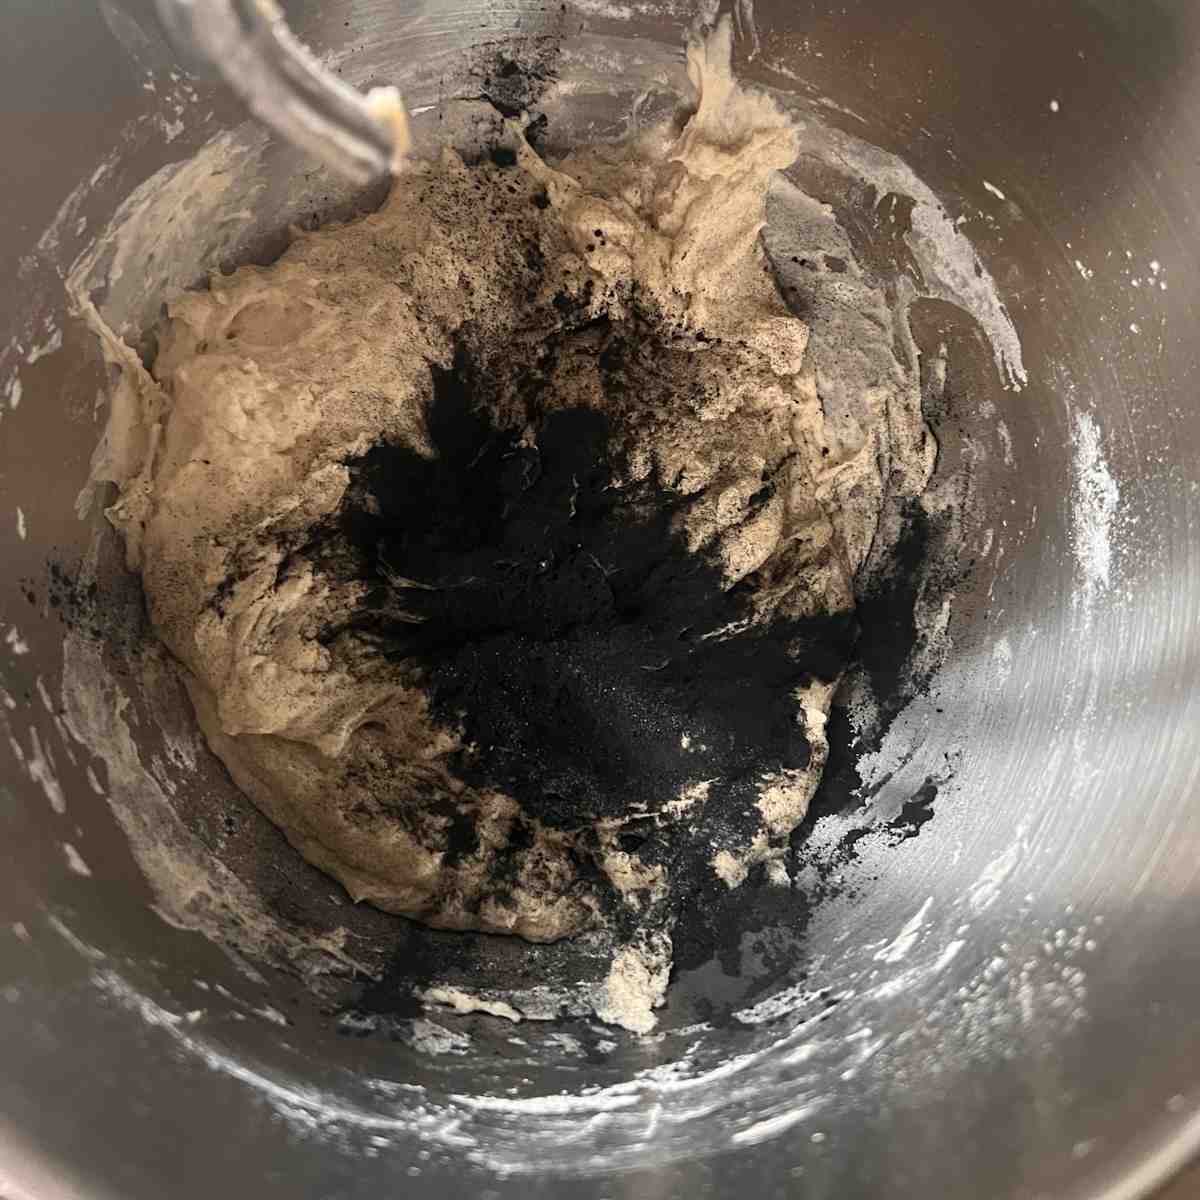
- Add the charcoal, salt and starter and mix for 5 minutes in a stand mixer. Let it rest and then mix for another 5 minutes. (In my pictures you can see it was this point I added the charcoal, but in hindsight I should have added the activated charcoal at step 2).
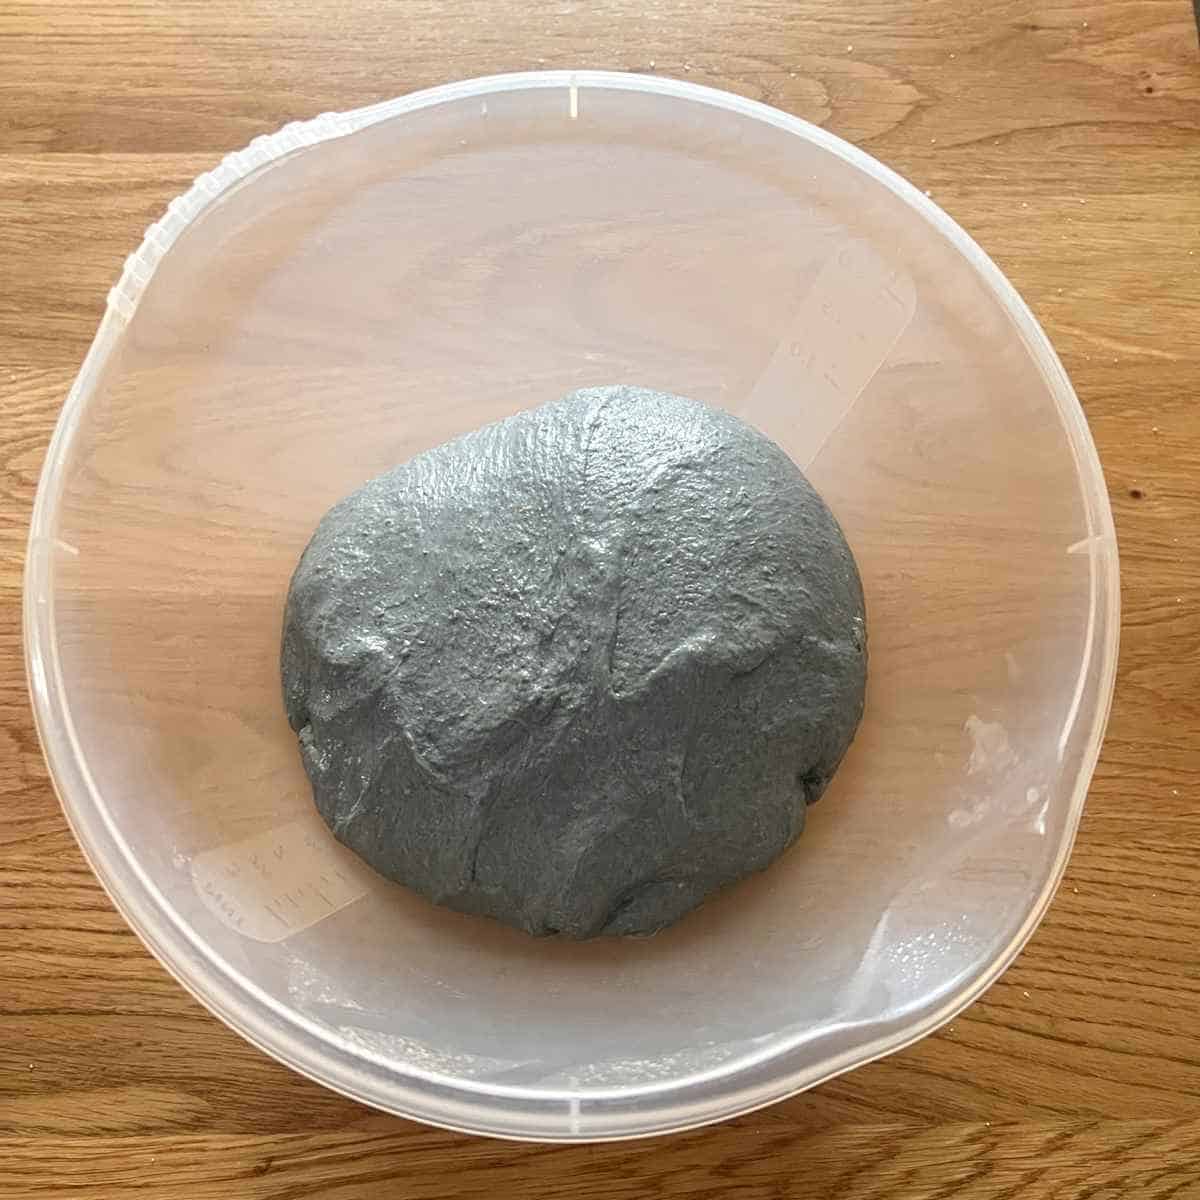
- Once combined, transfer to a bowl and cover for it to do an initial rise. This will take about 2 to 4 hours depending on ambient temperature and starter activity.
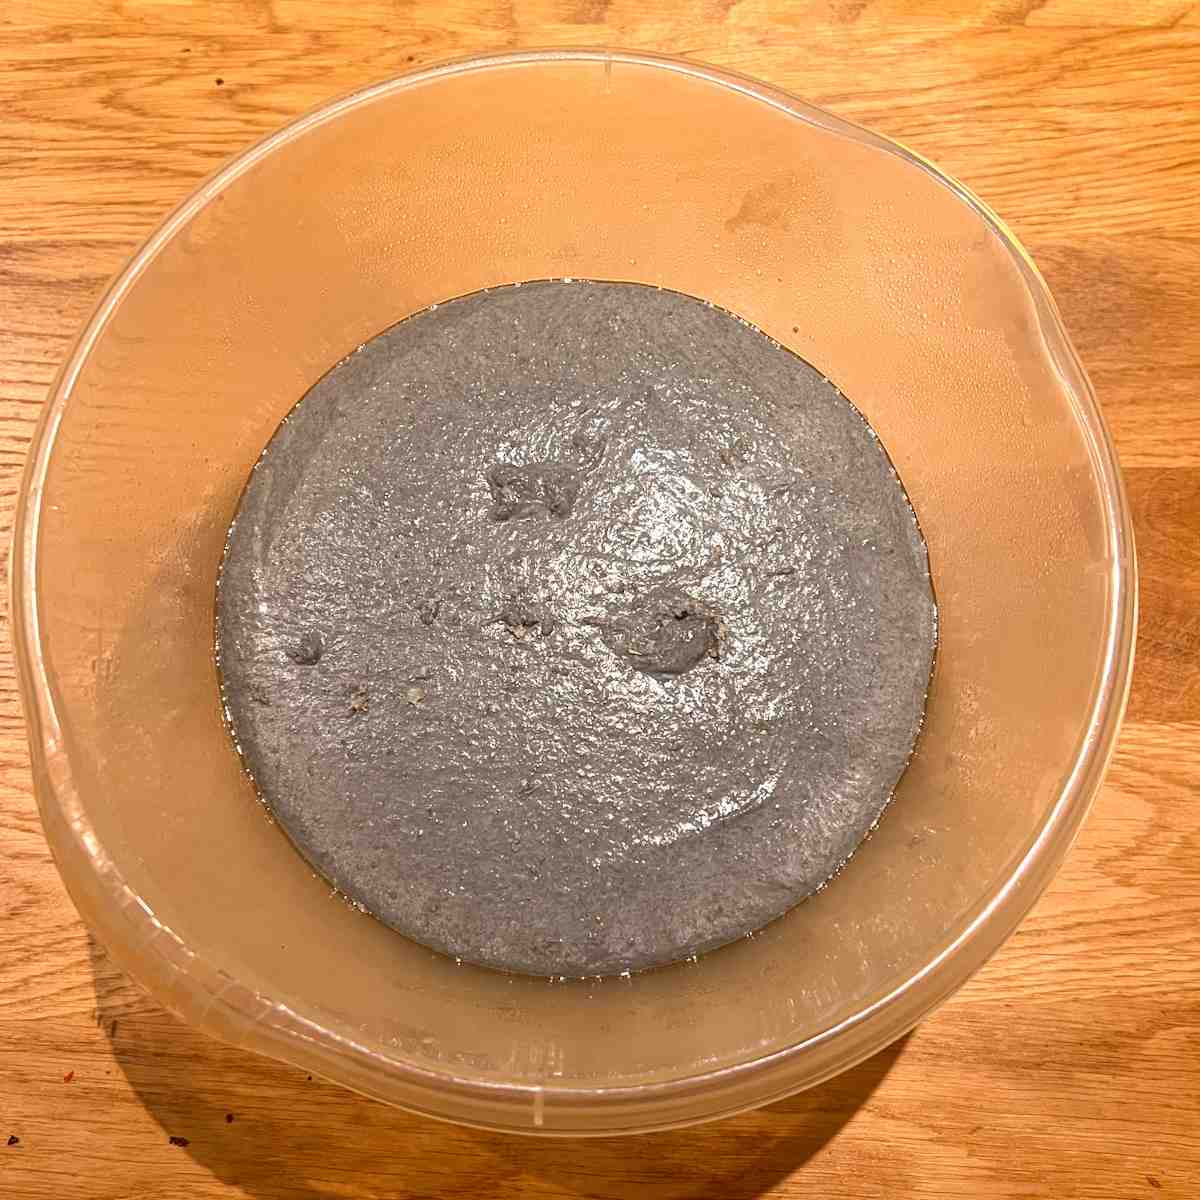
- After the time has passed there should be a noticeable increase in size and a few bubbles forming. Now it's time to shape and place into a proofing basket.
Shaping the dough
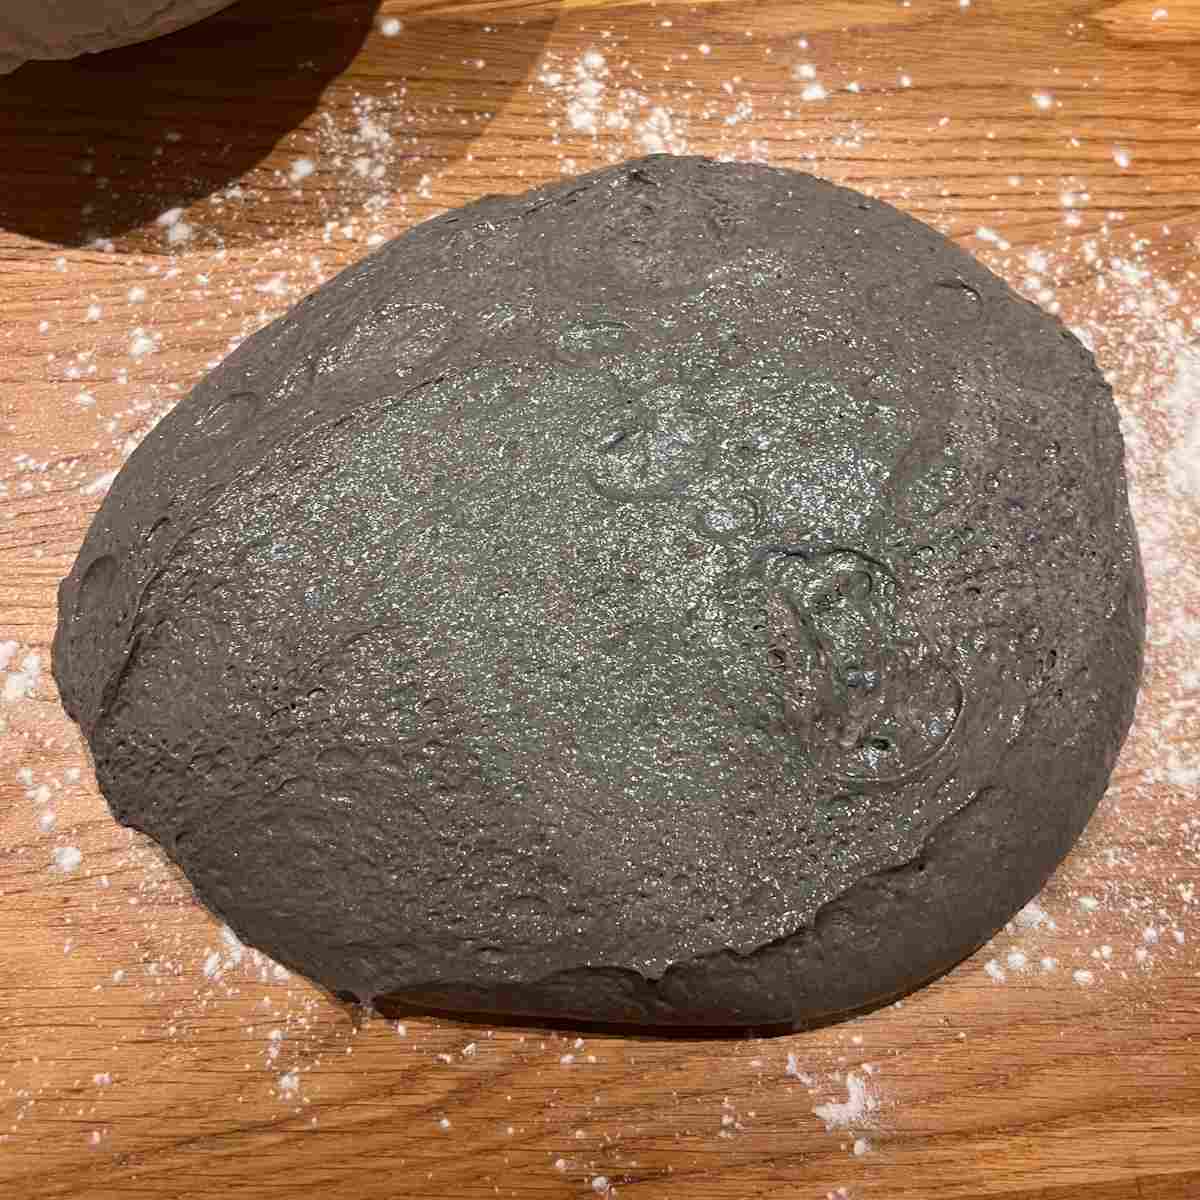
- Spread the dough out onto a floured surface. Use rice flour to stop it being absorbed into the dough.
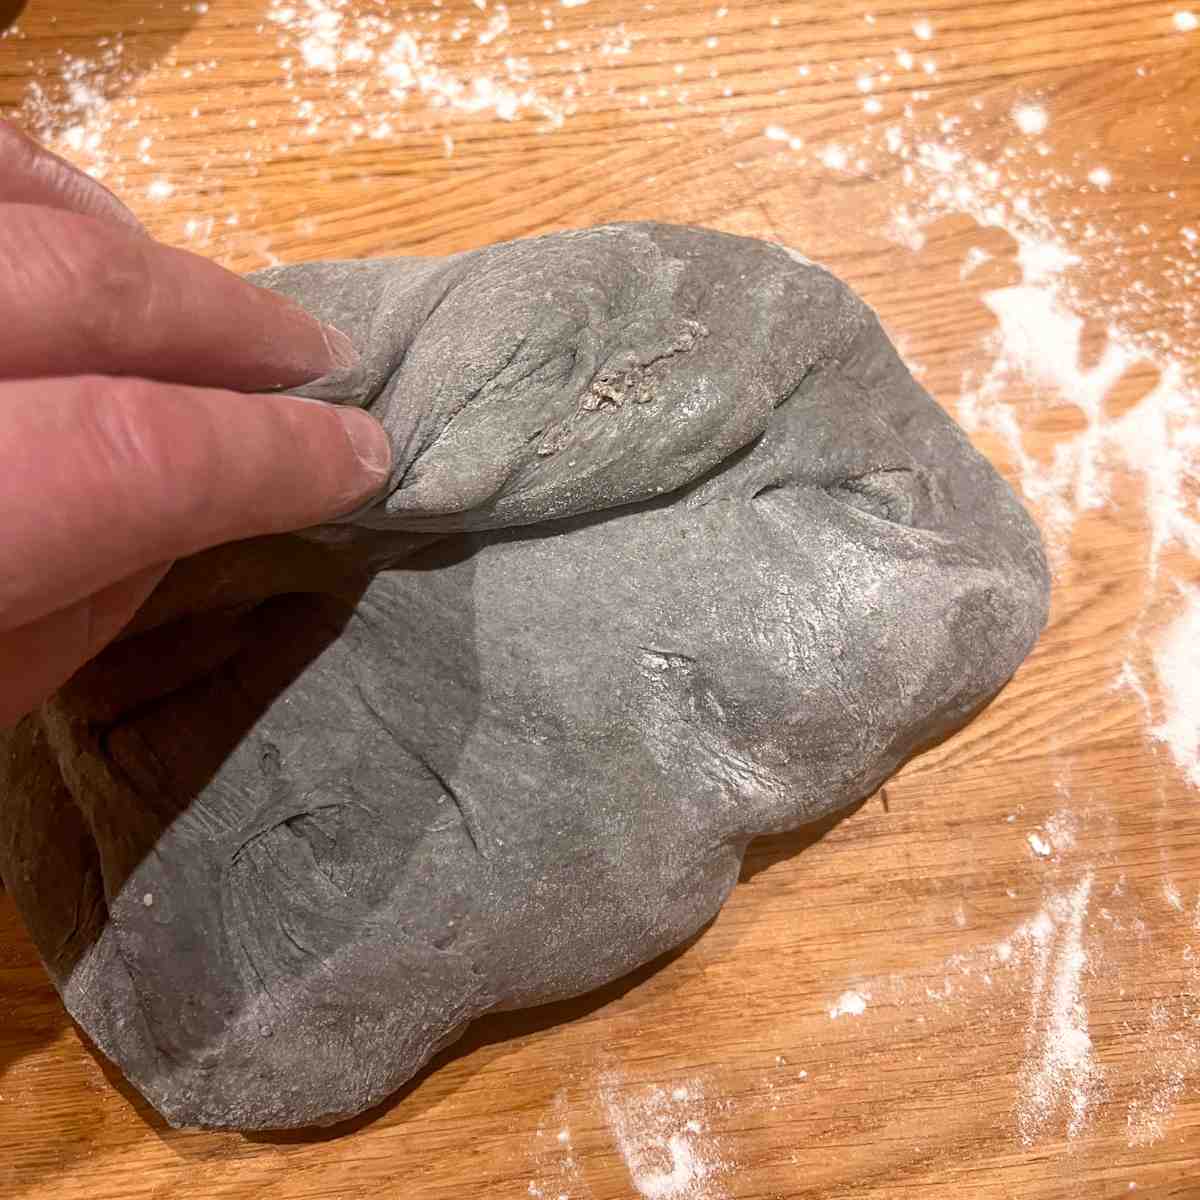
- Gradually bring the dough into the centre, folding inwards as you work round the circle.
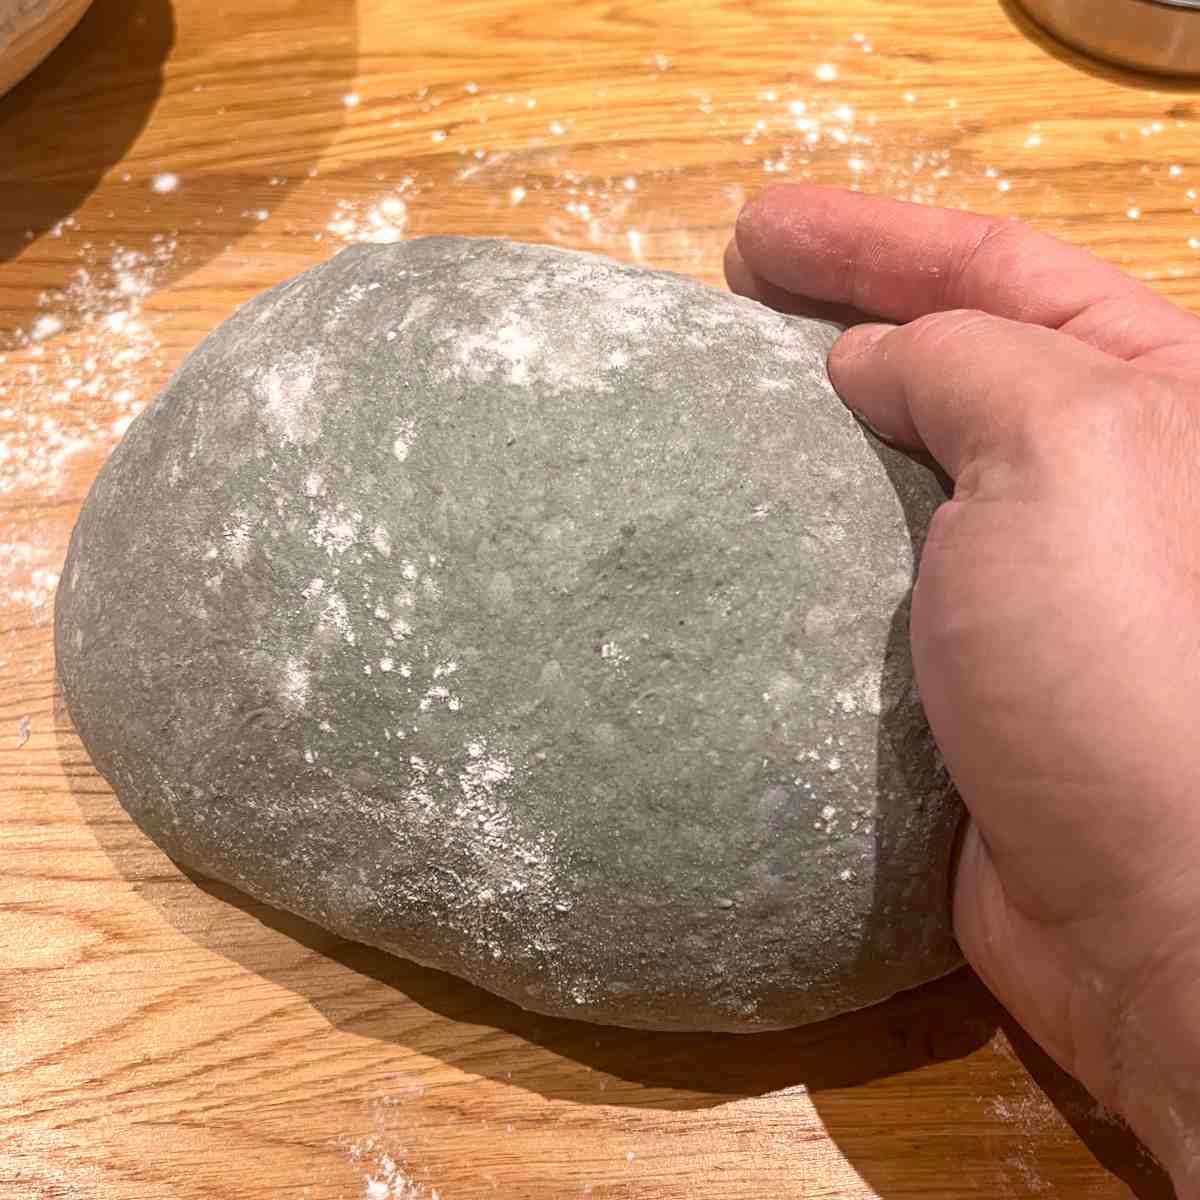
- Smooth around and tuck in as you go. The objective here is to get a tight skin around the dough which in turn will allow for an even rise during baking.
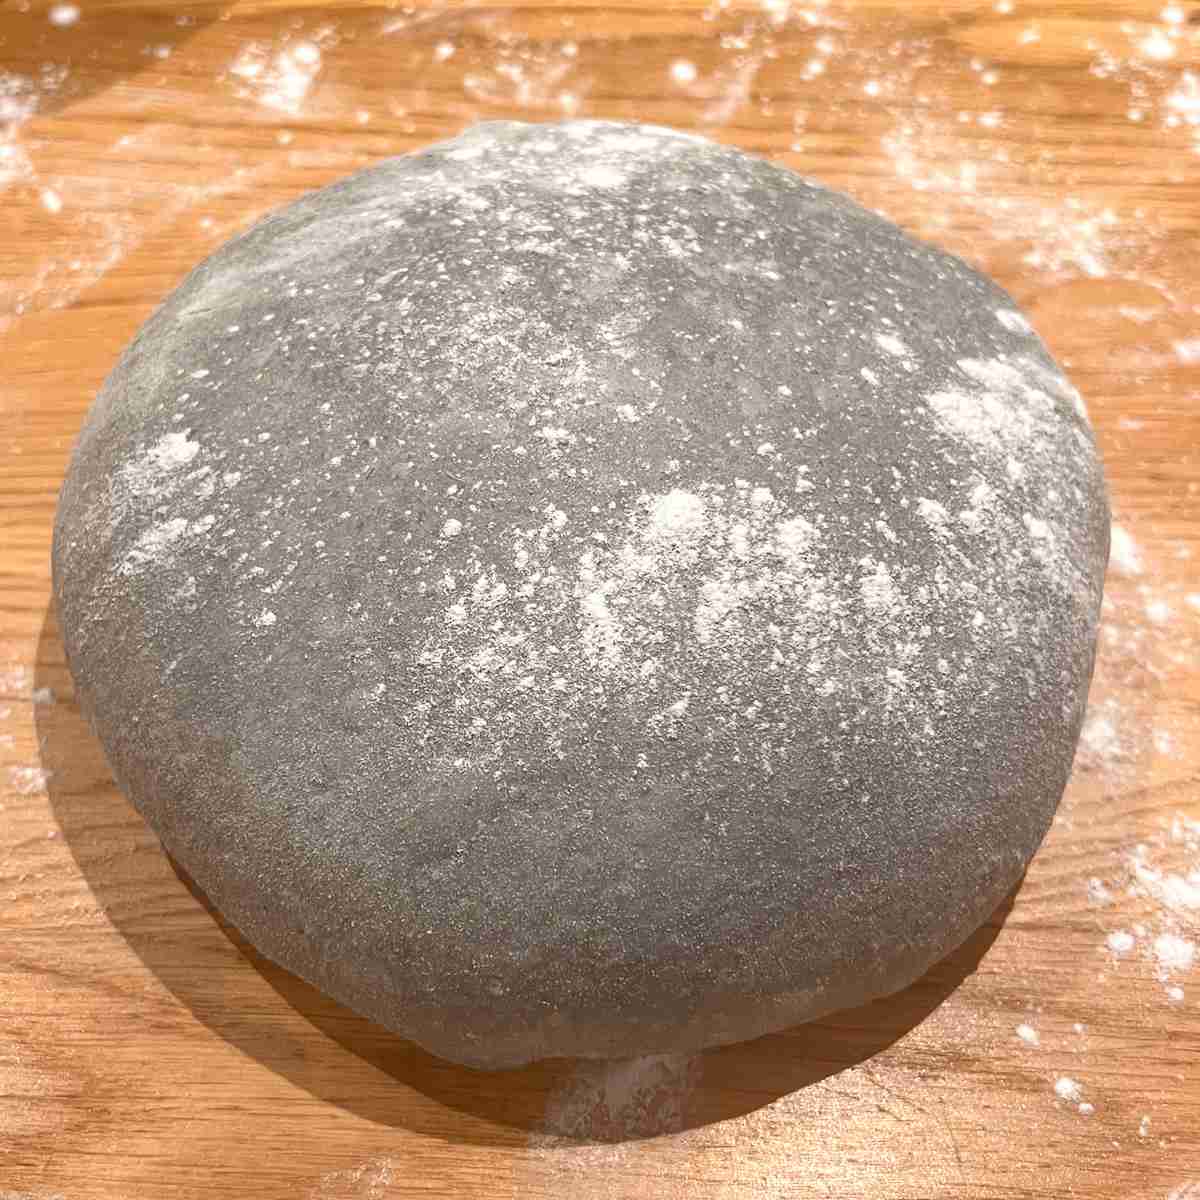
- Leave to rest for a few minutes seam side down on the worktop.
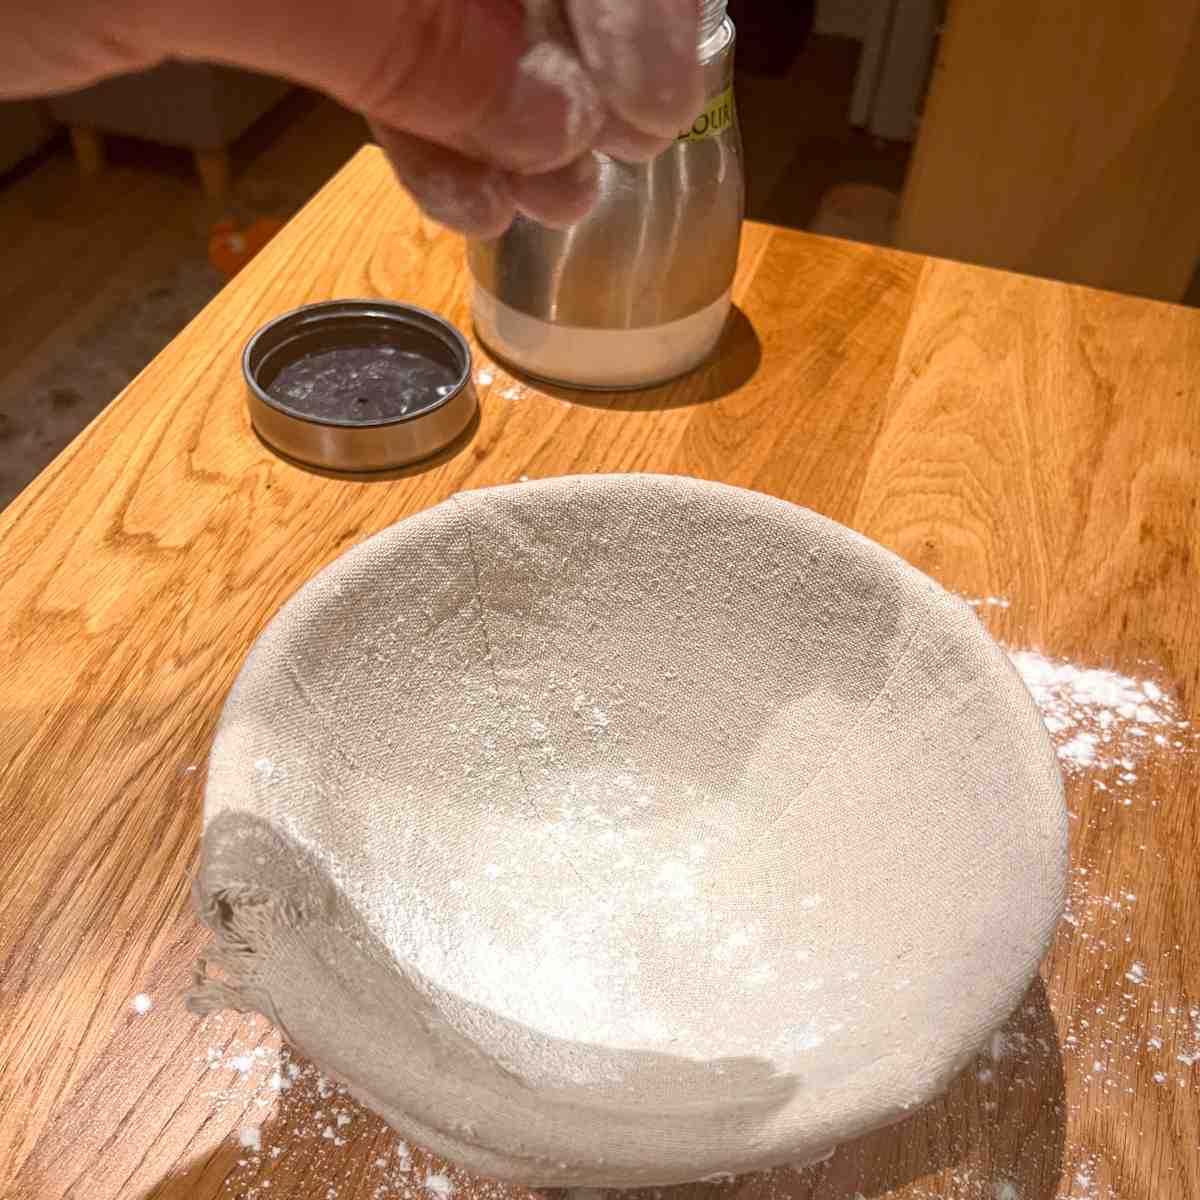
- Prepare a banneton proofing basket by sprinkling with some more rice flour.
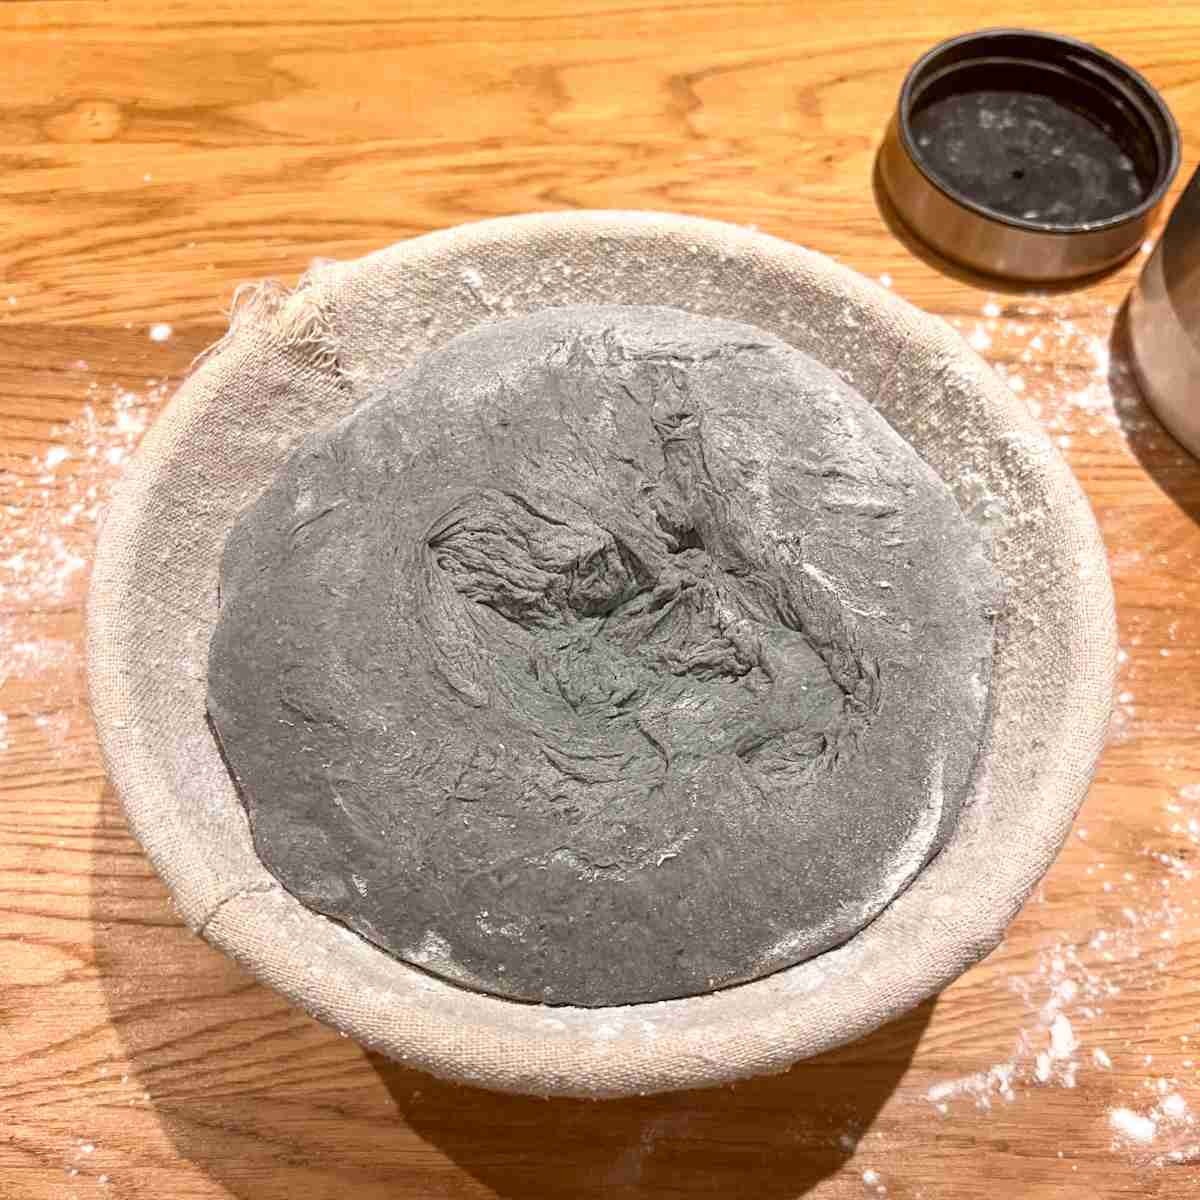
- Place the dough in the basket, cover and put in the fridge to bulk prove. This can be around 12 to 24 hours.
The reason for using rice flour is that it is a different flour type to what is in the dough. Therefore this means it does not get soaked into the dough when next to it. If we used normal bread flour at this point, it would get mixed in further and dry the dough out. The rice flour just sits on the surface and stops things sticking.
Yes, as long as it is not a similar milled flour. So for example, semolina flour is a good alternative to rice flour. Semolina is milled from durum wheat and therefore not milled from the same grain as regular bread flour - so will not stick.
Baking the bread
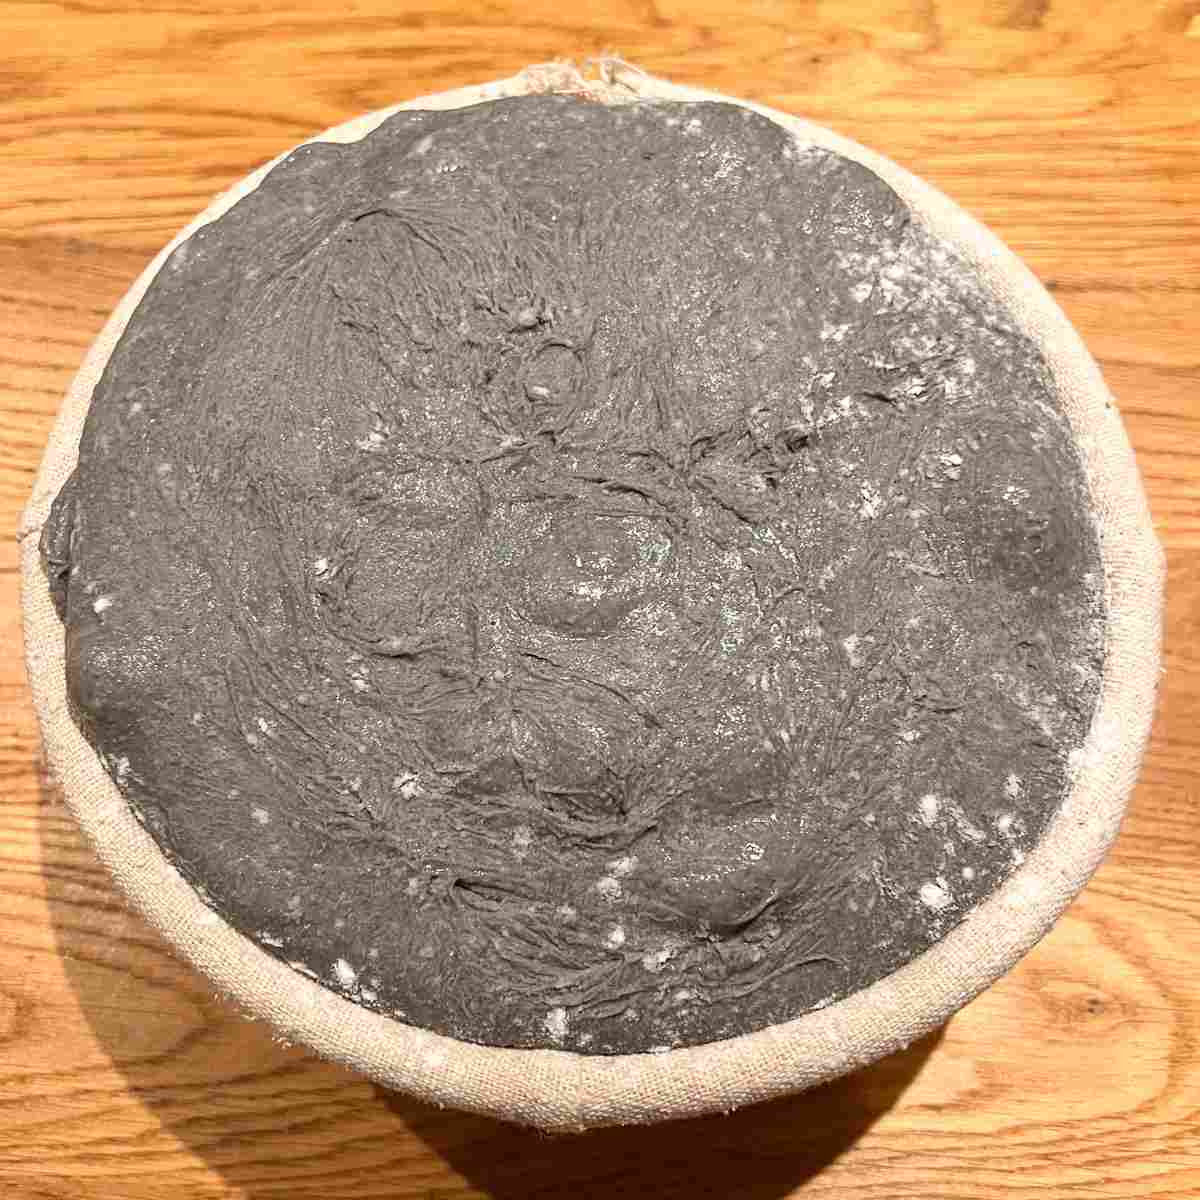
- When proved, the dough will have risen some more. If anything, mine was a little over proved when I took it out of the fridge.
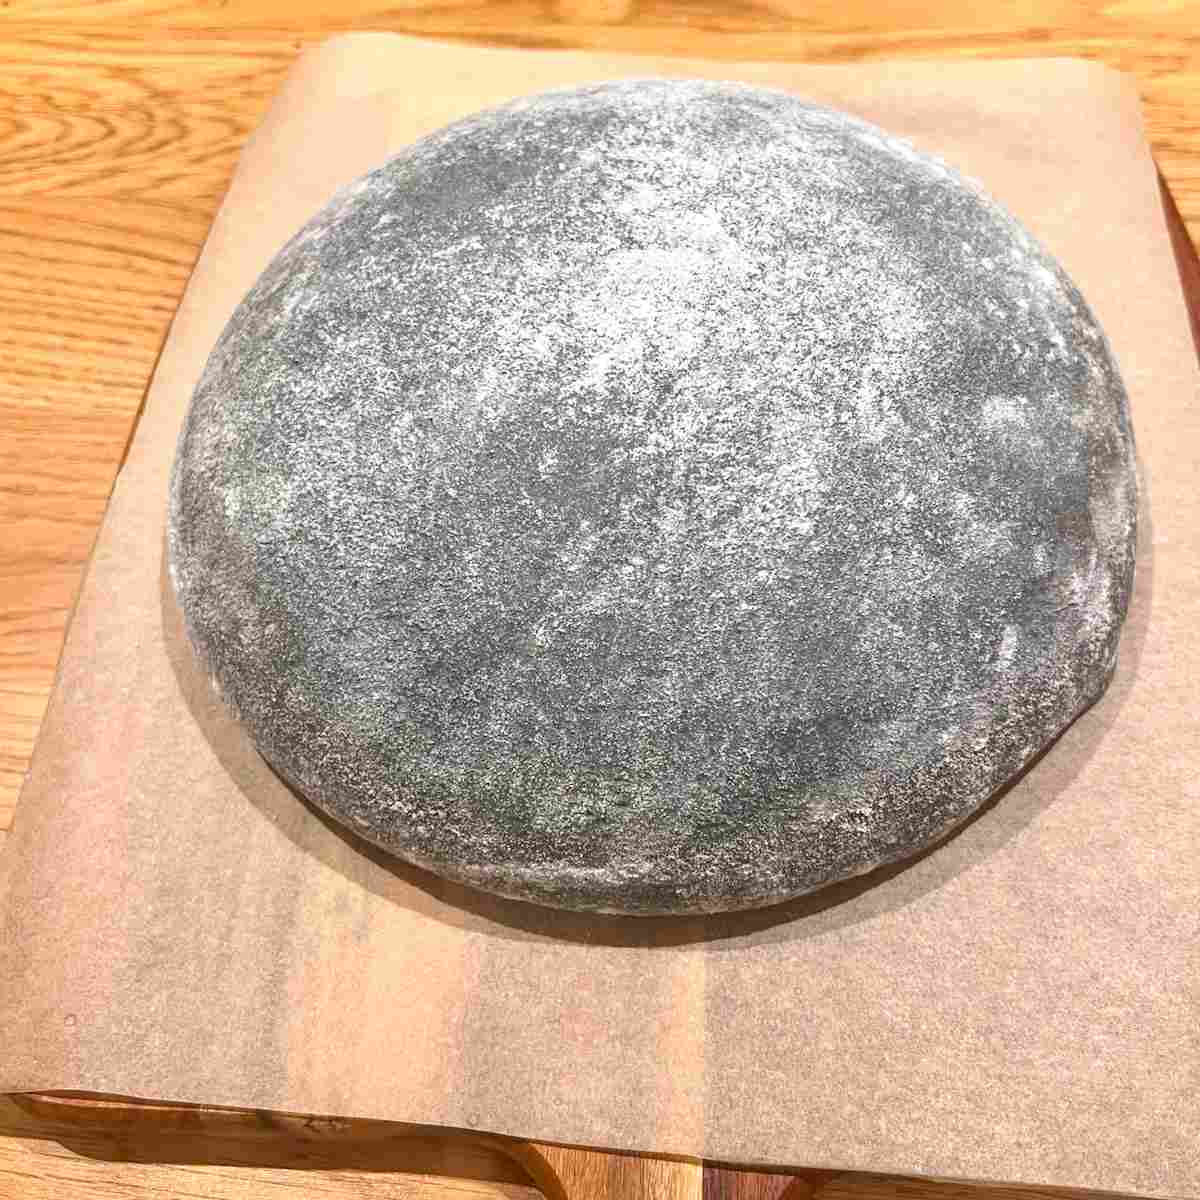
- For ease, I turn my dough out onto parchment which I can then slide into the oven.
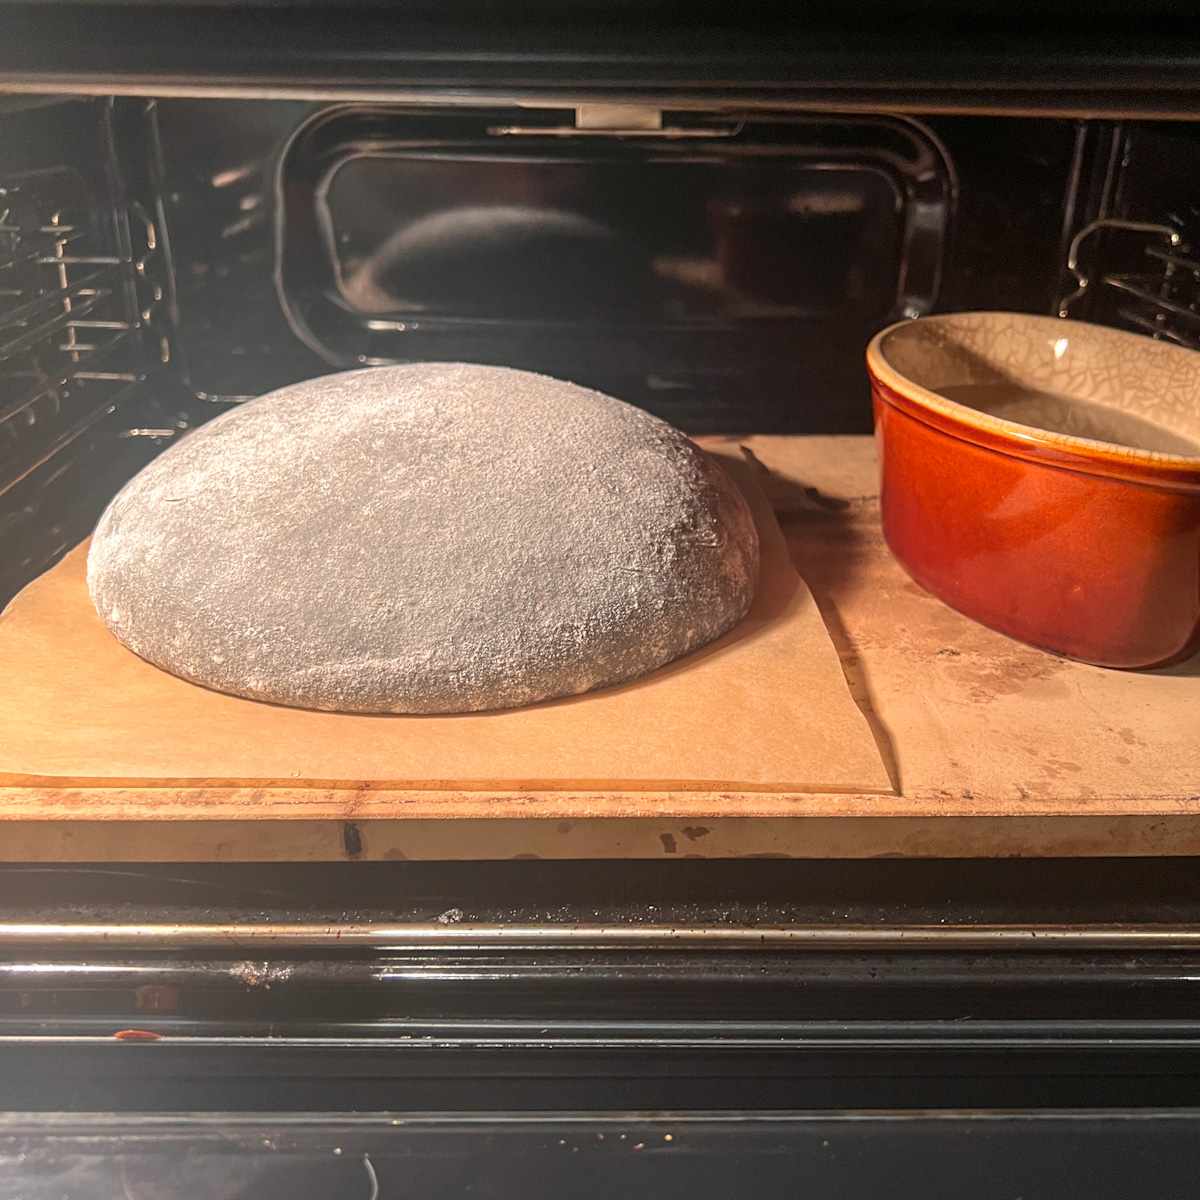
- The oven is at 200C and has a ceramic dish of boiling water in it to create some steam.
Around 8 minutes into the bake, I score the top of the loaf to help create an 'ear'.
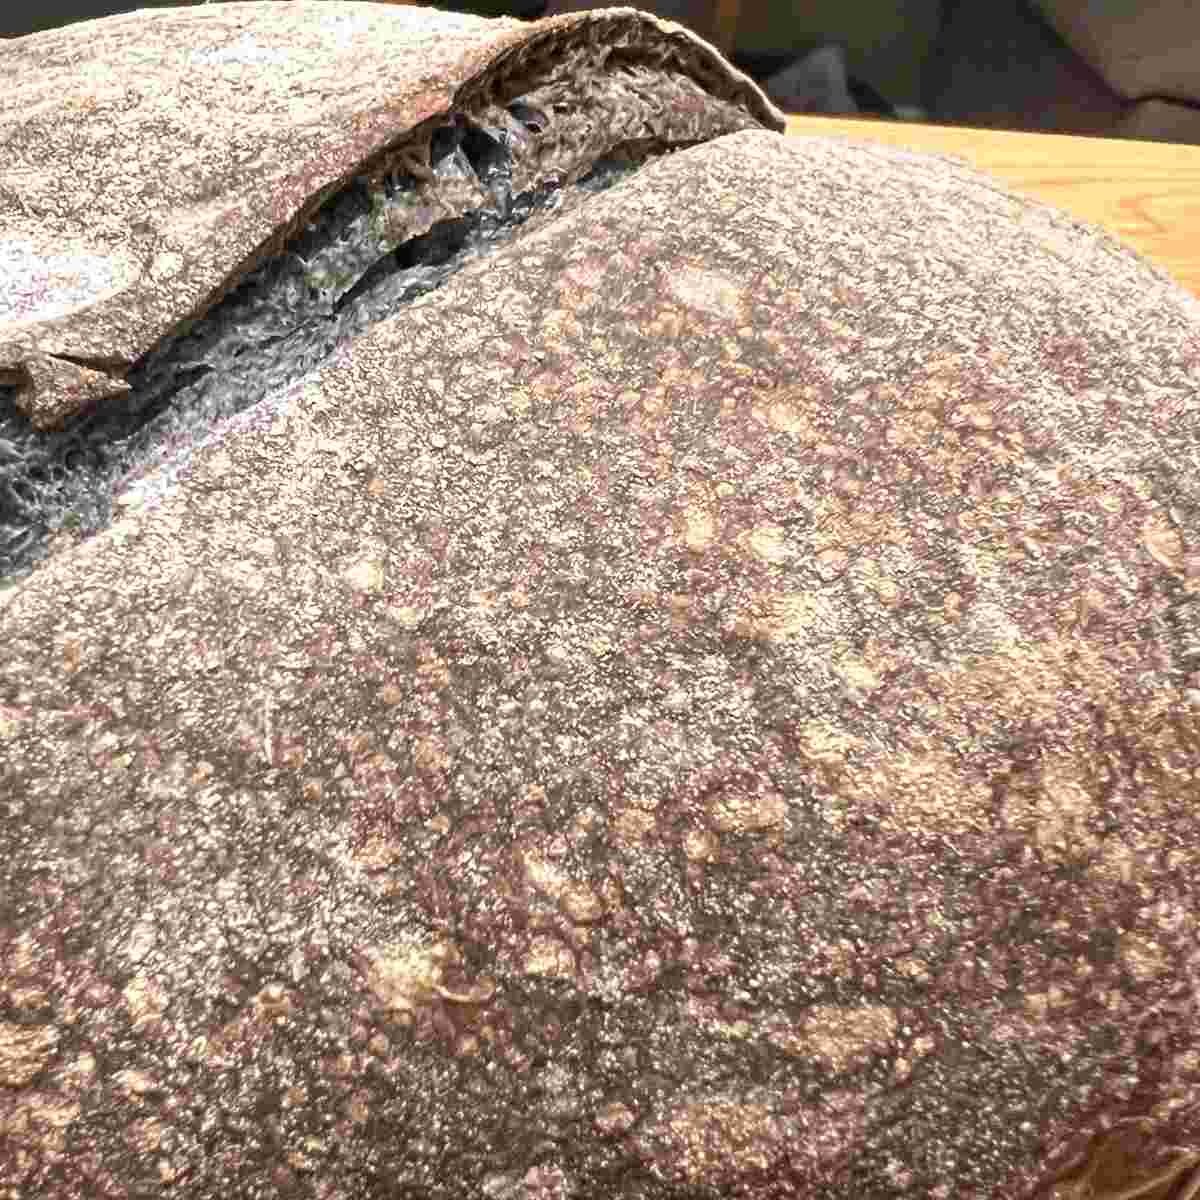
- The bake takes around 30 to 40 minutes in total. While it didn't rise amazingly (due to the over proving I think) it still baked to a nice colour.
I test my bread by tapping the underneath once I think it is baked. If it sounds hollow, it means it's cooked.
Success with sourdough is all about perseverance. Just keep trying and you will get consistent results eventually. Don't be disheartened if it doesn't work the first few times. They don't always come out perfect each time (as an amateur baker in the home kitchen anyway!) Reach out in the comments and I'll try and help.
Variations on this bread
As we've mentioned previously, the charcoal is the only real addition to this bread. If it is not added then the recipe is for a basic sourdough bread. For some other ideas you could try these instead:
- Deluxe Christmas - try some cranberry sourdough bread to use up leftover cranberry sauce. Add 50g-100g of cranberry sauce in the dough
- Chilli cheese sourdough - mix in 1 teaspoon of chilli flakes and 100g of grated cheese for a savoury treat,
Have a look at my other sourdough bread recipes for more inspiration.
Useful Equipment for Making sourdough
I'd recommend three must have pieces of equipment to make sourdough baking easier.
Bakers lame - this is the blade used to score the dough before cooking. There are some standard full length lames or you can see the one on my Deals page for some discounts.
Banneton proving basket - This makes the proving of the bread easier to work with and allows air to flow throughout the dough. These kits contain everything you need to get started.
Baking stone - using one of these baking stones in your oven instead of a baking tray will give the bottom of the bread a crisp base. They are also great for pizza recipes too.
Shower caps are useful for covering proving bread with too. This bulk pack of 100 I bought in 2020 and still using them to this day.
Storing Sourdough Bread
As with most fresh breads they are generally good for up to 2 days once sliced. Once the air gets into them they can start to stale off.
I make an effort to slice my breads as soon as they have cooled down enough and then split the slices into freezer bags of about 6 or 7 slices in each. Then I freeze the bread and take out what I need.
If your sourdough has got a bit stale, run it under the tap for a few seconds and then bake in a hot oven for 5 to 10 minutes. It will revitalise the bread and make it taste (fairly) similar to freshly baked.
Charcoal Breads FAQ
Doing an open bake on a baking stone, a sourdough loaf using 500g of dough can take around 30 to 40 minutes at 200C to bake.
If you do a blind taste test you will not notice any difference between a charcoal bread and a regular sourdough bread.
Related breads
Looking for other sourdough bread recipes like this? Try these:
Pairing your bread
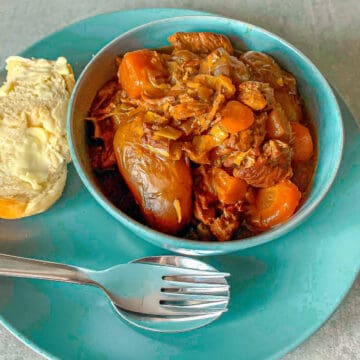
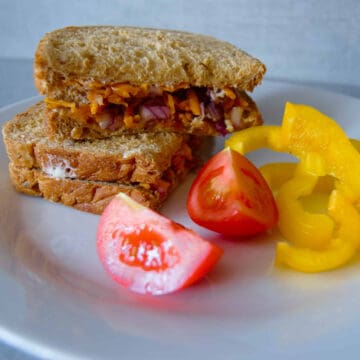
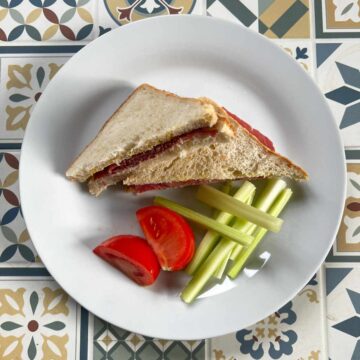
These are some dishes to serve with sourdough bread:
The Recipe

Charcoal Sourdough Bread
Equipment
- 1 banneton proofing basket
- 1 bakers lame for scoring the ear
Ingredients
- 500 g Bread flour
- 1.5 teaspoon Activated food grade charcoal
- 100 g Sourdough Starter
- 350 ml Water
- ½ tablespoon Salt
- 20 g Rice flour for dusting
Instructions
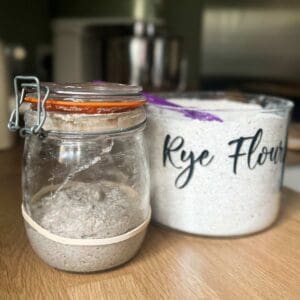
- 4 to 6 hours before you want to start, feed your starter so you have an actively bubbly sourdough starter to use.100 g Sourdough Starter

Make the dough
- Mix together the flour and charcoal ingredients to evenly distribute the charcoal. Take care with the charcoal as it can be messy and get everywhere.500 g Bread flour, 1.5 tsp Activated food grade charcoal
- Pour in the water and mix together to combine. Leave for 30 minutes to autolyse.350 ml Water
Initial prove
- Add the starter and the salt. Then mix in a stand mixer for 5 minutes. Leave to rest for 5 minutes and then mix for another 5 more minutes½ tbsp Salt, 100 g Sourdough Starter
- Transfer from the mixer to a bowl to allow the mix to rise until bubble appear on the top. This will be between 2 to 4 hours depending on ambient temperatures.
Shape & bulk prove
- Once risen, shape the dough on a work surface. Aim for a tight skin around the top. Sift some rice flour or semolina flour into a banneton proofing basket and then place the shaped dough in there.Cover using a cloth or shower cap and place in the fridge for 12 to 24 hours to bulk prove.
Bake the loaf
- Preheat your oven to 200 °CScore the dough and then bake on a baking stone for 30 to 40 minutes until the crust has a crispy edge.
Notes
Nutrition
More posts like this
3 responses to “Charcoal Sourdough”
-


Tastes like regular bread but has a slightly different aftertaste which is the charcoal. Quite like well done toast. Love it. -
It feels like it should be healthy. So I’m assuming it is! My teeth certainly feel cleaner after eating. Great recipe, thank you for sharing!-
Thank you Paul! I’m glad you enjoyed it. And I know what you mean about the teeth cleaning! It’s like that charcoal toothpaste.
-


Leave a Reply